How to Install LAVNA LA8 Smart Wooden Door Lock | Full Installation Guide for Wooden Doors Locks
Автор: Lavna Locks
Загружено: 2026-02-01
Просмотров: 230
Описание:
You can easily install this product by watching this video and following the step-by-step guide provided below.
Welcome to the official installation guide for the LAVNA LA8 Smart Door Lock. Upgrade your home security with the perfect blend of technology and style. In this video, we walk you through everything from unboxing to the final setup of your LAVNA LA8.
Why Choose LAVNA LA8?
The LAVNA LA8 is designed for those who prioritize safety without compromising on convenience. With multiple unlocking methods and a sleek aesthetic, it is the ultimate smart solution for modern Indian homes.
Key Installation Steps Covered:
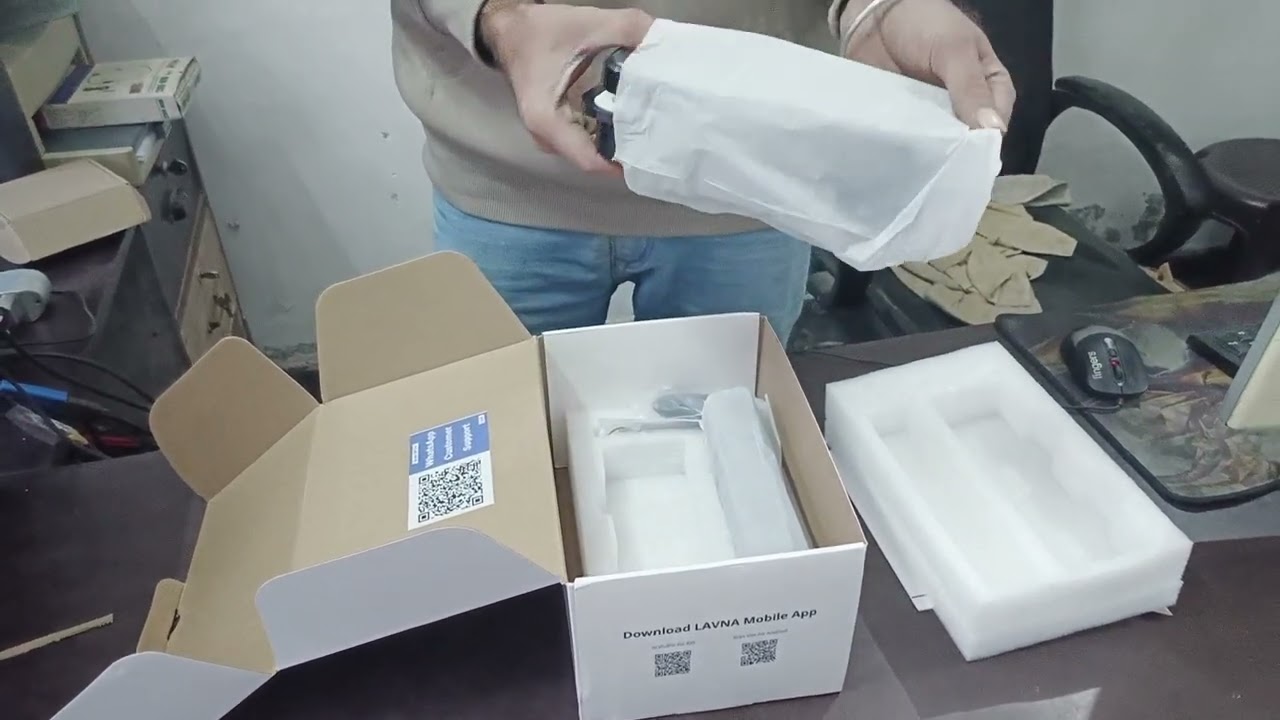
1- Unboxing: See every component included in the box to ensure you have everything ready for the installation.
2- Door Marking: Learn how to use the provided template to mark the mounting, wire, and rod holes (15mm to 25mm) accurately.
3- Mortise Setup: How to change the mortise direction to fit your door's opening side (Left/Right).
4- Front & Back Panel Attachment: A detailed look at connecting the panels, securing the gold fasteners, and aligning the internal rods.
5- Handle Adjustment: Easy steps to flip the handle orientation to match your door.
6- Final Wiring & Power: Connecting the control cables and installing Duracell AA batteries for long-lasting performance.
7- Testing: How to verify the latch, deadbolt, and DND (Do Not Disturb) functions before finishing up.
Important Notes for Installation:
1- Always ensure the arrow on the internal rod is pointing downwards during assembly.
2- We recommend using high-quality Duracell batteries for the best experience.
3- Ensure all wire connections are firm but handled with care.
Video Timestamps:
00:00 - Introduction to LAVNA LA8
00:04 - Unboxing and Box Contents
00:54 - Door Marking and Hole Dimensions
01:04 - How to Change Mortise Direction
01:12 - Installing the Mortise into the Door
01:21 - Preparing the LAVNA Front Panel
01:27 - How to Change Handle Direction
01:43 - Spindle/Rod Installation (Important Tip!)
01:53 - Checking Initial Alignment
02:08 - DND Rod Installation and Cutting
02:22 - Connecting Cables and Back Panel
02:43 - Battery Installation and Final Testing
02:53 - Conclusion and Support Information
Connect With Us:
If you face any issues during the installation, our support team is ready to help!
Secure | Convenient | Easy to Install
For inquiries, demos, or to buy now:
Visit: https://www.lavnalocks.com
WhatsApp: +919667771077
To buy this product, visit our website - https://lavnalocks.com/
You can also buy this product on Amazon - https://www.amazon.in/stores/LAVNASma...
Follow us for more :
Instagram - / lavnalocks
Facebook - / bhagwnshrilocksprivatelimited
LinkedIn - / lavna-locks
YouTube - / @lavnalocks
#SmartSafe #HomeSecurity #LockerInstallation #LavnaLocks #DigitalSafe #BiometricLocker #SecureStorage #DIYInstallation #OfficeSecurity #SafetyVault
Повторяем попытку...

Доступные форматы для скачивания:
Скачать видео
-
Информация по загрузке: