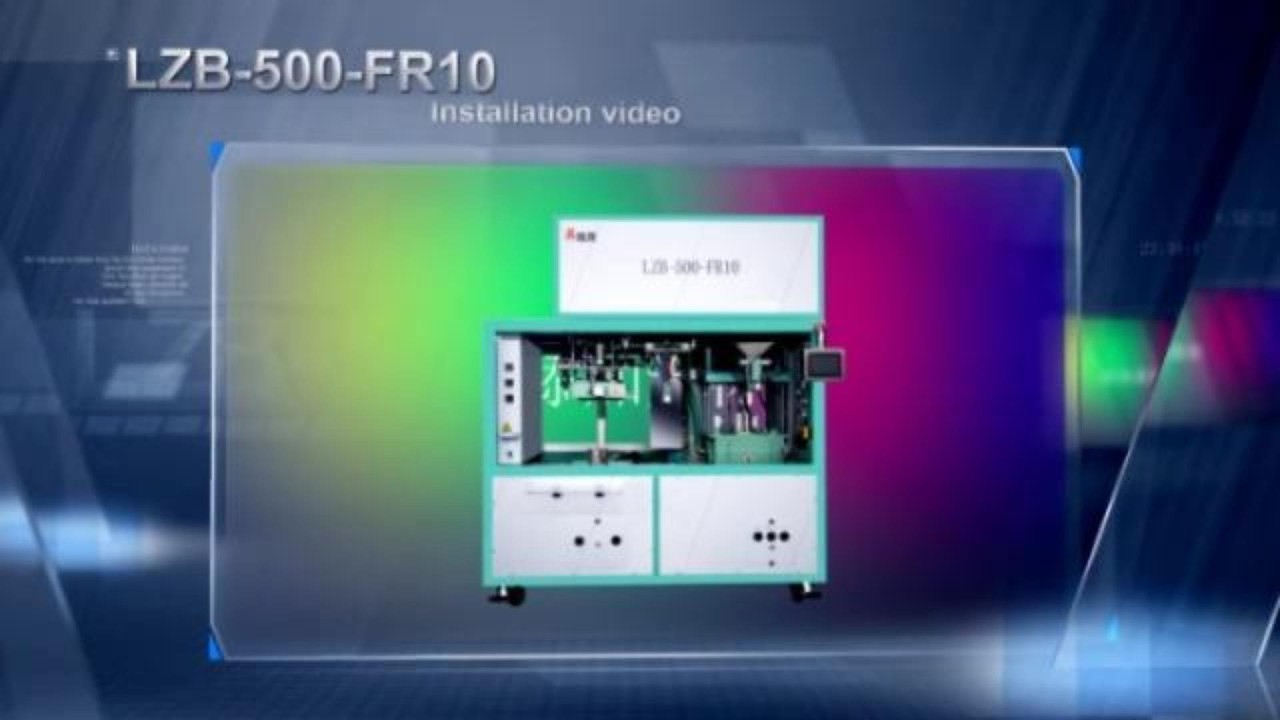
Complete Installation Guide: LZB-500-FR10 Vacuum Packing Machine (Unboxing to Operation)
Автор: Zhangzhou Jialong Technology Inc.
Загружено: 2026-02-04
Просмотров: 33
Описание:
This video is the complete step-by-step installation guide for the LZB-500-FR10 Automatic Vacuum Packing Machine.
Since the machine is shipped in two separate parts (Weighing Unit and Vacuum Unit) to ensure safety during transport, proper assembly is required upon arrival. This tutorial covers everything from unboxing, removing shipping brackets (Transit Fixers), connecting the air/electric supply, to switching between "Brick Shape" and "Flat Shape" modes.
⚠️ IMPORTANT: Pay close attention to the red transit brackets (fixed holders) on the weighing hoppers. These MUST be removed before operation, otherwise, the scale will not weigh correctly.
📋 Installation Timeline:
Step 1: Unboxing & Preparation
0:04 Remove outer packing cases (Separate Vacuum & Weighing parts).
0:39 Preparation for Weighing Unit (Remove pallet fixing screws).
1:00 Installing the Transfer Silo & tightening screws.
1:27 Assembling the Discharge Conveyor.
Step 2: Vacuum Unit Preparation
1:51 Installing Vacuum Unit (Remove cable ties & protective films).
2:28 Remove side panels and install positioning screws.
3:06 Use a forklift to position and level the Vacuum Unit.
Step 3: Combining the Units
3:19 Connect the Weighing Unit onto the Vacuum Unit.
3:48 Secure the connection with locking screws.
Step 4: Installing Internal Components (CRITICAL STEP)
4:01 Installing Feeding Vibrators (Remove cable ties & shipping locks).
4:30 Important: Installing Weighing Hoppers.
4:34 ⚠️ WARNING: Remove the RED fixed transit brackets (Fixed Holder 1).
4:56 ⚠️ WARNING: Remove the RED fixed transit brackets (Fixed Holder 2).
5:05 Ensure the hopper hangs freely without touching anything.
Step 5: Wiring & Connections
5:18 Connect Main Controller Cable, Load Cell Cables, and Solenoid Valves.
5:57 Connect the main Air Pipes between upper and lower units.
Step 6: Screen & Commissioning
6:04 Installing the Omron Touch Screen Weighing Controller.
6:46 Connect the factory main Air Supply.
7:01 Connect communication cables to the touch screen.
Part 7: Operation & Mode Switching
7:34 Connecting 3-phase power supply & Air switch.
7:45 Checking Air Pressure (0.4-0.6 MPa) & Phase Sequence Relay.
8:06 Demo 1: Producing "Flat Shape" packages (Mould setup & Recipe selection).
8:35 Demo 2: Producing "Brick Shape" packages (Changing the mould).
For technical support or inquiries, please contact Jialong Packaging Machinery.
#VacuumPackingMachine #LZB500FR10 #InstallationGuide #JialongPackaging #RicePacking #MachineSetup #Automation #IndustrialMachinery
Повторяем попытку...
Доступные форматы для скачивания:
Скачать видео
-
Информация по загрузке:


![🔴 EXPRESS BIEDRZYCKIEJ | PAWEŁ ŚLIZ, PIOTR WOŹNIAK [NA ŻYWO]](https://imager.clipsaver.ru/sQHxLwb_9Xo/max.jpg)