etrailer | 2023 Chevrolet Equinox Curt Trailer Hitch Receiver: Complete Installation
Автор: etrailer
Загружено: 2023-03-02
Просмотров: 3828
Описание:
Click for more info and reviews of this CURT Trailer Hitch:
https://www.etrailer.com/Trailer-Hitc...
Check out some similar Trailer Hitch options:
https://www.etrailer.com/fitguide.htm
Search for other popular Chevrolet Equinox parts and accessories:
https://www.etrailer.com/vehicle/2023...
https://www.etrailer.com
Don’t forget to subscribe!
/ etrailertv
Full transcript: https://www.etrailer.com/tv-install-c...
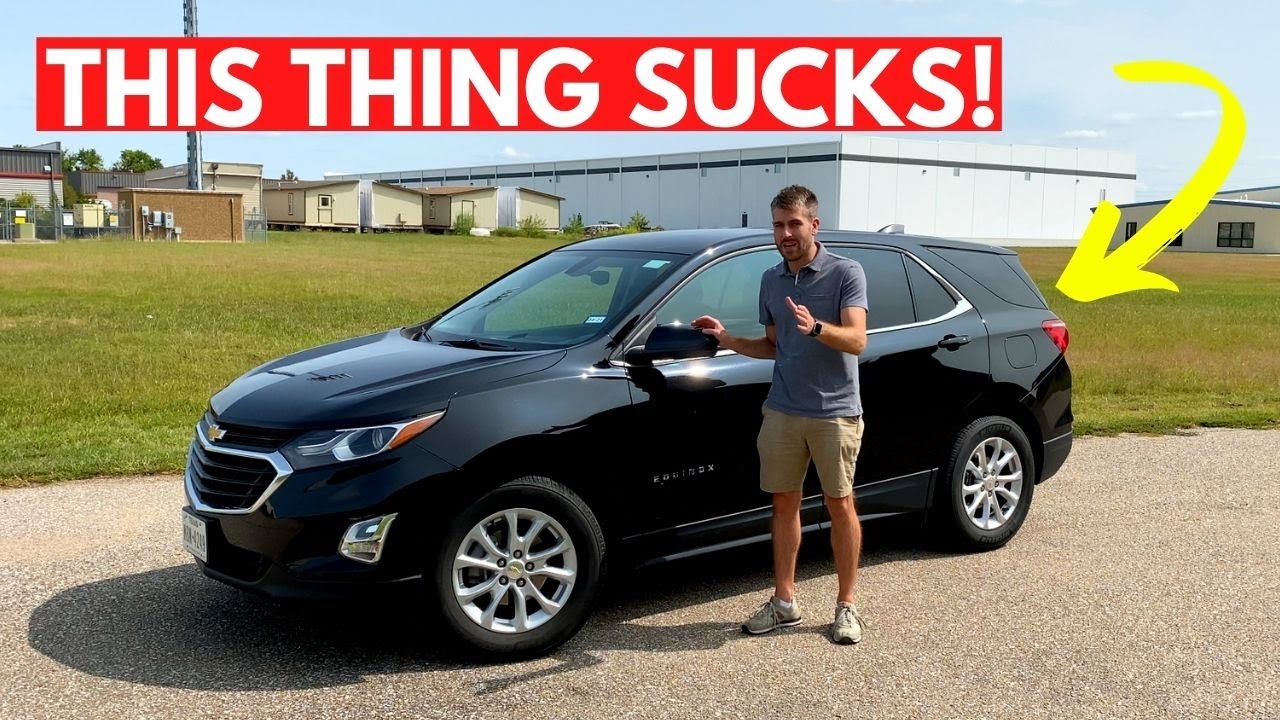
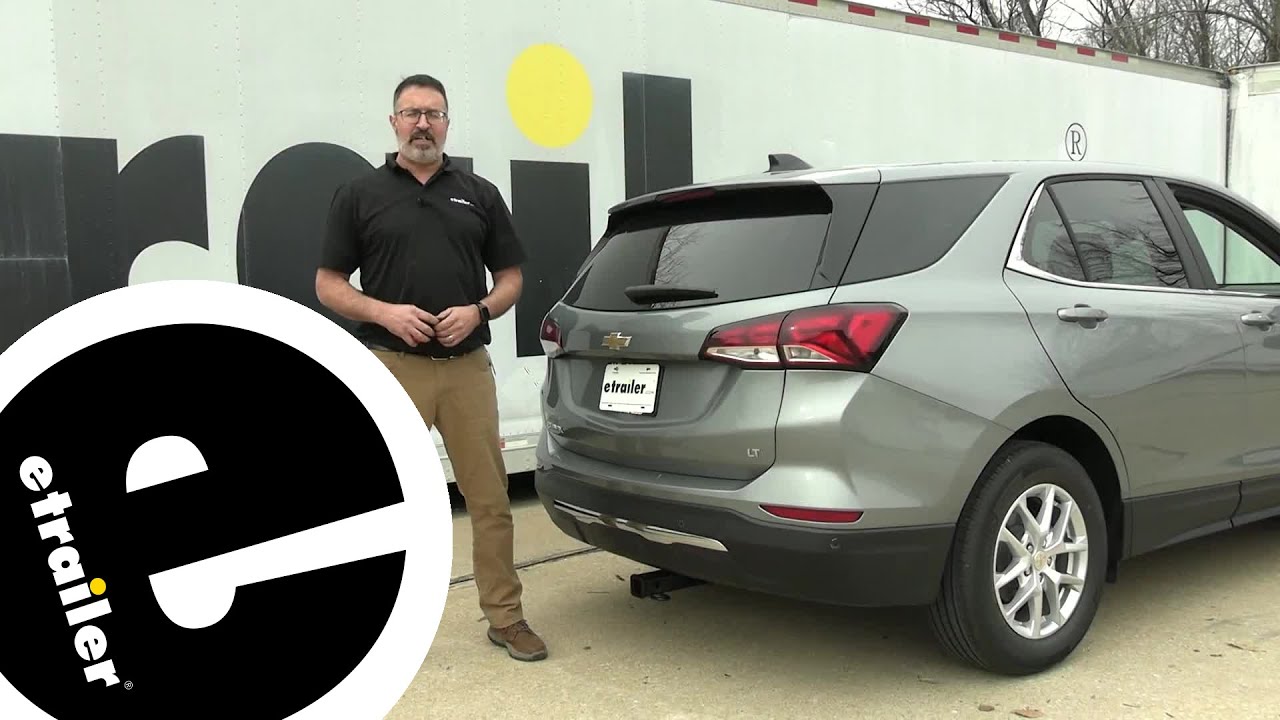
Hi, John with etrailer. Today we're taking a look at the CURT custom fit, class three receiver hitch. We have a 2023 Chevrolet Equinox. So this hitch is a two inch by two inch. It's a class three receiver. This has a black gloss, a powder coat finish.
It's got the industry standard 5/8 inch pinhole for these. This doesn't come with it. We have these, we also have the locking ones here available at etrailer. The safety chain loop on our CURT hitch are a decent size. They will accept a large heavier duty clevis type hook or the S hook style.
So as far as weight ratings go on this hitch this is a class three hitch. It has a 675 pound tongue weight rating, which is more than enough for some of these custom four by carriers. As far as towing goes, you're looking at 4,500 pound rating. Now you want to check with your vehicle's owner's manual and see which one is bigger. This hitch may be bigger than your vehicle can tow, so whichever one is lower, just go with that.
As far as clearances, we have from the ground we're gonna measure up to the inside of the sleeve here. We're looking at 11 inches. And then if we measure from the inside of our pinhole here to the outer fascia of our bumper, we're looking at six inches. So keeping those measurements in mind, especially with the ground clearance here, you're gonna wanna look for accessories that with a shank that has a rise to it it's pretty low to the ground on this. As far as the six inches with the bumper you'll be using that for anything that folds up.
As far as installation on this hitch it was a fairly straightforward, easy install. There's nothing that you really have to cut and it weighs 42 pounds. You might want to grab a friend and if you have basic hand tools, a torque wrench and maybe a deburring tool or file just to open up some clearances under there. That's it. So if you wanna see how we did it we're about to take it inside. The very first thing we're gonna do is we're gonna loosen up our fascia back here. It's held in place by two T15 bolts. What that's gonna do is gonna allow us to drop this exhaust down. It'll give us the clearance to get our exhaust around this. So let's go ahead and get these off right now. (ratchet whirring) Okay, so we're ready to drop the exhaust. What we're gonna do is use this cam buckle tie down strap. And if you locate your coil springs on the back up here we can just link up right to these, come under your exhaust, go over to the other side, and then tighten that up. And that will allow us to bring this down in a controlled manner. Once we have the cam buckle strap holding the exhaust we're gonna start taking off the exhaust mounts. Now in the rear of the vehicle here we've got two, one on each side, and this is a 15 millimeter bolt that has to come out. These nuts don't come out, these are weld nuts. So you want to take the bolt out. (drill whirring) That's one. (drill whirring) That's two. Now it's okay to just let this thing hang because the whole thing's gonna be coming down. And then we just repeat to the other side over here. So your back exhaust hangers taken off, it's gonna lead us back to this one right behind the muffler. If you have trouble getting yours off you can always kind of soap these up. Make it easier to get off and use a pry bar if you have to. I'm gonna take this exhaust hanger that we left on here. I'm gonna slide it forward here so it'll clear this fascia. Our next step is actually we're gonna be dropping the exhaust. We're gonna clear the rear bumper fascia right here by loosening this strap, and you may have to wiggle it around a little bit and pull down on your fascia. We're gonna have our access points here. The hitch is actually gonna install in this hole, this hole and this hole. The hardware that we get with the kit, the fish wire, this block and the carriage bolt, all have to go through this hole. And as you can see, it's not gonna fit right now. So we are gonna take a deburring tool and we're just gonna round out this hole a little bit. It's not gonna take much, but it's gonna allow us to get the hardware up inside of here. If you don't have a deburring tool, you can use a rat tail file or something like that. It's really not that much work just to open this up. (drill whirring) We got an opened up enough, and we're gonna test it. Make sure these things can slide up and we are good to go. Now we have
Повторяем попытку...
Доступные форматы для скачивания:
Скачать видео
-
Информация по загрузке: