etrailer | 2010 Chevrolet Cobalt Blue Ox Base Plate Kit: Complete Installation
Автор: etrailer
Загружено: 2020-06-25
Просмотров: 549
Описание:
Click for more info and reviews of this Blue Ox Tow Bar Base Plate:
https://www.etrailer.com/Tow-Bar-Base...
Check out some similar Tow Bar Base Plate options:
https://www.etrailer.com/base-plates.htm
Search for other popular Chevrolet Cobalt parts and accessories:
https://www.etrailer.com/vehicle/2010...
https://www.etrailer.com
Don’t forget to subscribe!
/ etrailertv
Full transcript: https://www.etrailer.com/tv-install-b...
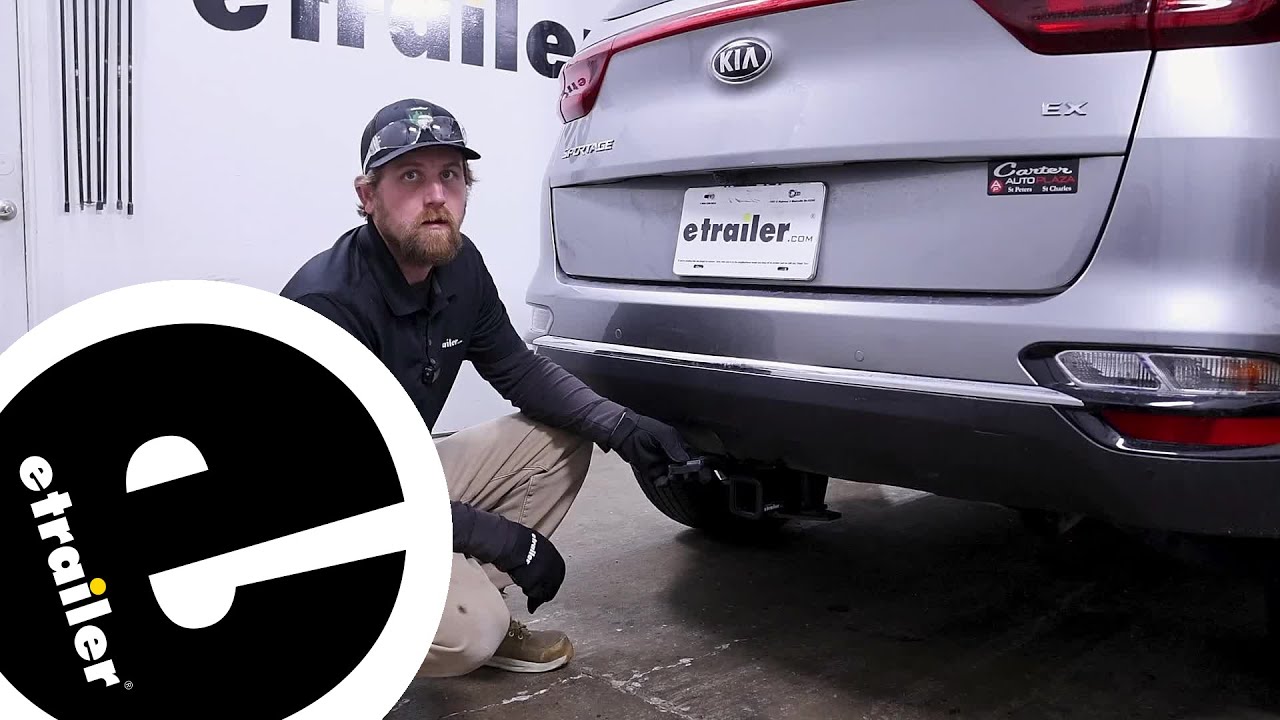
Ryan: Hey everybody, Ryan here at etrailer. Today we're going to be taking a look at and showing you how to install the Blue Ox base plate kit with removable arms on our 2010 Chevy Cobalt to flat tow your Cobalt down the road. There's going to be five main components that you're going to need, the first one being the base plate, which gives us solid connection point to hook up our tow bar toThe tow bar is going to be that second component. It's going to connect to the base plate and connect to the back of our motorhome, so that's really going to be our main connection point to whatever we're towing down the road.The third one is going to be your safety cables. Now these are going to be there as a backup connection point. If a catastrophic disconnect we're to happen, these would keep everything attached.The fourth component will be tow bar wiring.
What this is going to do is transfer the lighting signals from the back of your motorhome to the back of your Cobalt. That way, everyone knows your intentions as you're towing it down the road.The last one being a braking system. What the braking system is going to do is apply the brakes in the Cobalt whenever you apply the brakes in the motorhome. That way you can come to a more safe and predictable stop and not have to worry about the motorhome doing all the work.This is what the base plate will look like whenever you're not using it and not hooked up to the motorhome. One of the things I really like about this base plate is how it's going to look on the front of your Cobalt.
You can hardly even notice it. It's pretty much flush with the front of our bumper here. It doesn't take up a whole lot of space and just blends in really nicely.It's going to be able to give us that clean look due to the fact that it has removable arms, so whenever you are ready to hook up to your motorhome you would take your arms and connect them to the base plate. The way you would do that is push them in, you can feel it kind of click into position, push down and turn it about a quarter turn until the pins lock into the base plate. The other side, another arm works the exact same way.So this is what it's going to look like once you have your tow bar hooked up to the base plate.
It's really easy, just one pin that's more or less a quick connect, so you don't have to struggle with it. It doesn't take you a whole lot of time.Now the base plate will work with most Blue Ox tow bars and there's also quite a different. A few different types of adapters available that will allow this to pair up with other types of tow bars, so if that's your situation you can see etrailer.com to see if there's a bracket or an adapter available that will allow you to do that.The base plate is also going to give us some hooks here, and these will allow us to easily connect our safety cables to the front of our Cobalt. Overall it's going to give us a really solid and reliable connection point to hook our tow bar up to, all while maintaining a clean factory look.Now as far as the installation goes, it is going to take a little bit of time, but it is all relatively straightforward, and believe it or not, everything fits together nicely, speaking of which, let's go ahead and put the base plate on together now.To get our installation, we're going to be working on removing our front fascia. We'll open up our hood, the first thing we're going to do is take out these four plastic pushpin fasteners here that's securing our radiator cover.
The way it works, take a trim panel tool or a flathead screwdriver, pry underneath the head of the fastener, then you can pull the base out with it as well. Do that same thing to get all four of these removed.Now we move to the front of our wheel well opening. We're going to have three 7-millimeter bolts that we can remove. Once we have all these out, we're going to do the same thing to the other side of our car. Then we move to the bottom edge of our bumper just in front of our front tires. You're going to have another two 7-millimeter bolts. Again, the other side will be set up the same way, so we'll also take those out over there.Now if we move more to the center of our car, just behind the front bumper we're going to have two pushpin fasteners that's securing our fascia to the metal bumper meet. So again we'll use a trim panel tool to get those removed and set to the side
Повторяем попытку...

Доступные форматы для скачивания:
Скачать видео
-
Информация по загрузке: