Vauxhall Vivaro: Solving Multiple Faults Step-by-Step
Автор: O'Rileys Autos
Загружено: 2025-07-18
Просмотров: 9141
Описание:
Vauxhall Vivaro Troubleshooting: Solving Multiple Faults Step-by-Step
Ever faced a vehicle with a laundry list of problems? This post breaks down how to diagnose and fix a Vauxhall Vivaro with several fault codes. It's about getting to the root of the problem, not just masking the symptoms.
Decoding Fault Codes: The Starting Point
A scan using the Launch X431 Euro tool revealed these codes:
32002A: Downstream NOx sensor fault. (This sensor monitors nitrogen oxide levels in your exhaust.)
200292: Particle filter clogged. (The DPF traps soot to reduce emissions.)
226322: Boost pressure too high. (Relates to the turbocharger system.)
Preheating fault.
Inlet air circuit at maximum.
Particle filter outside tolerances.
P2002-92 P2263-22
Airflow and Boost: Digging into Live Data
First, let's look at airflow and boost pressure. Key readings included:
Inlet air temperature.
Manifold air temperature.
Boost pressure.
Upstream pressure.
The upstream pressure was a bit high. What could be causing that?
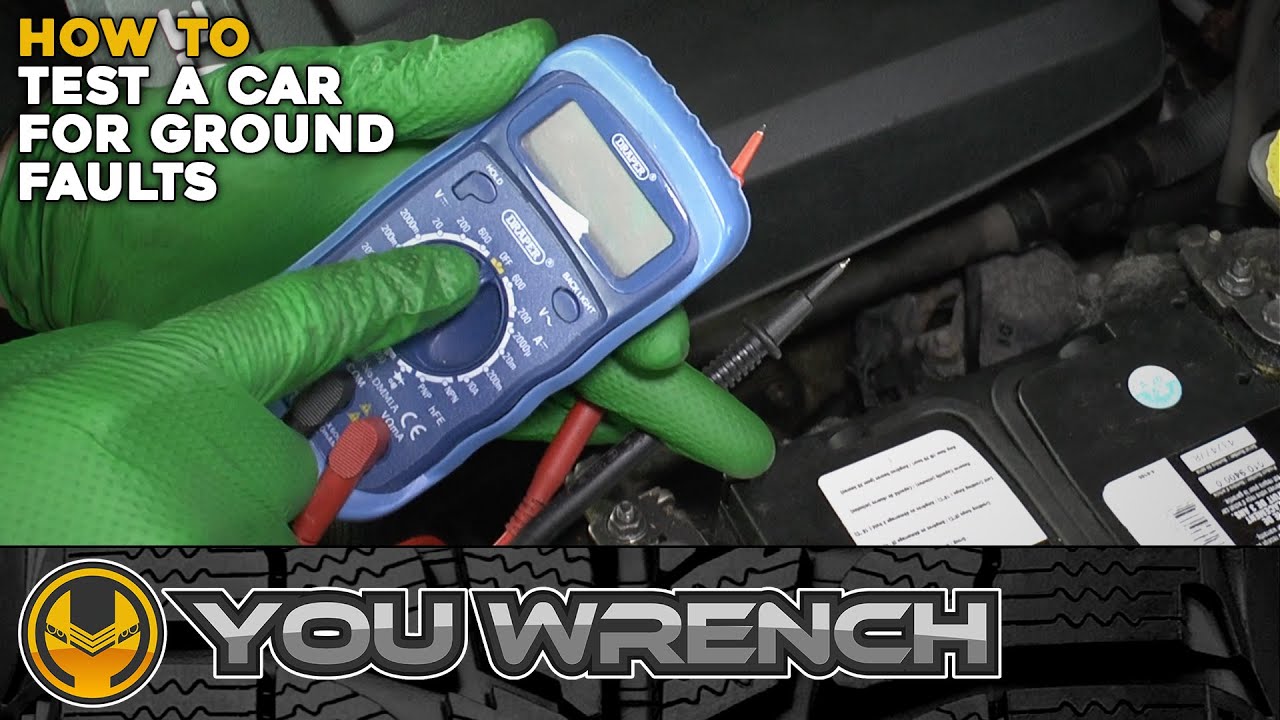
Upstream and MAP Sensors: Time to Investigate
The upstream and MAP (manifold absolute pressure) sensors were likely culprits. Disconnecting the upstream sensor changed the readings. Plugging in a known good sensor gave a different result. Visual inspection showed corrosion on the old sensor.
Blocked Pressure Pipe: Clearing the Way
Next, the pressure in the pipe was tested. It was blocked. A cable on a drill was used to remove carbon buildup. Then, DPF cleaner was added to dissolve what was left. After a few tries, the pipe cleared.
Boost Leak: Smoke Signals
Black soot around the engine can mean leaks. A smoke test pressurized the intake. Smoke poured from a split in a plastic pipe. The split was big enough to push a finger through!
Action Plan: Prioritizing Repairs
Here's the battle plan:
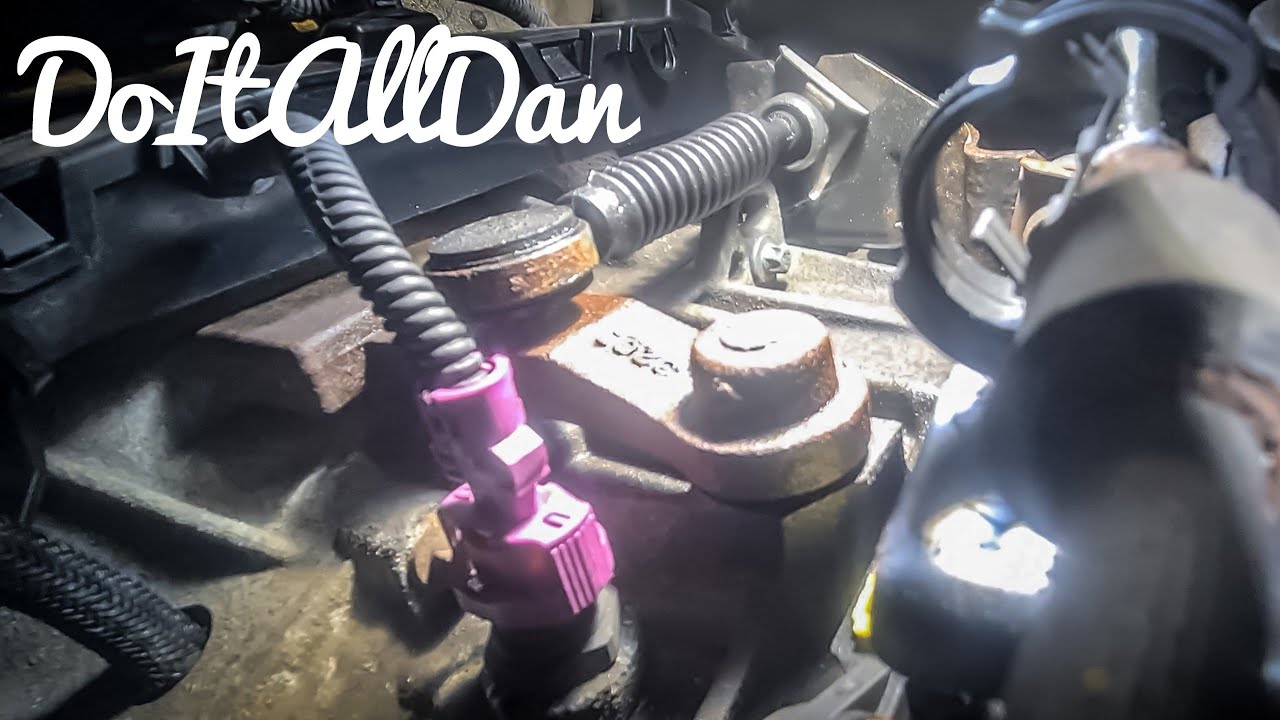
1. Replace upstream pressure sensor.
2. Clean DPF (diesel particulate filter).
3. Change glow plugs.
4. Replace NOx sensor.
5. Address the boost leak (split pipe).
6. Hold off on MAP sensor and airflow sensor until the pipe is fixed.
DPF Cleaning: Launching the Solution
A Launch DPF cleaning fluid and gun were used. The gun connected to the oxygen sensor port. A compressor forced the fluid through. The engine revs were held high to circulate the cleaner.
Glow Plug Replacement: A Guiding Light
The old glow plugs were removed. A phone was used to guide the new plugs into place. This helped with alignment.
Injector Testing: Finding the Culprit
The injectors were then tested. Injector number one was dead. The others worked, but all needed replacing as a set.
DPF Check: Measuring Success
The particle filter pressure and soot levels were re-checked. Soot levels dropped after cleaning. The inlet air circuit fault code reappeared because of the boost leak.
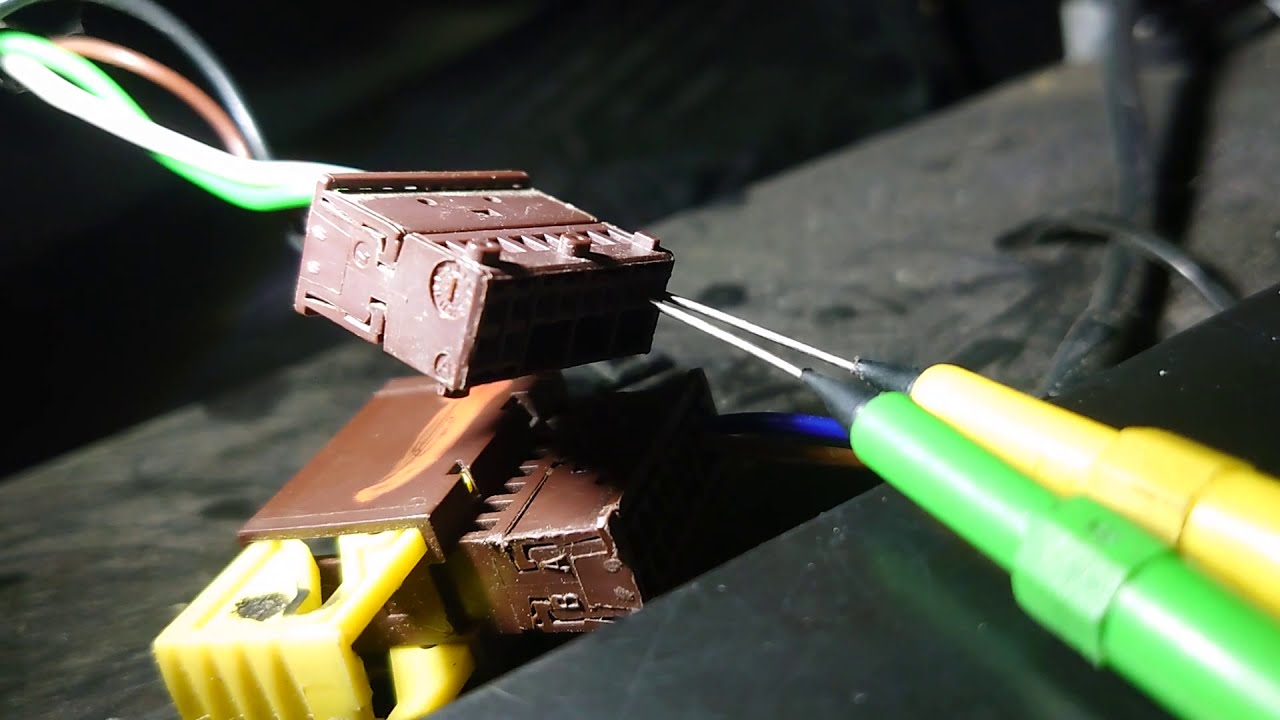
NOx Sensor: Installing the New
The old NOx sensor and control unit were removed. The voltage at the plug was tested. A good signal was confirmed. The new NOx sensor was installed.
Wrapping Up: What's Next?
The NOx sensor, glow plugs, and upstream pipe were done. The DPF was cleaned. The boost leak still needs fixing. Once the new pipe arrives and is installed, further testing can be done.
It's a good reminder that fixing vehicles is about solving the real issue and not a temporary band-aid.
Повторяем попытку...
Доступные форматы для скачивания:
Скачать видео
-
Информация по загрузке: