ycliper

Популярное

Музыка Кино и Анимация Автомобили Животные Спорт Путешествия Игры Юмор

Интересные видео

2025 Сериалы Трейлеры Новости Как сделать Видеоуроки Diy своими руками

Топ запросов

смотреть а4 schoolboy runaway турецкий сериал смотреть мультфильмы эдисон
Скачать

Step-by-step guide to 3D print an object with a magnet inside using

Автор: Jackson’s 3D World

Загружено: 2024-07-11

Просмотров: 8979

Описание: 
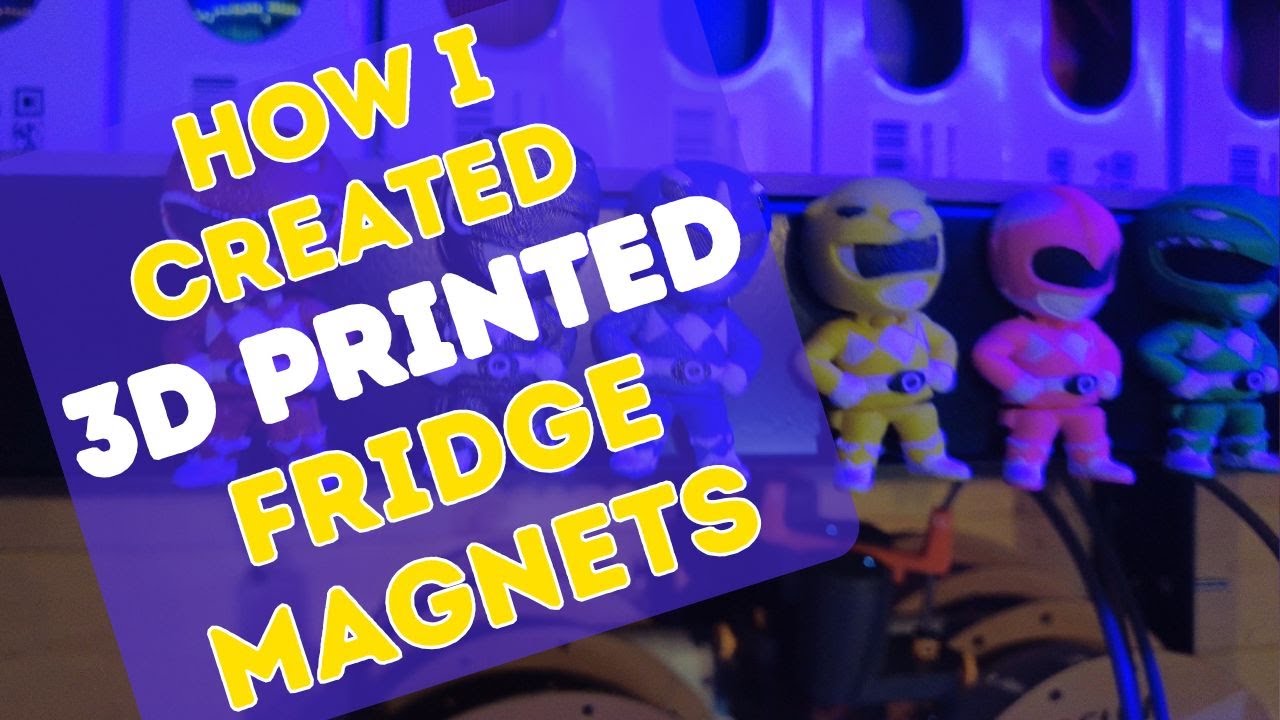
In this tutorial, I will share a step-by-step guide to 3D print an object with a magnet inside using Bambu Studio!

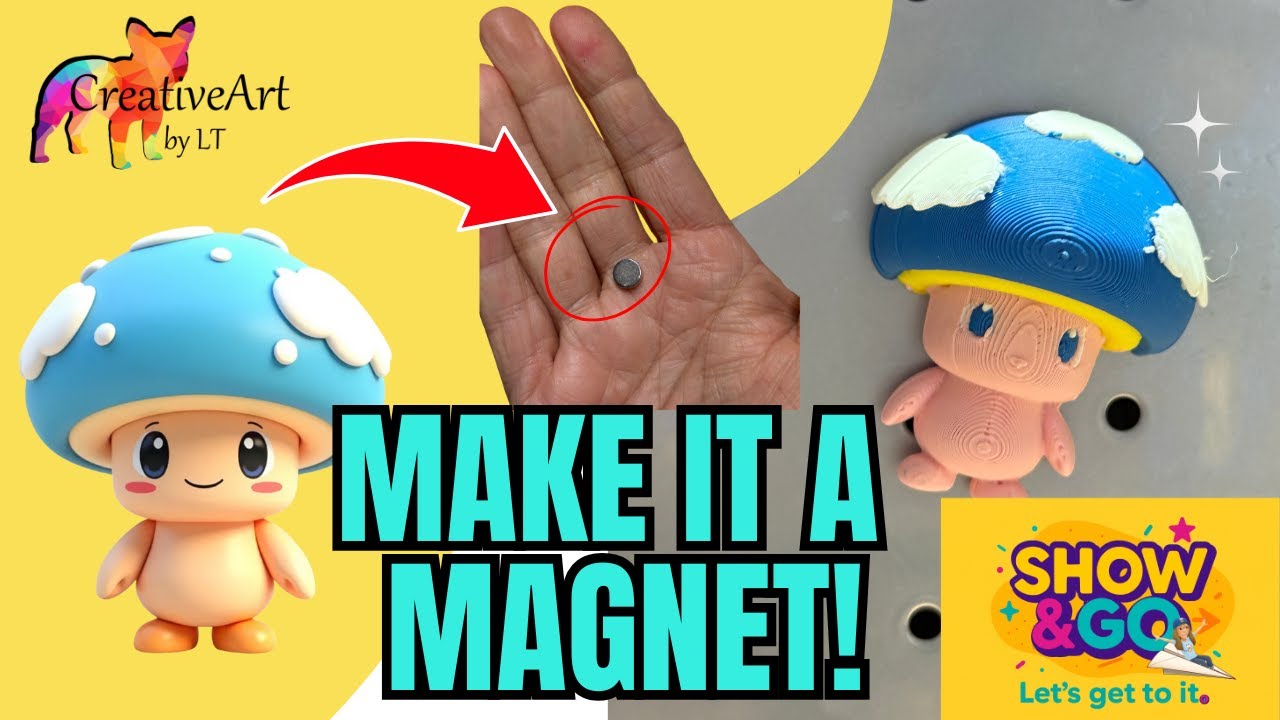
These are the magnets I got from Amazon

VSKIZ Refrigerator Magnets 50... https://www.amazon.com/dp/B0BVY5VYQY?...

Step 1: Design Your Object

Create your 3D model: Use a CAD software like MakerWorld or Tinkercad to design your object. Make sure to include a cavity or slot where the magnet will be placed.

Export the model: Save your design as an STL file, which is compatible with most 3D printing software.

Step 2: Prepare the Model in Bambu Studio

Open Bambu Studio: Import your STL file by clicking on the “Import” button and selecting your file.

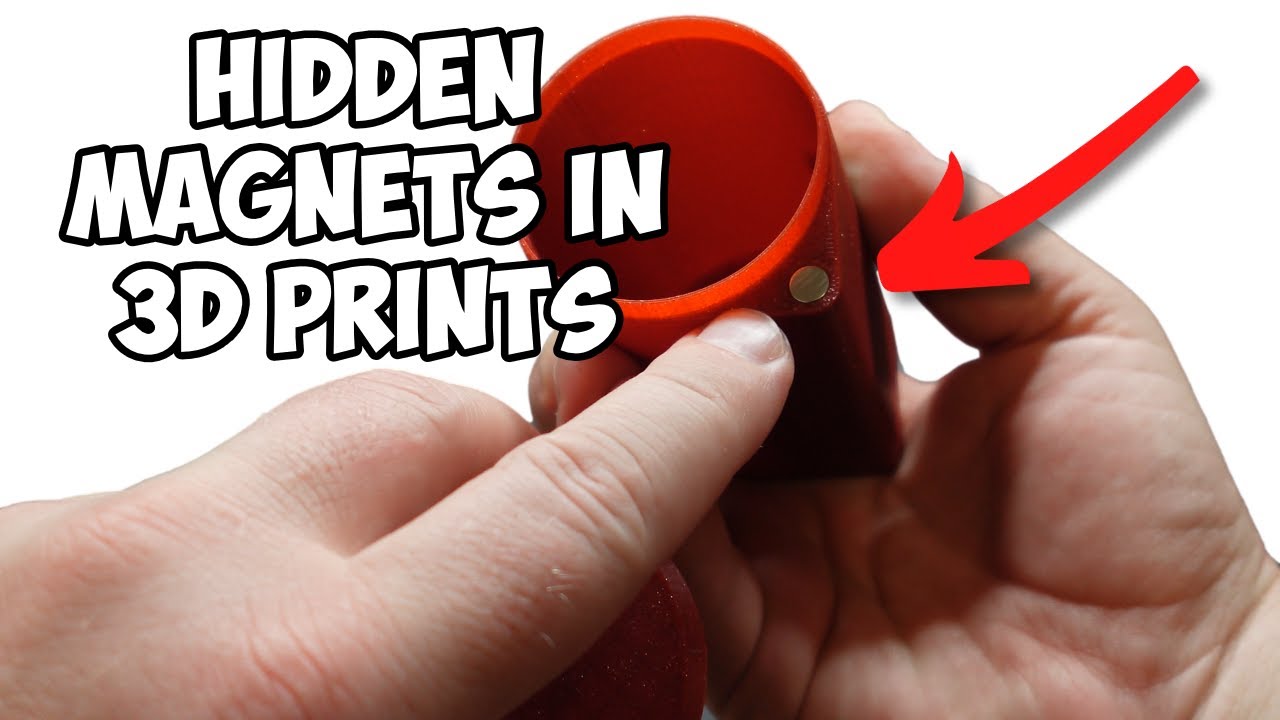
Right click the model and “add a negative part. Choose a cylinder and make it the size of your magnet.

Slice the model: Click on the “Slice” button to prepare the G-code for printing.

Add a pause for inserting the magnet:
Locate the layer where the cavity for the magnet begins.
Go to the layer view and find the appropriate layer height.
Schedule a pause at this layer by adding a pause command in the slicer settings. This will allow you to insert the magnet manually.

Save the G-code: Export the sliced file to your SD card or send it directly to your 3D printer if connected.

Step 4: Print the Object

Start the print: Load the filament and start printing as usual. The printer will follow the sliced G-code instructions.

Pause and insert the magnet: When the printer reaches the scheduled pause, it will stop. Carefully insert the magnet into the cavity. Use some glue to hold in place.

Resume printing: Once the magnet is in place, resume the print from the printer's control panel. The printer will continue to print the rest of the object, encapsulating the magnet inside.

Step 5: Finishing Touches

Remove the object: Once the print is complete, remove the object from the print bed.

Clean up: Trim any excess filament or supports if necessary.

Test the magnet: Ensure the magnet is securely embedded and the object functions as intended, such as sticking to a refrigerator if it's a fridge magnet.

Tips:
**Choose the right magnet**: Ensure the magnet fits well in the cavity and is strong enough for your intended use.
**Test pause functionality**: Familiarize yourself with the pause and resume functions on your printer before starting the actual print.
**Optimize print settings**: Proper settings can improve the print quality and ensure the magnet stays in place.

With these steps, you should be able to successfully 3D print an object with a magnet inside. Happy printing!

Не удается загрузить Youtube-плеер. Проверьте блокировку Youtube в вашей сети.
Повторяем попытку...
Step-by-step guide to 3D print an object with a magnet inside using

Поделиться в:

Доступные форматы для скачивания:

Скачать видео

  • Информация по загрузке:

Скачать аудио

Похожие видео

How to add magnets to 3D prints in 6 easy steps

How to add magnets to 3D prints in 6 easy steps

Make It A Magnet  Turn Any 3D Print into a Fridge Magnet in Bambu Studio

Make It A Magnet Turn Any 3D Print into a Fridge Magnet in Bambu Studio

3dmax效果图局部发黑怎么快速补光?定向光这样打写实又有层次感!#3dmax #3dmax建模 #3dmax教学

3dmax效果图局部发黑怎么快速补光?定向光这样打写实又有层次感!#3dmax #3dmax建模 #3dmax教学

Вам ОБЯЗАТЕЛЬНО нужно распечатать их на 3D-принтере к декабрю 2025 года.

Вам ОБЯЗАТЕЛЬНО нужно распечатать их на 3D-принтере к декабрю 2025 года.

Руководство по 3D-печати: добавление магнитов к моделям с помощью Bambu Studio

Руководство по 3D-печати: добавление магнитов к моделям с помощью Bambu Studio

От изображения к 3D-печати: добавление логотипов с помощью слайсера

От изображения к 3D-печати: добавление логотипов с помощью слайсера

Пять лучших способов добавить магниты к вашим 3D-отпечаткам!

Пять лучших способов добавить магниты к вашим 3D-отпечаткам!

Magnet Hole Tutorial in Bambu Studio

Magnet Hole Tutorial in Bambu Studio

Bambu Studio 1.10 — Модификаторы объектов

Bambu Studio 1.10 — Модификаторы объектов

Перестаньте использовать поля, сделайте это вместо этого

Перестаньте использовать поля, сделайте это вместо этого

Embedded Magnets Thanks to Flipping Normals!

Embedded Magnets Thanks to Flipping Normals!

Adding Magnet Holes to Prints in Bambu Studio

Adding Magnet Holes to Prints in Bambu Studio

ГОЛОС СЮРПРИЗ: Они звучат не так, как вы думали

ГОЛОС СЮРПРИЗ: Они звучат не так, как вы думали

10 секретных приемов 3D-печати, известных только экспертам...

10 секретных приемов 3D-печати, известных только экспертам...

Выведите свои 3D-печатные модели на новый уровень с помощью скрытых магнитов! | Как использовать ...

Выведите свои 3D-печатные модели на новый уровень с помощью скрытых магнитов! | Как использовать ...

How to Add Hidden Magnets in 3D Printed Models (Easy Tutorial!)🧲🔥

How to Add Hidden Magnets in 3D Printed Models (Easy Tutorial!)🧲🔥

Мелкое сопло, как печатает, для чего нужно. Сборка и тесты в работе, нюансы, плюсы минусы

Мелкое сопло, как печатает, для чего нужно. Сборка и тесты в работе, нюансы, плюсы минусы

Учебное пособие Bambu Studio: добавление магнитов, часть 1

Учебное пособие Bambu Studio: добавление магнитов, часть 1

How To Put Magnets Inside Your 3D Prints - Create your own 3D printed fridge magnet

How To Put Magnets Inside Your 3D Prints - Create your own 3D printed fridge magnet

Модификации Bambu AMS, которые вам НУЖНО распечатать прямо сейчас!

Модификации Bambu AMS, которые вам НУЖНО распечатать прямо сейчас!

© 2025 ycliper. Все права защищены.


  • Контакты
  • О нас
  • Политика конфиденциальности


Контакты для правообладателей: [email protected]