How to match video cuts to music beats for smooth pacing
Автор: Rexus HD
Загружено: 2026-01-25
Просмотров: 0
Описание:
How to match video cuts to music beats for smooth pacing
How to match video cuts to music beats for smooth pacing
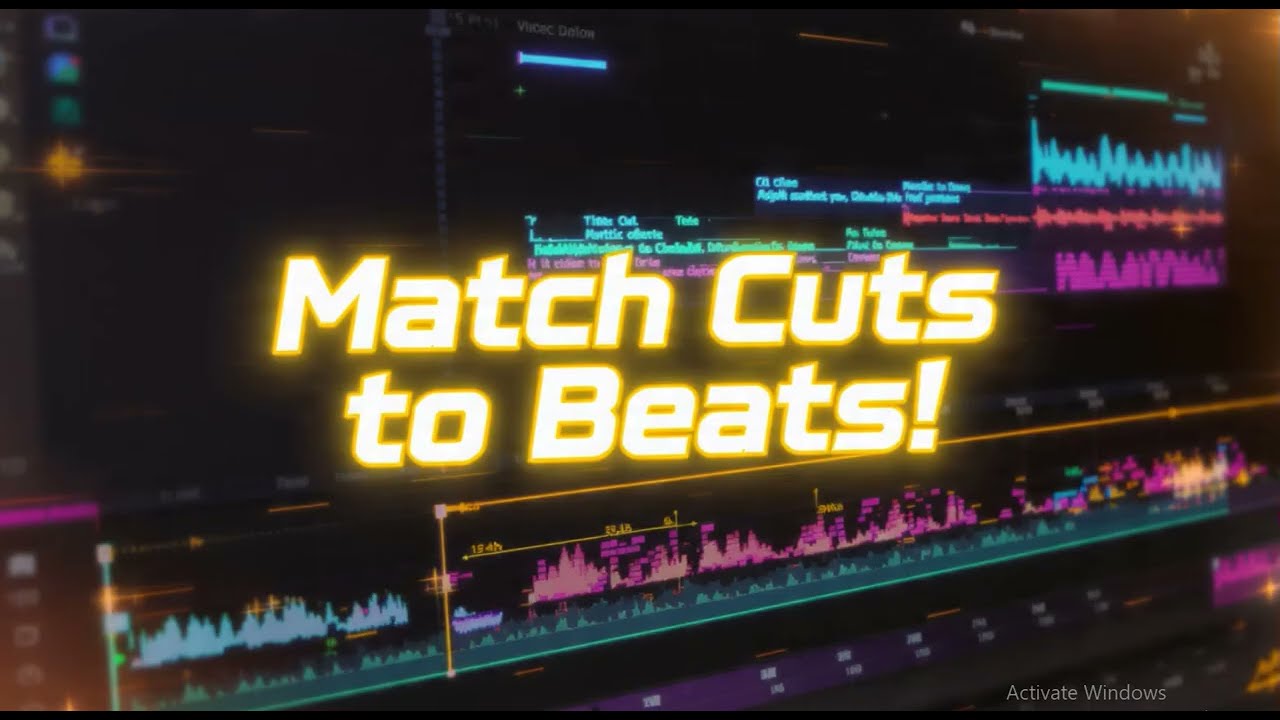
Are you struggling to make your video edits feel professional and rhythmic? This comprehensive guide shows you how to match video cuts to music beats, resolve awkward pacing issues, and get your transitions flowing smoothly. Whether you are facing off-beat clips, jarring transitions, or a lack of flow in your edits, we walk you through professional editing techniques, including identifying beat markers, using the ripple edit tool, adjusting clip duration, syncopated cutting, and utilizing waveform peaks. This step-by-step solution helps you master rhythmic editing for YouTube, Instagram Reels, and TikTok, ensuring your visuals and audio are perfectly aligned to keep your audience engaged.
In This Video We Will See How to Match Video Cuts to Music Beats for Smooth Pacing in Premiere Pro, DaVinci Resolve, and CapCut
Here Are The Steps to Match Video Cuts to Music Beats for Smooth Pacing
Method 1: Manual Beat Marking
1. Import your music track and video clips to the timeline.
2. Play the music and tap the "M" key on your keyboard to add markers on every major beat.
3. Zoom into the timeline to see the audio waveform peaks clearly.
4. Align your video cut points (starts and ends) exactly with the markers you created.
5. Trim the clips to ensure the transition happens right as the drum hits.
6. Play back the sequence to verify the rhythmic flow.
7. Done!
Method 2: Using the Audio Waveform
1. Expand your audio track to see the "spikes" in the waveform.
2. Identify the loudest peaks, which usually represent the kick drum or snare.
3. Use the Razor tool or Split function to cut your video exactly at these peaks.
4. Replace long, static shots with shorter clips that change every 4 or 8 beats.
5. Adjust the speed of your footage (Slow Motion or Time Remapping) to fill the gaps between beats.
6. Done!
Method 3: Automate to Sequence (Premiere Pro)
1. Select your music and add markers to the beats using the "M" key.
2. Select all the video clips you want to use in your Project Panel.
3. Go to the "Clip" menu and select "Automate to Sequence."
4. Under the "Placement" setting, select "At Unnumbered Markers."
5. Click OK, and the software will automatically place and cut your clips to every beat marker.
6. Fine-tune the specific frames to ensure the action matches the sound.
7. Done!
Method 4: Visual Pacing and "Cutting on Action"
1. Identify a movement in your video (like a jump, a door closing, or a hand clap).
2. Align that specific movement to land on a heavy musical beat.
3. Shorten the clips preceding the movement to build tension.
4. Use a "J-cut" or "L-cut" to let the audio lead the visual transition.
5. Review the edit without sound to ensure the visual rhythm works on its own.
6. Turn the sound back on to confirm the perfect sync.
7. Done!
Topic Covered:
How to match video cuts to music beats, sync video to audio, rhythmic video editing, smooth pacing tips, professional video transitions, editing to the beat, audio waveform editing, Premiere Pro beat sync, DaVinci Resolve music matching, CapCut beat edit tutorial, how to use markers for editing, cutting on action, video editing workflow, improve video flow, cinematic music syncing, beat detection techniques, master rhythmic cutting, video pacing guide, sync visuals with sound, best editing practices, smooth transition tutorial.
Повторяем попытку...
Доступные форматы для скачивания:
Скачать видео
-
Информация по загрузке:


