How to Trim Your Brisket Like a Pitmaster in Just 15 Minutes | Heath Riles BBQ
Автор: Heath Riles BBQ
Загружено: 2025-04-02
Просмотров: 10310
Описание:
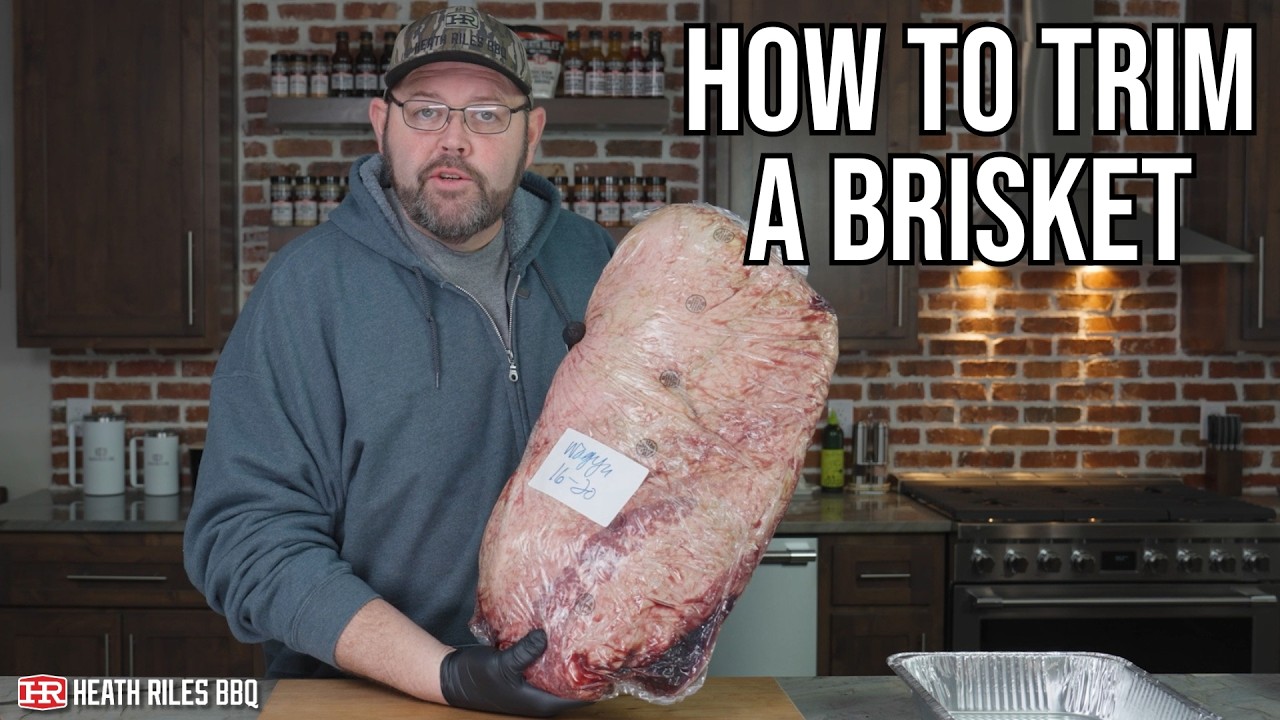
Trimming a brisket doesn’t have to be time-consuming! In this video, I’ll show you my foolproof method to trim a Wagyu brisket in 15 minutes or less. This technique works for any brisket, helping you remove fat and shape it perfectly for a flavorful, juicy cook. Whether you're competing or cooking for family, this guide will set you up for success!
Like and Subscribe! New Recipe Videos every Thursday at 3pm CT.
Shop Heath Riles BBQ: https://www.heathrilesbbq.com/collect...
Heath Riles BBQ Merch: https://www.heathrilesbbq.com/collect...
More Heath Riles BBQ Recipe Videos: / @heathrilesbbq
Recipe Blog: https://www.heathrilesbbq.com/blogs/f...
Join the "Shootin' the Que" Facebook Group: / shootinthequeheathriles
Products Used:
• Victorinox Fibrox Boning Knife https://amzn.to/428AC04
• Victorinox Fibrox Pro 12-Inch Slicing Knife https://amzn.to/4cf4Jrt
Directions:
1. Remove the packaging by taking the brisket out and patting it dry. This creates a clean surface for trimming and allows the knife to grip the meat better. Chilling the brisket in the fridge beforehand makes the trimming process easier.
2. Trim the fat cap by first identifying any large lumps of fat, including the “mohawk” hump if present, and removing them. Place the knife flush against the fat cap and gently slice to avoid cutting into the meat. Trim the fat off the edges to create a clean guiding line for the rest of the trimming. Flip the brisket over and remove any lumps of fat from the other side.
3. Square up the meat by trimming any thin or hanging flaps to give the brisket a neater appearance. Continue shaving fat, leaving enough for a good bark. Consider the fat’s aerodynamics, ensuring it will run down the brisket rather than pool on the surface.
4. Trim the top by flipping the brisket over and gently shaving excess fat. Aim for a mostly flat surface with minimal fat, removing any hard pieces or gristle. Shape the top by removing any hanging flaps of meat.
5. Round the ends by trimming a little off to help the brisket cook evenly. Round out any sharp edges for a more uniform shape.
6. Add the finishing touches by inspecting the brisket for any remaining humps, gristle, or unwanted fat. Make any final adjustments to ensure a well-trimmed brisket.
Chapters:
Intro 0:00
Unwrap and dry off brisket 0:34
Trim off mohawk and fat 1:24
Pay attention to aerodynamics 7:19
Round off the end 7:41
Flip over dry off and trim 8:30
Shape up the sides 10:32
The difference between Competition Brisket & Backyard Brisket 10:54
Continue to trim and shape brisket 11:29
Flip and trim more on the bottom 15:20
Recap 17:42
Follow Heath Riles BBQ:
Facebook: / heathrilesbbq
Instagram: / heathrilesbbq
Twitter: / heathrilesbbq
TikTok: / heathrilesbbq
Pinterest: / heathrilesbbq6901
Affiliate Disclaimer: Some of the links in this description are affiliate links where we may earn a small commission if you use them. This is no additional cost to you
Heath Riles, pitmaster
• 75x BBQ Grand Champion
• 2022 and 2024 Memphis in May World Rib Champion
• Award-Winning Rubs, Sauces, Glazes and Marinades/Injections
#heathrilesbbq #pitmasterheathriles #heathrilesbbqproducts #food #grilling #bbq #barbecue #recipes #recipe #recipevideo #simplerecipes #easyrecipes #howto #meat#BrisketTrimming #HowToTrimBrisket #BBQBrisket #BrisketTips #BBQTechniques #BBQHowTo #BrisketCutting #BBQForBeginners #MeatTrimming #BBQTutorial
Повторяем попытку...
Доступные форматы для скачивания:
Скачать видео
-
Информация по загрузке: