How To Measure Your Vehicle For Vinyl Wrapping
Автор: Rvinyl
Загружено: 2021-02-23
Просмотров: 51379
Описание:
https://www.rvinyl.com/How-to-Measure...
In this video, Justin Pate from The Wrap Institute, shows you how to measure a vehicle so you know exactly how much material to order from Rvinyl.
Check Out Our Detailed Recap Here: https://www.rvinyl.com/How-to-Measure...
Step 1: In order to figure out how much material to order for a full coverage color change, you don't have to measure every section on the vehicle, there's actually only one measurement that is needed, and that is from the passenger or driver side. The height of the rolls of color change film are sixty inches wide, so this easily covers the top and bottom of the passenger or driver side. Therefore the only measurement that needs to be taken is the length of the side from the tip of the front fender to the back of the fender.
Measuring a Sedan without Bumpers:
Once you know the length, you can plug it into this easy to use formula for color change wrap that won't need bumpers, multiply the length by 3.25.
Measuring a Sedan with Bumpers:
For a full coverage sedan, including bumpers. multiply the length by four.
Measuring a Truck without Bumpers:
If you are wrapping a truck without bumpers, then multiply it by three.
Measuring a Truck with Bumpers:
And for a truck with bumpers, then multiply it by three point seventy five.
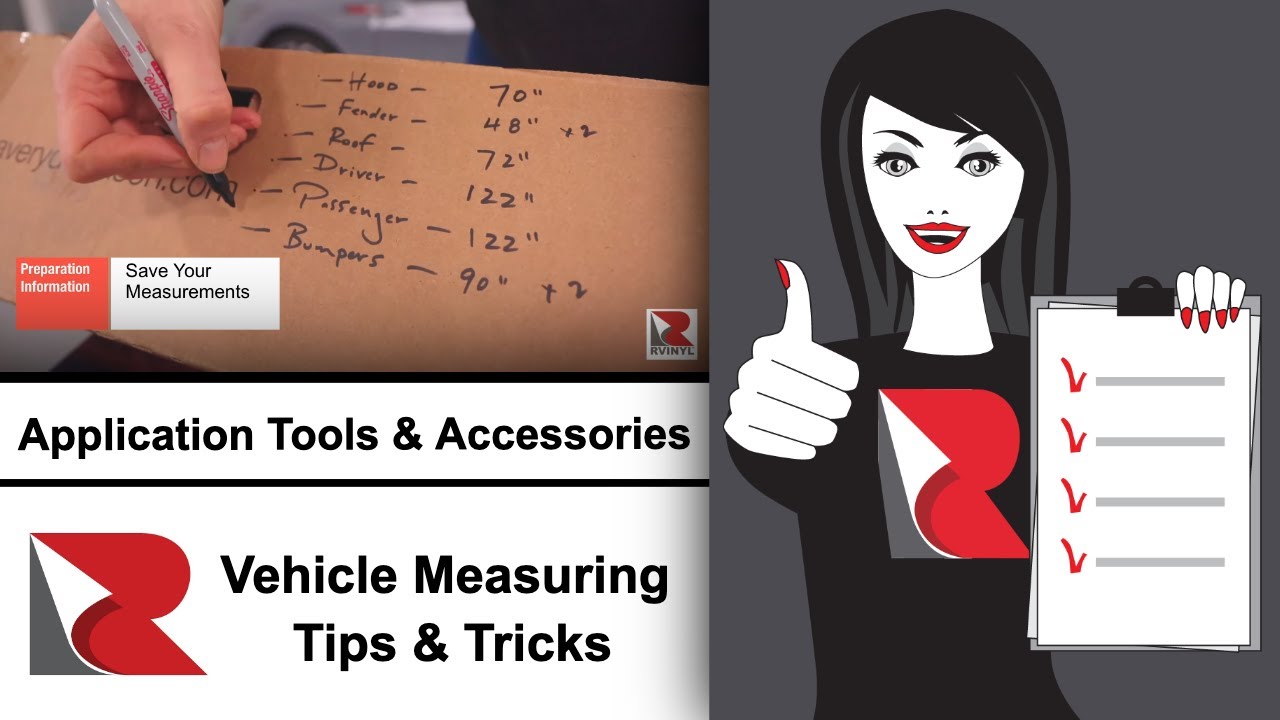
Step 2: Once you get the color change film from Rvinyl, never open it up on the ground, instead place it on a table and then write down the sections of the vehicle that will get precise measurements on the box for easy reference during the cut down process.
Step 3: Now it's time to measure each section on the vehicle and we'll begin with the hood. Always be sure to add an extra three inches to all sides on the measurements. This is called bleed. This extra material is for pulling the film during install.
Step 4: Now we get to the driver and passenger sides and always focus on the back fender area in this case, instead of giving three inches of extra bleed, give an extra 12 inches and make a mark on the fender. Now measure from this mark to the edge on the rear of the back fender. This one is exact. For bumpers, never measure from the front bumper. Instead, measure from the back bumper, as it's always wider than the front start in the middle of the back bumper, then work to the side.
Step 5: Be sure to write down all the measurements and mark the ones that can be cut in half, which in this case are the front fenders and the back bumpers, and now it's time to cut the panels into sections to begin this process.
Step 6: Always keep the material in the box and on the core tube as it can be easily rolled out of the box. Roll the film with the liner side facing down so the material doesn't get scratched and pull to the end of the measuring guide.
Step 7: Roll the panel up and secure it with masking tape on both sides, then label the panel with a dry erase marker, never set the panel on the ground, but instead place it in a safe area like inside the car.
Step 8: Once cut, roll the two panels up, one is for the driver's side and the other is for the passenger side. While still focusing on the front fenders, take the piece to the fender and always make sure that the logo is facing up on the liner before the next step.
Step 9: Secure the panel onto the fender with magnets, then mark the area where the panel won't be needed, like the front bumper and on the wheel. Now cut the material away with the backing paper on using the Snitty.
Step 10: For the bumpers, both front and back, the protocol is very similar to the front fenders secure, the main panel on the side of the car folded in half, then cut this panel in half with a Snitty, then roll the panels up safely and store them inside the car.
Step 11: Cut this film safely away with a Snitty and save this material for door handles and maybe even mirrors. Now move to the front and be sure to give an extra two to three inches of bleed during this setup. Using a dry erase marker, feel for the body line at the top of the windows and mark directly below this.
Step 12: When cutting the panel into sections, keep the rocker panel area off the ground by rolling it up in stages, then secure this to the back fender with a magnet before continuing on to the upper section.
Step 13: Move the panel back so the door has three inches of extra bleed on this side towards the back fender, check the bottom for full coverage.
Step 14: Roll the back door, panel up and secure it to the body with a magnet. Then simply shift the front door panel back so you have extra bleed, three inches on the back door and now you have three inches of extra bleed at the front and you're good to go roll this panel up, secure it to the body with the magnet, take all the magnets away, and now it's time for the wrapping process to begin.
Final Tip: Take a picture of the moments to save for another round in the future.
#Rvinyl #JustinPate #HowToWrap
Повторяем попытку...
Доступные форматы для скачивания:
Скачать видео
-
Информация по загрузке:


