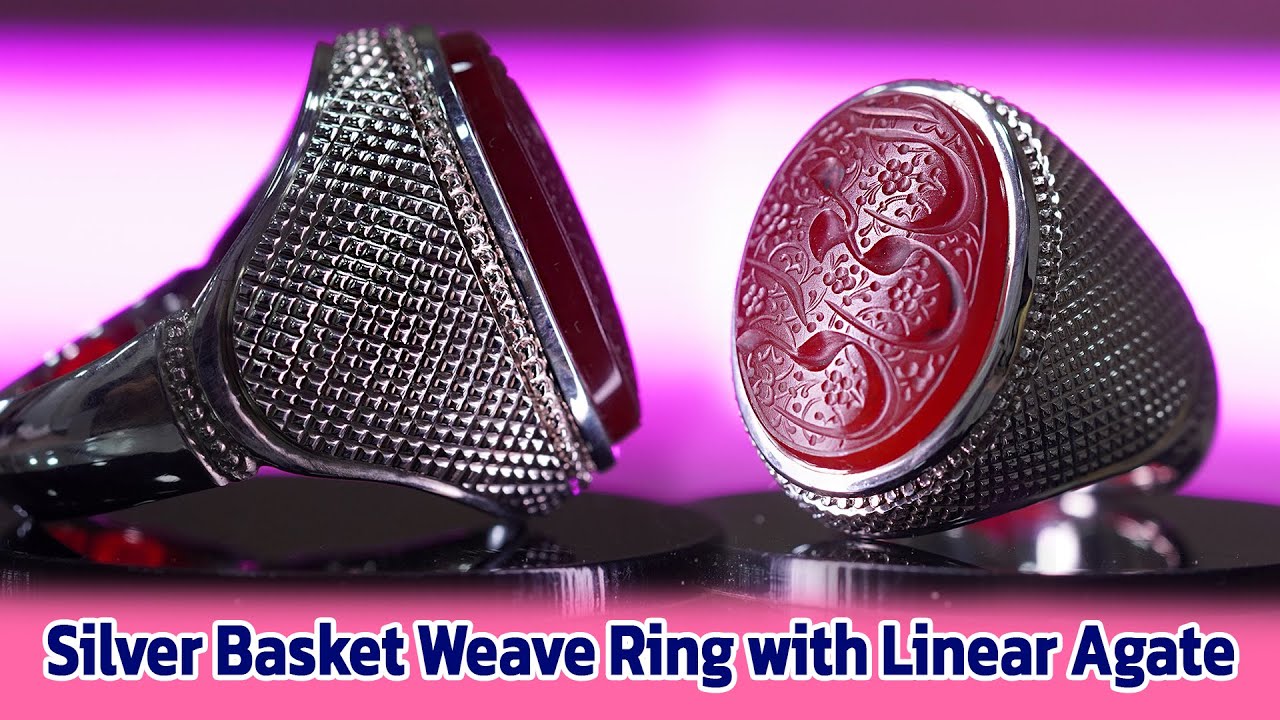
Silver Basket Weave Ring with Linear Agate | Career Story Jewelry
Автор: Career Story
Загружено: 2025-12-16
Просмотров: 424
Описание:
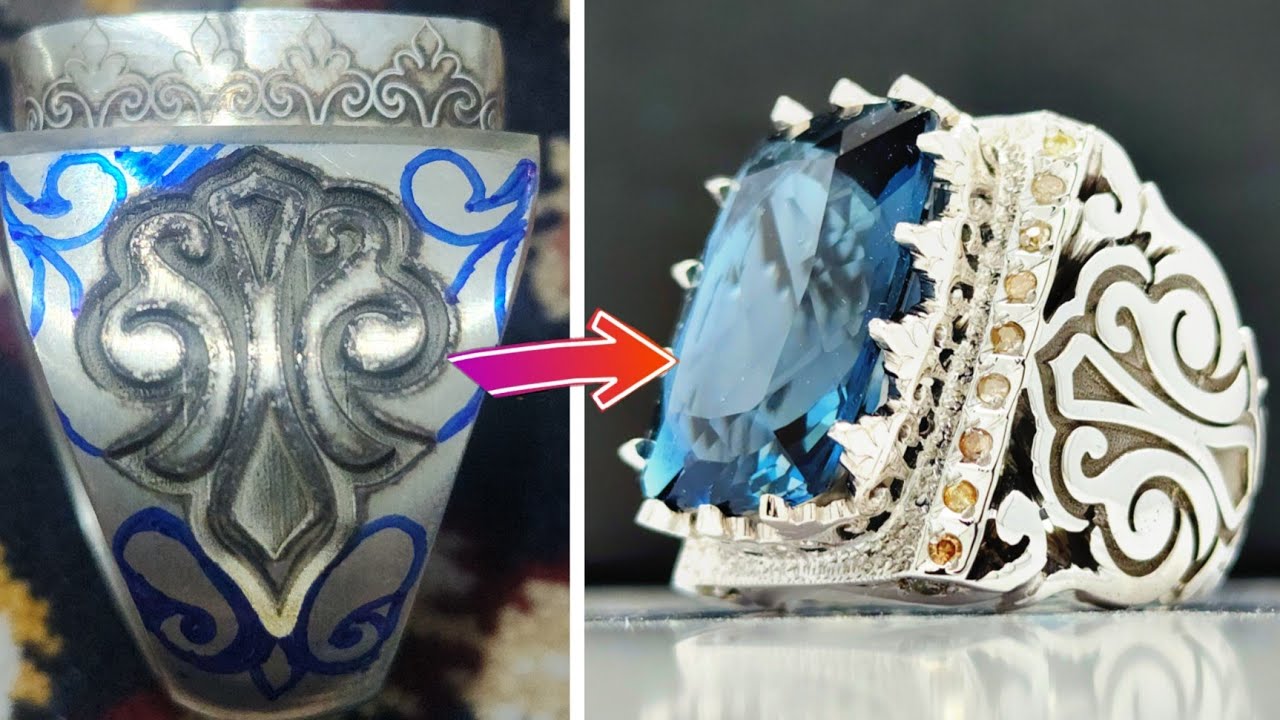
Discover the mesmerizing intersection of handwoven silver basketry and the striking linear patterns of banded agate. This tutorial guides you through creating a textural masterpiece where organic metalwork meets geological art.
/ @careerstory04
tel.me/DejaVu_Co
40g of 925 sterling silver (sheet, wire, casting options)
Medium silver solder & flux
Liver of sulfur for patina
Essential Tools:
Jewelers saw with 3/0 blades
Basket weave pliers (specialized for uniform bends)
Ring mandrel & nylon hammer
Soldering setup with heat control
Polishing wheels (multiple grits)
Agate burnisher & bezel tools
Digital calipers & angle guide
🔍 PHASE 1: LINEAR AGATE UNDERSTANDING
Stone Characteristics:
Banded Formation: Natural parallel lines from mineral deposition
Pattern Types: Straight, curved, or angled banding
Optimal Selection: Choose stones with clear, contrasting lines
Orientation Strategy: Align bands to complement weave direction
Preparation Protocol:
Cleaning: Ultrasonic clean to reveal true banding
Inspection: Check for fractures along band lines
Measurement: Record at 3 points for precise bezel fit
Sealing: Apply stone sealer if porous
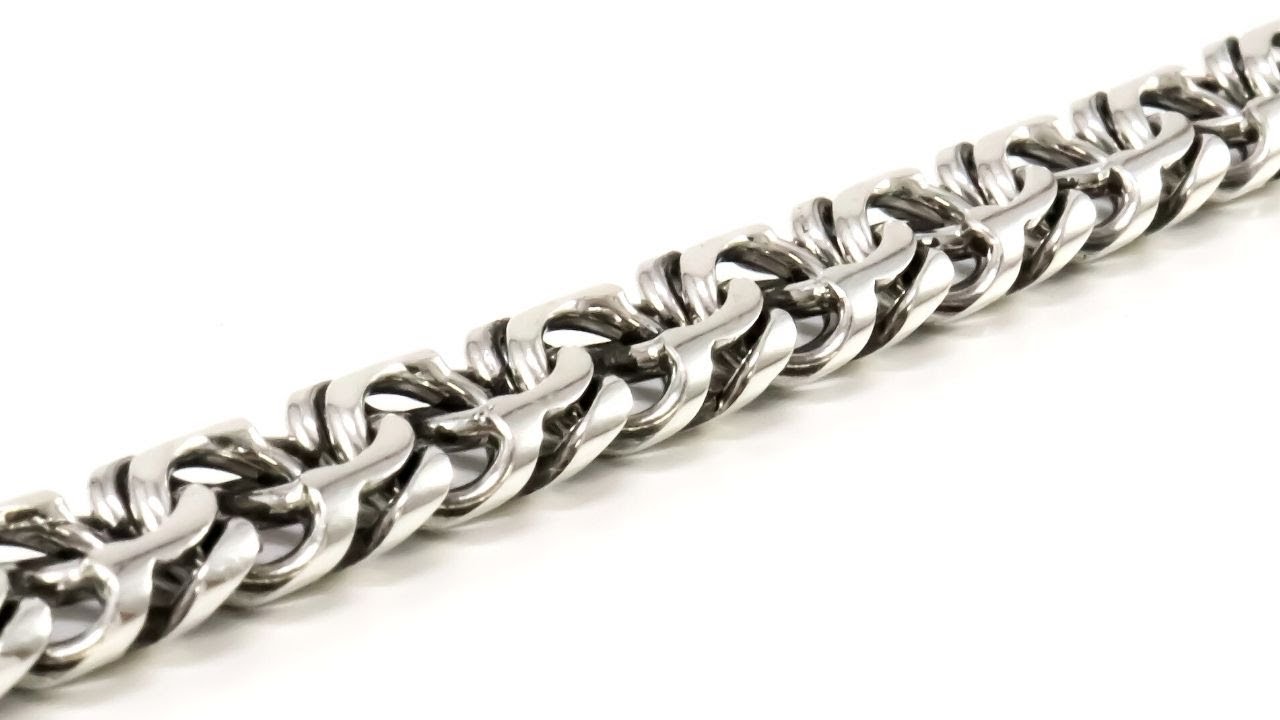
⚙️ PHASE 2: BASKET WEAVE SILVERWORK
Design Mathematics:
Weave Ratio: Silver strip width : thickness = 3:1
Pattern Repeat: Every 4 over 4 under for balanced look
Spacing Formula: Band width ÷ 8 = gap between weaves
Weaving Process:
Step 1: Base Strips Preparation
Cut 8 vertical strips: Length = band height + 10mm
Width: 2mm each, thickness: 0.6mm
Anneal thoroughly for flexibility
Step 2: Horizontal Weaving
Cut 12 horizontal strips: Length = band circumference + 20%
Weave pattern: Over 2, under 2 (adjust for desired density)
Temporary glue to maintain alignment
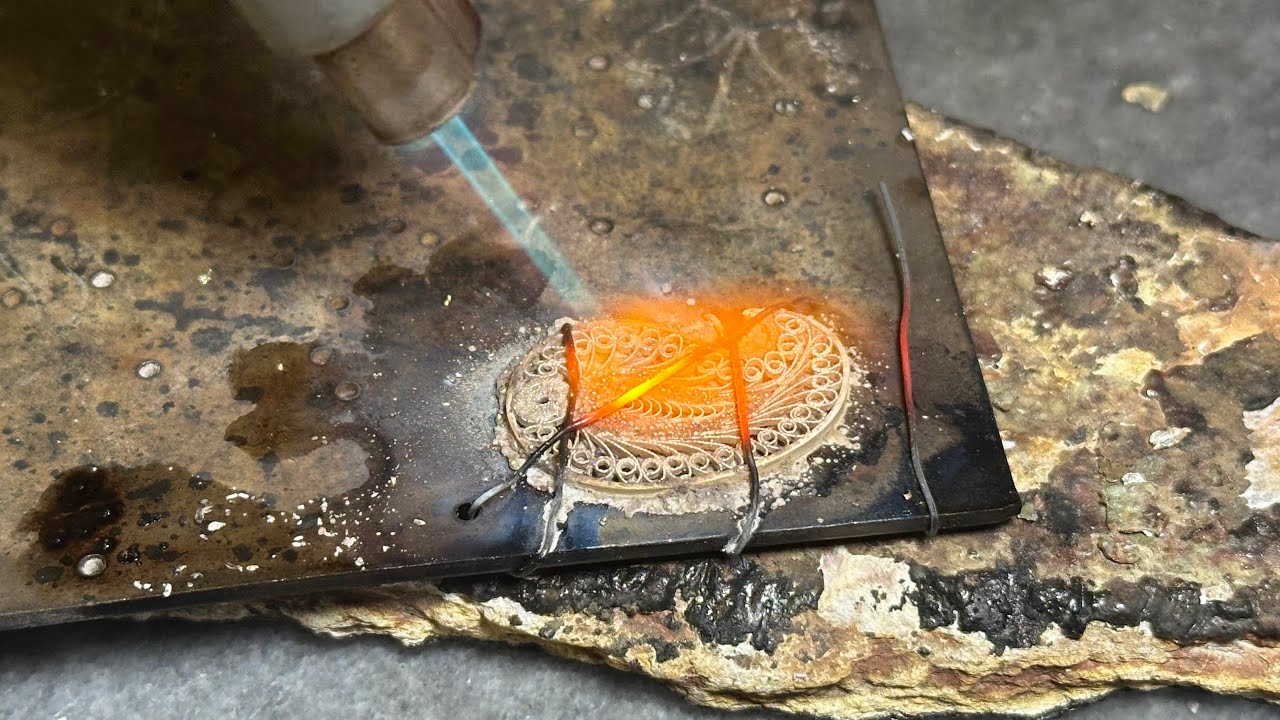
Step 3: Structural Soldering
Tack solder at 4 cardinal points
Full solder along all intersections
Trim excess ends flush
File smooth for comfort
Step 4: Bezel Integration
Create custom bezel to match stone oval
Solder to woven base with minimal heat
Reinforce with interior support ring
🎯 CRITICAL MEASUREMENTS:
Weave opening size: 2.5mm × 2.5mm squares
Bezel wall height: Stone height + 1mm
Total band width: 10-12mm (substantial presence)
Weight distribution: 60% below center line for stability
⚠️ WEAVE-SPECIFIC CHALLENGES & SOLUTIONS:
Problem: Uneven weave tension
Solution: Use tensioning jig during assembly
Problem: Solder filling weave gaps
Solution: Use paste solder with pinpoint application
Problem: Pattern distortion during setting
Solution: Set stone before final weave tightening
🔨 PHASE 3: STONE SETTING FOR LINEAR AGATE
Banding Alignment Technique:
Light test: Find optimal band visibility angle
Marker lines: Indicate band direction on bezel
Rotational fitting: Test 4 positions before final setting
Setting Protocol:
Bezel preparation: File interior to exact stone contour
Test fitting: Should drop in with 0.1mm clearance
Preliminary setting: Secure at 12 and 6 o'clock
Final setting: Work around circumference evenly
Burnish polish: Use agate tool along bezel edge
Safety Considerations:
Never force stone into bezel
Support entire base during setting
Check for pressure points along band lines
Clean immediately after setting
✨ PHASE 4: PATINA & POLISHING FOR CONTRAST
Selective Patina Application:
Weave darkening: Liver of sulfur in weave recesses
Bezel highlighting: Polish bezel top to bright shine
Band contrast: Oxidize band interior for depth
Polishing Schedule:
Stage 1 - Rough Cleanup (20 mins):
400-grit abrasive wheels
Remove all solder residue
Smooth sharp weave ends
Stage 2 - Surface Refinement (30 mins):
800-grit felt wheels
Even out weave surfaces
Prepare for patina
Stage 3 - Contrast Creation (40 mins):
Apply patina to entire piece
Polish raised areas with 3000-grit
Highlight bezel with polishing compound
Final buff with soft chamois
Special Techniques:
Directional polishing: Follow weave pattern
Differential finishes: Matte weave vs shiny bezel
Edge softening: Round all internal edges
Final inspection: Under 10x magnification
🎨 DESIGN VARIATIONS:
Tight weave: Small openings for formal look
Loose weave: Larger openings for casual style
Mixed metals: Copper accents in silver weave
Geometric patterns: Diamond or hexagonal weaves
💡 PROFESSIONAL TIPS:
Weave on slightly larger mandrel - shrinkage occurs
Use anti-flux on areas needing no solder
Plan pattern repeats around stone center
Document weave pattern for consistency
⚡ TIME MANAGEMENT GUIDE:
Day 1: Weaving foundation (5-6 hours)
Day 2: Structural assembly (3-4 hours)
Day 3: Stone setting & finish (4-5 hours)
🔧 TOOL CARE SPECIFICS:
Clean weave pliers after each use
Store silver strips in anti-tarnish paper
Maintain consistent soldering temperature
Regularly sharpen cutting tools
#silverring
#traditional
#making
#mensjewellery
#handmade
Повторяем попытку...
Доступные форматы для скачивания:
Скачать видео
-
Информация по загрузке: