How to Find a Leak in your AC System using a UV Dye
Автор: 4DIYers
Загружено: 2021-09-26
Просмотров: 29124
Описание:
How to find a leak in your AC system. For this I’ll be using the 2001 Toyota Tacoma as an example however, this can be applied to any vehicle. Over time, with age seals or components will fail, eventually causing a leak for refrigerant to escape from your vehicle’s AC system. When the system is low on refrigerant, it’ll either work poorly, or if enough leaks out, your AC won’t work at all. First is adding a dye to the system, this will help pinpoint the leak. #OEMTOOLS #ToyotaTacoma #HVAC
OEMTOOLS 24648 Rechargeable Multi-Head Work Light Set: https://www.mobiledistributorsupply.c...
Website: http://4diyers.com
Patreon: / 4diyers
Facebook: / 4diyers
Twitter: / 4diyers
Instagram: / 4diyers
Tumblr: / 4diyers
Pintrest: / 4diyers
Tools/Supplies Needed:
-dye
-recharge tool
-UV light
-yellow safety glasses
Chapters:
00:00 Intro
00:30 Locating the Charging Port
00:51 Refill Tool & Dye
01:26 Injecting Dye into the System
02:46 Tools Used for Finding a Leak
03:21 Finding the Leak
Procedure:
The system is filled through the low-pressure port on the ac system which is found under the hood. It’s the smaller port and should be equipped with a cap that may be labeled with an “L” meaning low-pressure side. Inside there is a Schrader valve, you’ll need a special tool to fill up the system.
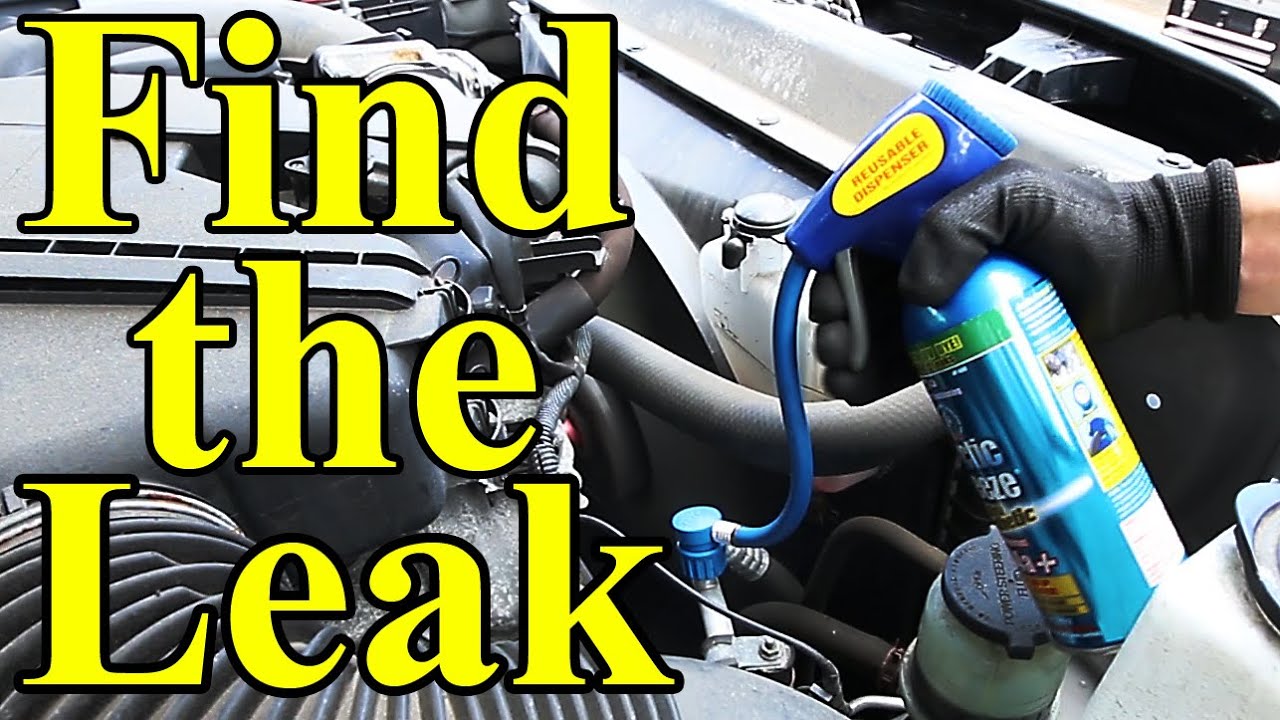
This is a refill tool, typically found in a recharge kit. This tool consists of a quick disconnect that only fits on the low-pressure side, a gauge to monitor the pressure in the system, and a valve with a can seal break. As for the refill, there are dyes available to inject into the system and this will be labeled on the can. It’s always important to shake the can before use. The valve has a punch that is operated by the handle, ensure it’s fully retracted before screwing on the can. Then screw on the can.
Start the engine. Then activate the AC system on the coldest setting. The AC compressor may not turn on if it’s accessibly low. As long as the rest of the system is in proper working order, once it has enough pressure, the pump will cycle.
Safety glasses are highly recommended as refrigerant can cause damage to your eyes. Clip on the recharge too to the low-pressure port on the ac system. Turn the valve in to pierce the can. Slowly open the valve and monitor the gauge.
This may take a few minutes, shaking the can a little does help when refilling the system.
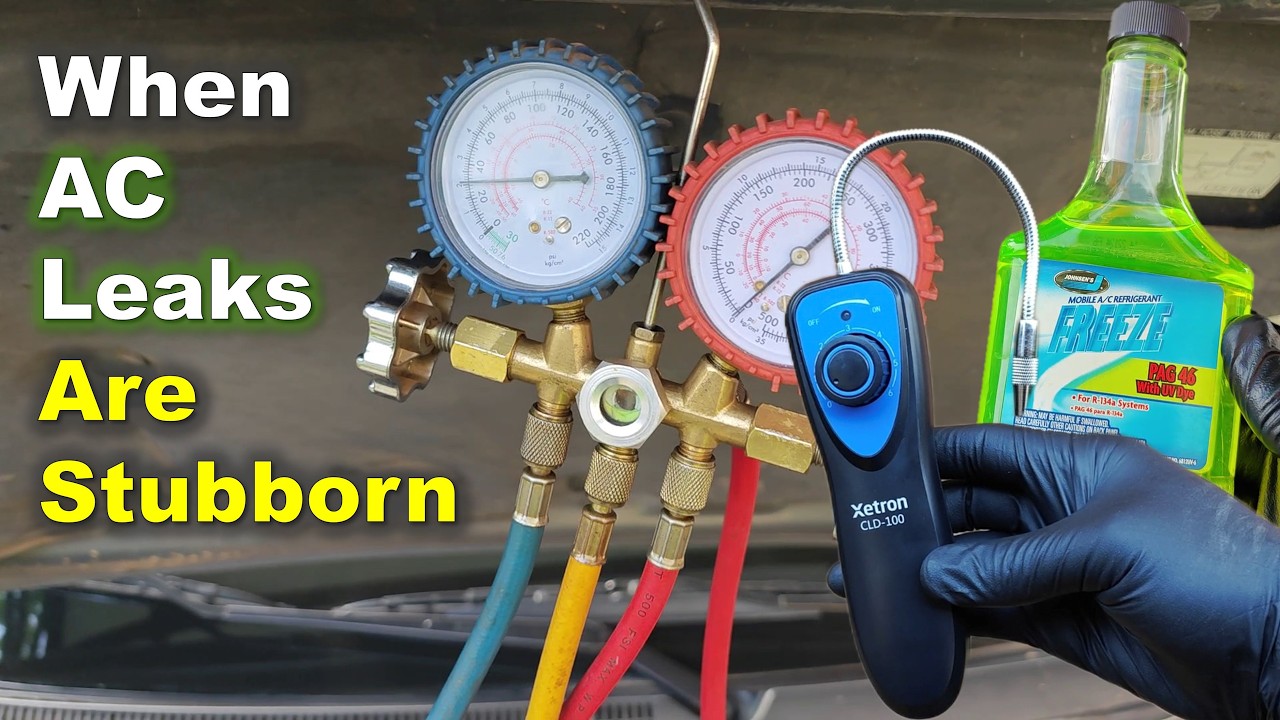
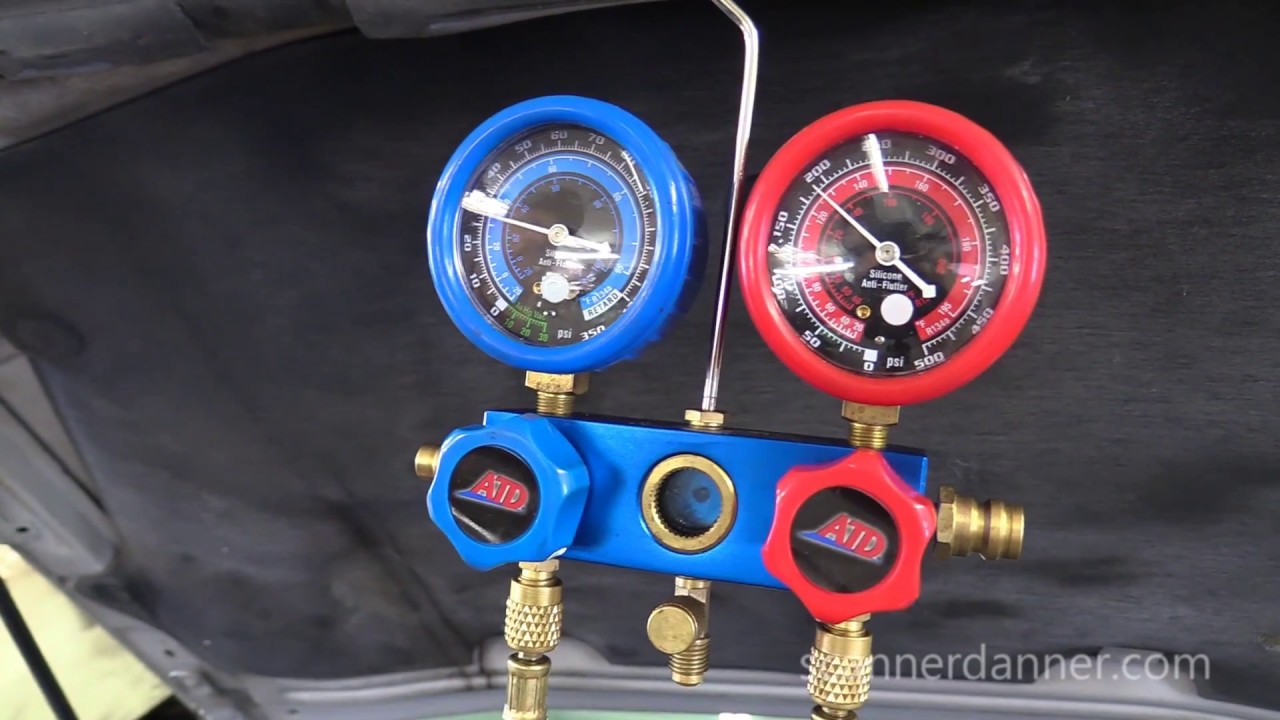
Monitor the gauge, keep the pressure in the blue area, this is the safe zone. Depending on your recharge tool, the colors may vary on what is an acceptable pressure range and what isn’t. It doesn’t have to be full, but enough to operate the pump and recirculate the dye where it’s able to highlight the leak.
Once done, close up the valve and then remove the recharge tool.
After refilling it, you’ll want to take some wax and grease remover on a Q tip and clean inside the charge port to remove any dye so we don’t have flash results. Finally, reinstall the cap.
Depending on how bad the leak is, you may need to run the system anywhere from an hour to a few days and check back.
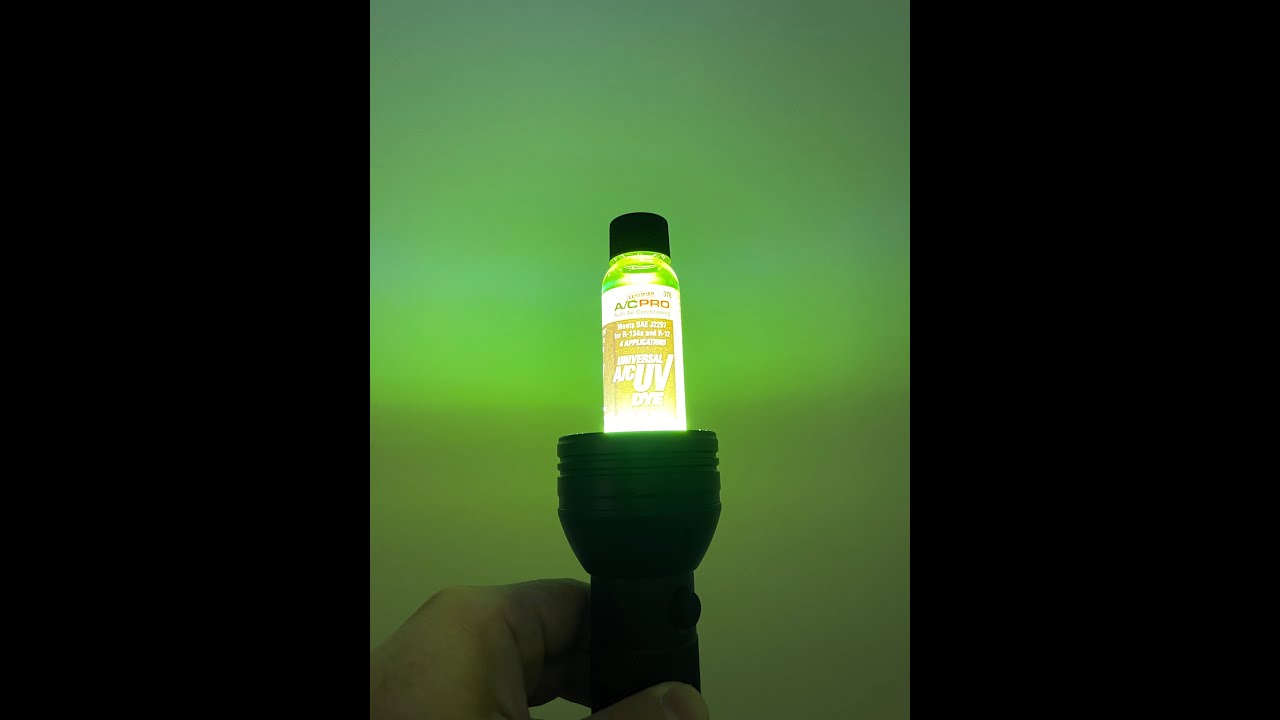
As for finding the leak, you’ll need yellow safety glass as you’ll be unable to see the dye without them.
Beyond the safety glasses, you’ll also need a UV light. For this, I’m using my OEMTOOLS 24648 rechargeable multi-head work light set.
This needs to be done in a darker area, at night is usually the best option. Make sure there are no other lights, then turn on the UV light. Inspect all areas of the engine bay where the AC lines are located, compressor, condenser, dryer, and even the evaporator if it’s easier to access. To access the condenser, removing the grill may make the inspection process easier as this is a common component for developing a leak from a stone impact. You’ll be looking for a fluorescent area where the dye has leaked out.
The leak on this system was the low-pressure port, I could see the dye both inside the port and on the inside of the cap. Looking at the port without the safety glasses, you’re unable to see the dye leak. However, if I place the safety glasses in front of the camera lens, you can easily see the leaking area. This would be the Schrader valve is leaking.
After the leak has been found, then is taking the appropriate steps for the repair. In this situation, I had to replace the Schrader valve.
Thank you to all those who watch my videos and support my content. Don't forget to subscribe to my channel for future tutorial videos and like my video if you found it helpful. New videos are always being uploaded every week!
© 4DIYers 2013
All Rights Reserved
No part of this video or any of its contents may be reproduced, copied, modified or adapted, without the prior written consent of the author.
Повторяем попытку...
Доступные форматы для скачивания:
Скачать видео
-
Информация по загрузке: