How to solve upgraded storage problems on Steam Deck
Автор: Rexus HD
Загружено: 2026-01-21
Просмотров: 0
Описание:
How to solve upgraded storage problems on Steam Deck
How to solve upgraded storage problems on Steam Deck
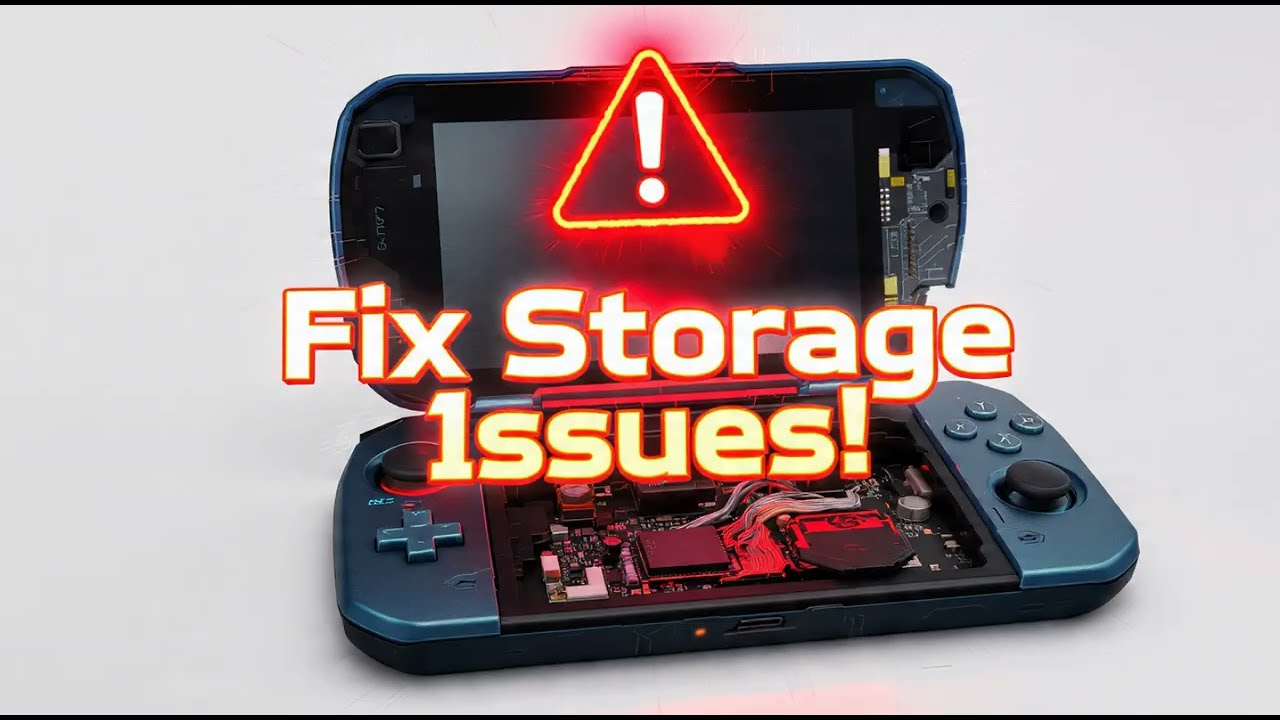
Are you struggling with upgraded storage problems on your Steam Deck after installing a new SSD or using a microSD card? This comprehensive guide shows you how to fix Steam Deck storage issues, resolve SSD not showing up errors, and get your library recognized correctly. Whether you are facing Steam Deck storage not mounting, "can't format SD card" errors, or SSD boot failures after an upgrade, we walk you through troubleshooting steps, including reimaging SteamOS, checking hardware connections, formatting drives in Desktop Mode, and adjusting system settings. This step-by-step solution helps you fix storage problems for internal NVMe SSDs and external cards, recover missing game files, and prevent Steam Deck storage errors in the future.
In This Video We Will See How to Solve Upgraded Storage Problems on Steam Deck
Here Are The Steps to Solve Upgraded Storage Problems on Steam Deck
Method 1: Formatting in Desktop Mode
1. Press the Steam Button
2. Navigate to Power and select Switch to Desktop
3. Once in Desktop Mode, click the Application Launcher (bottom left)
4. Search for "System Settings" and open it
5. Select "Storage" or search for "KDE Partition Manager"
6. Locate your new SSD or SD Card from the list
7. Right-click the unallocated space and select New
8. Set File System to ext4
9. Click Apply in the top toolbar
10. Restart Your Steam Deck
11. Done!
Method 2: Fixing "Unable to Format" SD Card Error
1. Switch to Desktop Mode
2. Open the Application Launcher and search for "Konsole"
3. Type the command: sudo fdisk -l (Enter your password if prompted)
4. Identify your SD card (usually /dev/mmcblk0)
5. Type: sudo wipefs -a /dev/mmcblk0 (Replace with your specific drive path)
6. Return to Gaming Mode
7. Go to Settings, then System, and select Format SD Card
8. Done!
Method 3: Reimaging SteamOS (For New SSD Upgrades)
1. Download the SteamOS Recovery Image on a separate PC
2. Use Rufus or BalenaEtcher to flash the image onto a USB drive
3. Connect the USB drive to your Steam Deck using a USB-C hub
4. Shut down your Steam Deck
5. Hold Volume Down and press Power until you hear a chime
6. Select the EFI USB Device from the Boot Manager
7. Once in the recovery environment, select "Re-image Steam Deck"
8. Follow the on-screen prompts and wait for the process to finish
9. Restart Your Steam Deck
10. Done!
Method 4: Checking Storage Mounting in Gaming Mode
1. Press the Steam Button
2. Go to Settings
3. Scroll down to Storage
4. If the drive is visible but not active, click on it
5. Select the option to "Make Default" or "Repair Folder"
6. If the drive is missing, ensure the SSD is seated properly in the hardware
7. Restart Your Steam Deck
8. Done!
Topic Covered:
Steam Deck upgraded storage problems, fix Steam Deck SSD error, Steam Deck storage not showing up, solve Steam Deck SD card format error, Steam Deck SSD upgrade troubleshooting, SteamOS recovery guide, Steam Deck storage mount fix, resolve Steam Deck library issues, how to fix Steam Deck storage, Steam Deck SSD boot failure, Steam Deck storage settings, format SD card Steam Deck desktop mode, Steam Deck hardware upgrade help, recover Steam Deck game library, Steam Deck partition manager fix, Steam Deck SSD installation guide, Steam Deck storage expansion fix, best Steam Deck storage tips, Steam Deck disk utility steps, fix Steam Deck storage full error.
Повторяем попытку...
Доступные форматы для скачивания:
Скачать видео
-
Информация по загрузке: