Epoxity - Epoxy Resin Art Tutorial
Автор: Epoxity India
Загружено: 2024-04-18
Просмотров: 732
Описание:
INSTRUCTIONS
Prepare the work station
First and foremost you must make sure to work in a well-ventilated area. Cover your table with wrinkle free rough paper or a plastic tablecloth. Always wear gloves while handling the material.
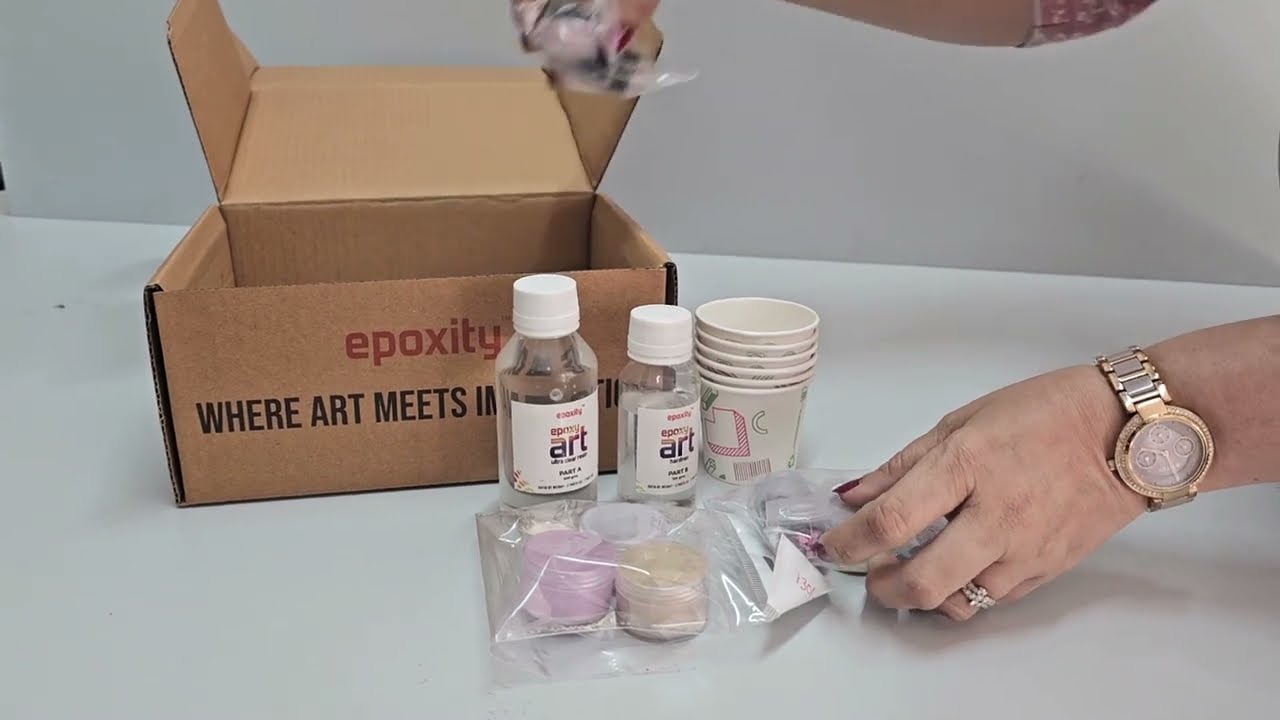
Measure the resin
Next, measure the Epoxity Art Resin. The amount you will mix depends on the moulds you choose. First, measure the resin (2 parts by weight) by pouring it in a cup or plastic container and then measure the hardener (1 parts by weight) and pour it into the same container. For example the 4" coaster mould given in the kit, you would require around 45 gms of total material, so 30 gms of Resin (part A) and 15 gms of Hardener (Part B). Similarly to make a alphabet keychain you may require 9 to 12 gms of total material as per the shape of the alphabet.
Mix the resin
Use a mixing stick and start mixing the resin. Be sure not to lift the stick to prevent too many bubbles from forming. Set a timer and mix for about 3-5 minutes or until the resin is completely clear with no streaks. Mix well, be sure to mix / scrape the bottom and sides of the cup too.
Add colour
If you want to add color to your resin (versus using it clear), now is the time to tint it. You can separate the resin mix into different plastic / paper cups and use sticks provided to mix tints into each one. Start with a small quantity of colour, mix well and if you would like a more intense color, then you can always add more (but always use fresh new sticks to add the colour pigment). If you want to add glitter to it, do that now too.
Pour into moulds
Now pour the resin mix into the moulds. Be very careful and do it slowly to prevent spills. Fill your mould. Do not move the moulds after pouring the resin.
You will notice bubbles on the surface of the poured resin. Use a heat gun to pop them and if a torch is available, gently torch them (from a distance so you don’t ruin your moulds).
Let cure
Once the resin is in the moulds, let it cure for 24 hours and then gently remove from the mould.
Sometimes resin creations will have sharp edges, If that’s the case, add a little water to the sandpaper and gently sand the edges of your pieces. Or, use a deburring tool to smoothen the edges.
Wash silicone moulds afterwards with soap and warm water and let dry.
Now remember, resin requires time, dedication and lots of practice. But once you get it right, I guarantee you will want to keep creating with it! Please share and tag me with your creations! I can’t wait to see them!
Повторяем попытку...
Доступные форматы для скачивания:
Скачать видео
-
Информация по загрузке:


![♻️Дизайнерское зеркало. Имитация керамики из картона [diy] Часть 1.](https://imager.clipsaver.ru/qjBGkMtL5BI/max.jpg)


