NEW Futures Twinzer Canard Box Installation
Автор: futuresfins
Загружено: 2026-02-27
Просмотров: 1245
Описание:
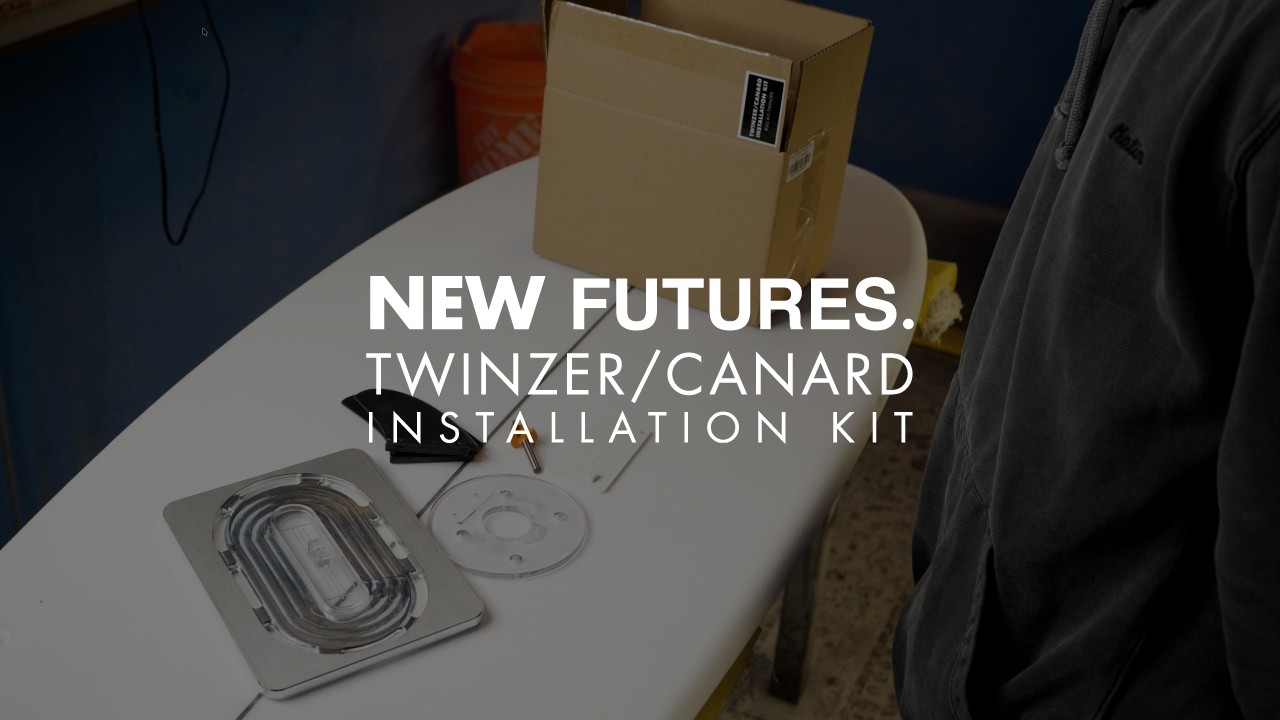
In this video, we’re taking an in-depth look at the NEW Futures Twinzer Canard Installation Kit.
The Twinzer setup is legendary for its speed and fluidity, but its performance hinges on precise canard placement. We’ll show you exactly how to use the new installation kit, from unboxing and router setup to routing and fin box alignment.
Whether you’re a professional shaper or a DIY enthusiast, this guide will help you achieve a flawless Twinzer canard installation every time.
What We Cover:
Unboxing the Kit: A look at all the components included in the new Futures Twinzer canard installation kit.
Router Setup: How to install the new faceplate on a Makita RTO701C router and set the proper bit depth.
Jig Placement & Routing: Aligning the jig plate with the canard's inside foil for a perfect fit.
Ensuring Precision: Using the Twinzer angle gauge to achieve a true 9° angle during box setting.
Key Specs Mentioned:
• Cant Angle: Why achieving a true 9° angle is crucial for Twinzer canards.
• Router Model: The Makita RTO701C router used for this installation.
• Angle Gauge: The Futures Twinzer angle gauge kit (sold separately) for ensuring precise fin alignment.
Video Timeline
00:00 - Unboxing the Twinzer Canard Installation Kit
00:20 - Overview of Kit Components: Jig Plate, Target, Faceplate, Set Fins, and Router Bit
01:20 - Setting Up the Makita RTO701C Router with the New Faceplate
03:08 - Checking Bit Depth and Jig Plate Height
03:25 - Aligning the Jig Plate on the Surfboard
04:21 - Routing the Canard Box
04:48 - Test Fitting the Canard Box
04:56 - Using the Twinzer Angle Gauge for Precise Alignment
Follow us for more board builds and gear updates:
Instagram: @futuresfins
Website: futuresfins.com
Повторяем попытку...
Доступные форматы для скачивания:
Скачать видео
-
Информация по загрузке: