How to Make a Printable Stickersheet and Cut File | Video Tutorial by Moose and Jay Paper
Автор: Moose and Jay Paper
Загружено: 2019-09-07
Просмотров: 1542
Описание:
Thanks for watching! Like if you liked this video, and subscribe if you want to stick around!
I wanted to show you how to make a printable. I made this video to show you how I make my free stickers - the freebie of the week, usually a printable for planner stickers. This video is also a demonstration of how to design without photoshop or illustrator.
I make and layout my sticker designs in Affinity Designer (I do not own Photoshop or Illustrator and you don't need to either) and I make the cut files in Sure Cuts a Lot Pro 5 (sometimes referred to as SCAL5)
When I actually print and cut (PNC) the files, I print with a Pixma Pro 100 printer onto premium sticker paper and use a KNK Zing Orbit (sadly, I believe this machine is soon to be discontinued by the manufacturer, so stay tuned on how I will replace it when the time comes - thankfully the SCAL5 software is not proprietary, and works with many other cutting machines).
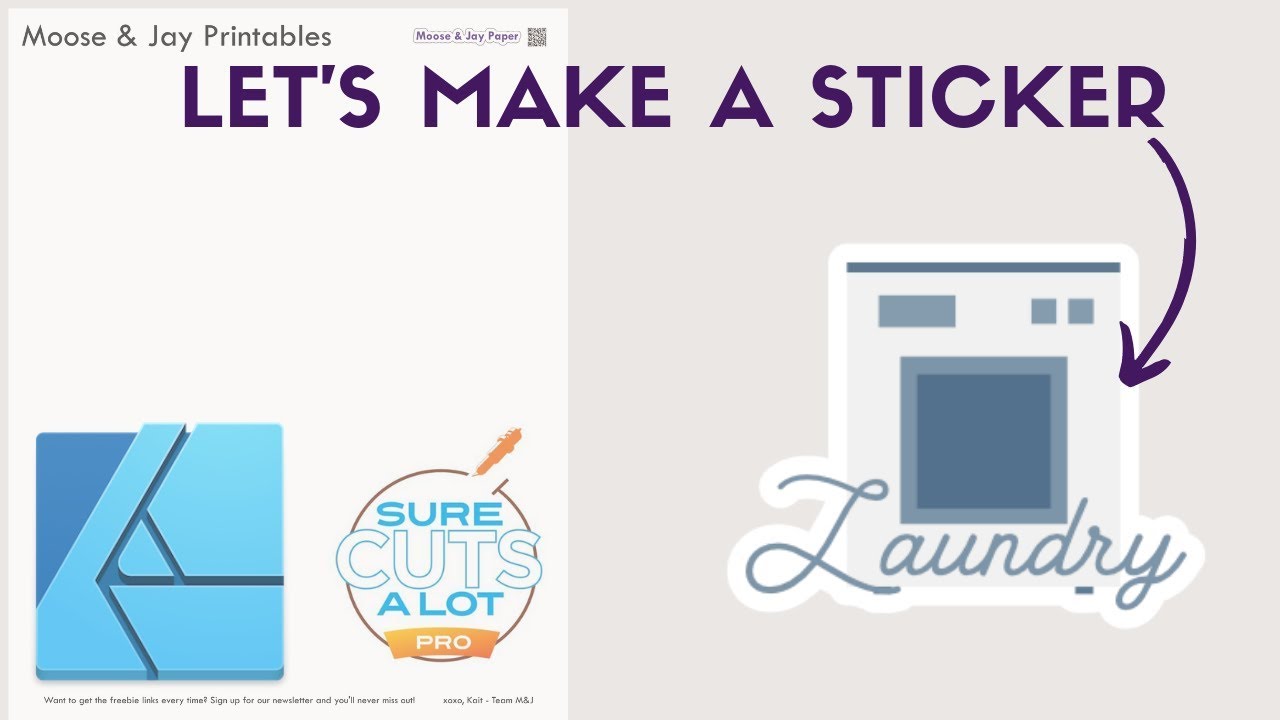
Today we are taking a vector washing machine image, adding some script text to say Laundry, and adding a small white border to give it a classic sticker look.
We will save the sticker repeated in a grid on a template 8.5x11 sheet to make the printable. We save it as a PNG and a PDF, then move onto the cutting software.
You may be wondering, what is a cutfile? A cutfile is just the name for the file for the software that communicates with your cutting machine - in our case, the files are SCUT5 (Sure Cuts A Lot 5 file extension) and can be exported to be compatible with Design Space too, ScanNCut, and a few others I believe.
A Print and Cut (PNC) refers to the method of printing and cutting to make your design into a sticker - typically a kiss-cut sticker (a sticker with a backing, on a sheet with other stickers, or a die cut sticker (a sticker cut out on all outside edges, so not on a sheet).
In our case, we ensure that the cut lines are around the sticker where we want them, then we print preview to be sure that the registration marks (which are needed for the cutting machine to scan the file and cut it properly) are not falling off of the printable area.
After making some small adjustments, the cutfile is ready to be used. And that's all you need to do to make stickers!
If you want to fussy-cut, that is, cut your stickers out with scissors or an x-acto blade, you can skip all of the parts in the cutting software and print away!
I hope this was helpful - please do comment with any thoughts or questions! I'd love to do more videos like this. What do you want to see?
/* PRODUCTS SHOWN/MENTIONED */
/////////////////////////////////
https://mooseandjaypaper.com/freebie-...
/* PROGRAMS I USE */
/////////////////////////////////
Affinity Designer: https://affinity.serif.com/en-gb/desi... (only $50 - no subscription. Support the underdog! #notsponsored
Sure Cuts a Lot 5 Pro (affiliate link): http://www.craftedge.com/purchase/pur...
/* SHOP */
https://mooseandjaypaper.com #supportsmallbusiness
#tutorial #affinitydesigner #surecutsalot
Повторяем попытку...
Доступные форматы для скачивания:
Скачать видео
-
Информация по загрузке: