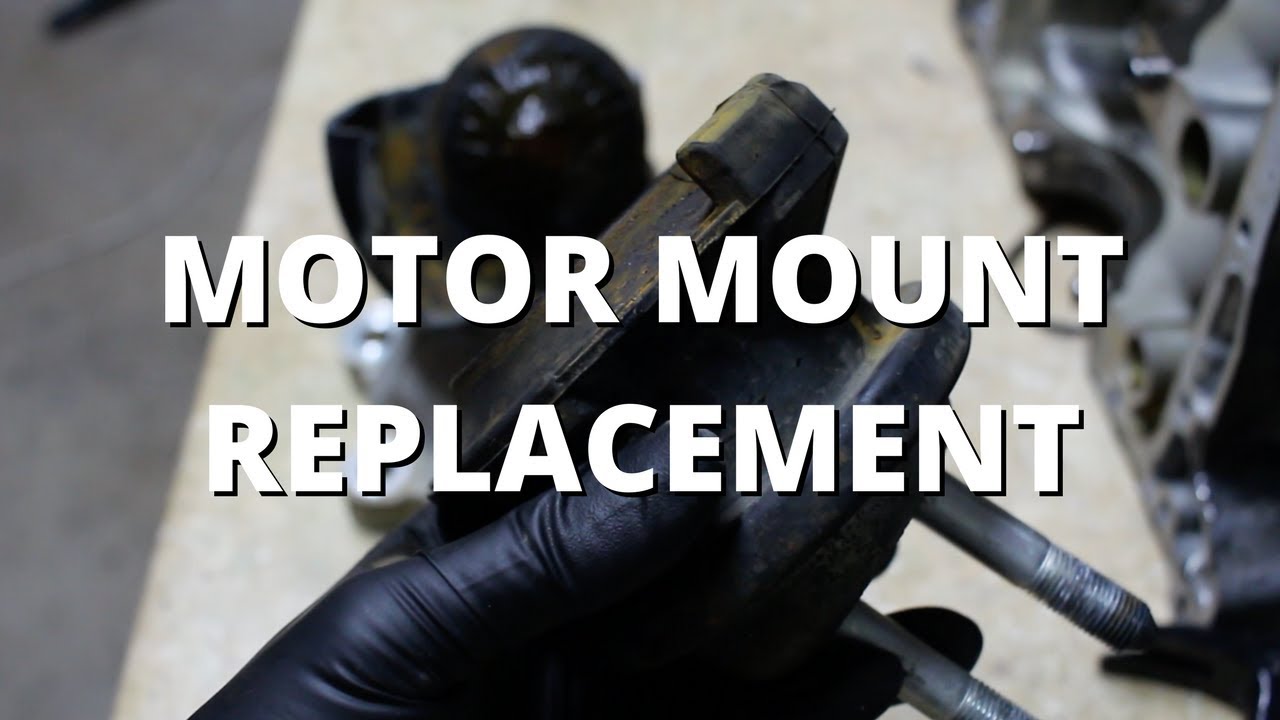
Motor Mount Replacement | Honda S2000
Автор: DIYGuys
Загружено: 2017-09-21
Просмотров: 20547
Описание:
Hey everyone, today I’m going to show you how to replace the motor mounts on a Honda S2000.
Difficulty: Medium
Estimated time: 1.5-2.5 hours
Tools necessary:
14mm wrench
14mm ratchet
17mm ratchet
Jack - http://amzn.to/2fCxpQ4
Jack Stands
Torque Wrench - http://amzn.to/2jLnn3v
Impact Gun (Optional) - http://amzn.to/2fC5fo9
Steps
1. The first thing that you want to do is get your car on jackstands. You’re going to be spending a good amount of time under the motor so make sure you’re comfortable underneath it.
2. Next, remove the two 17mm nuts securing each motor mount to the subframe. You’re going to do this now because you’ll be jacking the motor up and down.
3. Insert a jack under the motor and insert a piece of wood in between the jack and the the oil pan. Use the jack to lift the engine ever so slightly. Make sure that you’ll have enough room to work with the passenger side motor mount. Supporting the motor relieves pressure from the motor mount so that you can safely remove it.
4. Now you can remove the passenger side motor mount. Use a combination of a 3/8th ratchet and a wrench to remove the four 14mm bolts holding the motor mount bracket to the motor. These bolts are hard to reach and quite long so don’t get discouraged if it takes quite a while to remove all of them. Once the bolts are removed the motor mount bracket should be loose. If your motor mount is torn you should be able to remove the motor mount and bracket without jacking up the motor since the mount bracket will likely separate from the mount mount. If you need more room to work with, carefully jack up the engine an inch or two.
5. Once the old motor mount is out use a ratchet or impact gun to remove the 17mm nut holding the motor mount bracket to the top of the motor mount. If you observe your new motor mount you’ll notice there is a small nub on the top. This nub is there to align the motor mount with the lower part of the motor mount bracket. Additionally you will notice that the lower part of the motor mount bracket has a small circular nub. This nub is there to align the lower part of the motor mount bracket to the upper aluminum part. Align the new the motor mount with the pieces of the motor mount bracket and secure them in place with the 17mm nut. Torque it to 40 lb-ft.
6. If the motor hasn’t been jacked up already jack it up an inch or two.
Get under the car and finagle the new motor mount with attached motor mount bracket into place. Once the motor mount is in place, use the jack to lower the engine block so that it is aligned with the motor mount bracket. I checked for alignment by trying to thread one of the motor mount bracket bolts from the engine bay. Once the motor mount bracket is aligned, install the four 14mm bolts holding the motor mount bracket to the block. Torque them to 28 lb-ft.
7. Now you can move onto the driver side. Adjust the jack if necessary to make room for the driver’s side mount and lift the engine ever so slightly again.
8. Similarly to the passenger side, use a combination of a 3/8th ratchet and a wrench to remove the four 14mm bolts holding the motor mount bracket to the motor. The bolts on the front side of the motor mount bracket will take an eternity to remove but hang in there! Once the bolts are removed the motor mount bracket should be loose. If your motor mount is torn you should be able to remove the motor mount and bracket without jacking up the motor since the mount bracket will likely separate from the motor mount. If you need more room to work with, carefully jack up the engine an inch or two.
9. Once the old motor mount is out use a ratchet or impact gun to remove the 17mm nut holding the motor mount bracket to the top of the motor mount. Align the new the motor mount with the pieces of the motor mount bracket and secure them in place with the 17mm nut. Torque it to 40 lb-ft.
10. If the motor hasn’t been jacked up already jack it up an inch or two. Get under the car and finagle the new motor mount with attached motor mount bracket into place. Once the motor mount is in place, use the jack to lower the engine block so that it is aligned with the motor mount bracket.Once the motor mount bracket is aligned, install the four 14mm bolts holding the motor mount bracket to the block. Torque them to 28 lb-ft.
11. Once both of the new motor mounts are in you can remove the jack from under the oil pan. Be sure to reinstall the two 17mm nuts securing each motor mount to the subframe. Torque them to 40 lb-ft.
12. Lastly, get the car off jackstands, lower it down to the ground, and enjoy your new motor mounts!
Повторяем попытку...
Доступные форматы для скачивания:
Скачать видео
-
Информация по загрузке: