Master Carpenter Builds a Strong Wooden Roof Using Ancient Joinery: DIY Wooden Pavilion.
Автор: Wisdom Crafts Technic
Загружено: 2025-10-28
Просмотров: 40413
Описание:
“Where timber whispers and hammers sing — witness the Master Carpenter Builds a Strong Wooden Roof Using Ancient Joinery, a breathtaking ballet of precision, patience, and perfectly placed nails, where old-world craftsmanship meets DIY brilliance beneath the rising rafters!” 🪵🏗️
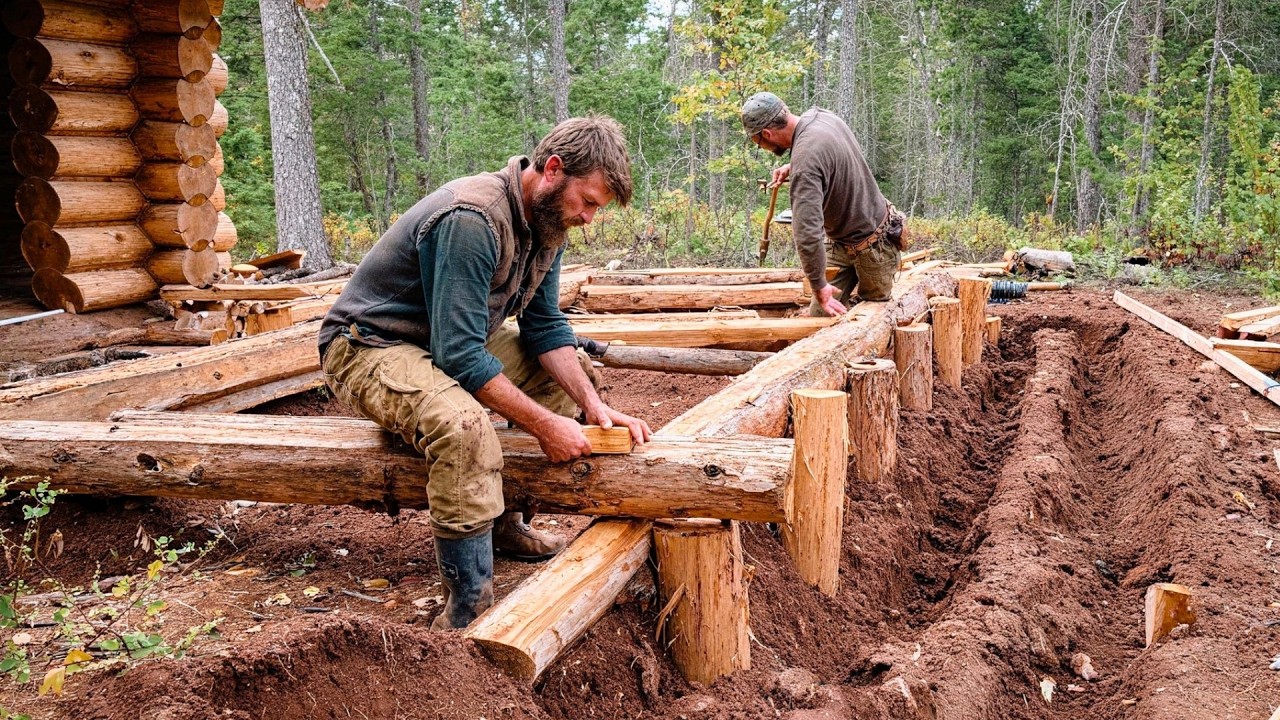
In this mesmerizing rural workshop, a seasoned carpenter crafts a pavilion roof not with modern screws and metal plates, but with joinery wisdom passed down through generations. Each beam is carved, slotted, and locked together like puzzle pieces blessed by geometry itself. As the roof rises, the rhythm of mallets, sawdust, and soft creaks of fitting wood creates a symphony that feels both ancient and timeless.
🪚 Tool Arsenal: The Carpenter’s Legacy Kit
Hand Tools:
Chisels (8mm–25mm): Razor-sharp edges honed daily on a water stone.
Wooden Mallet: Precision percussion for tight join fits.
Hand Saw: Fine-toothed Japanese pull-saw for clean dovetail cuts.
Marking Gauge & Carpenter’s Square: The GPS of wood joinery.
Nails & Hammer: Traditional iron nails for reinforcement — used sparingly and masterfully.
Materials Used:
Timber Type: Kiln-dried pine and hardwood beams for durability and grain symmetry.
Joinery Method: Mortise and tenon, lap joints, and traditional tongue inserts.
Finish: Natural linseed oil polish to highlight wood grain and resist moisture.
Roof Structure Dimensions:
Pavilion size: 4m × 4m base
Beam thickness: 10cm × 15cm
Roof slope: 35° — optimal for monsoon drainage and shadow aesthetics
🧩 Step-by-Step: Roof of Tradition, Crafted by Hand
Measuring & Marking: Each timber beam is carefully measured, squared, and labeled like a chessboard of future joints.
Cutting the Tenons: The carpenter slices precise projections (tenons) into beams, perfectly matching their receiving mortises.
Chiseling the Mortises: Deep, square holes are carved into support posts — the secret sockets of strength.
Dry Fit & Tap Test: Each joint is fitted by hand, tested for snugness, then disassembled for adjustments.
Assembly Begins: Using a wooden mallet, the master slots the beams together, no gaps, no guesswork.
Nailing Reinforcement: Iron nails are driven only at stress points, preserving join integrity.
Roofing & Polishing: Slats are laid in neat alignment, followed by oil polishing for protection and glow.
Повторяем попытку...

Доступные форматы для скачивания:
Скачать видео
-
Информация по загрузке: