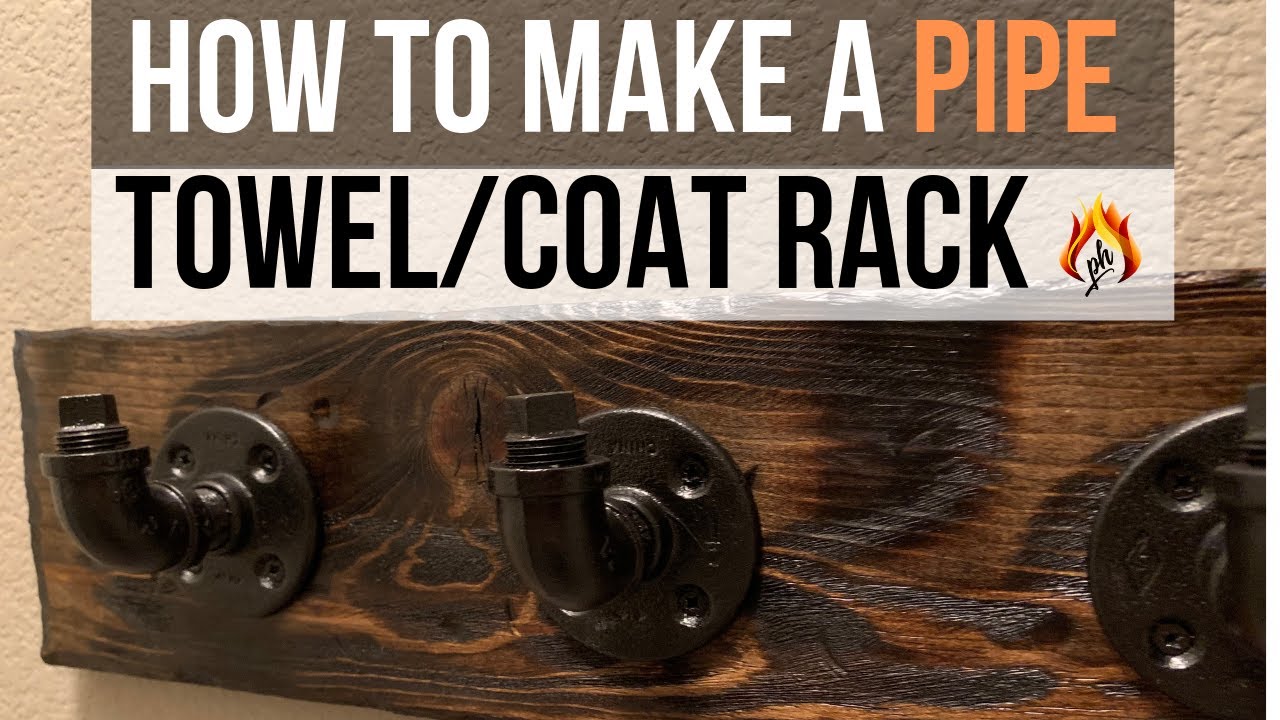
DIY Pipe Towel Rack / Coat Rack 2019
Автор: Piping Hot Art
Загружено: 2019-08-07
Просмотров: 1805
Описание:
In this video I provide a Tutorial on How to Make a Pipe Towel / Coat Rack. This is a Pintrest challenge where we find something cool on Pinterest and then replicate it 😉
Step 1: Measure your space. The program I used is listed below. Our space was 45” inches in width so we wanted 4 hooks to stretch across. Measure your own space and decide how many hooks you will need.
-Adobe Photoshop
Step 2: Get a Piece of Level Wood. Check out the video I made about finding a level and straight piece of wood with just 3 steps!
“How to Choose Lumber - Woodworking for Home
Improvements That are Straight & Level”
https://www.youtube.com/embed/6lZx9gO...
Step 3: Cut, distress and paint your wood. We have a great video about how to distress your wood at home to make it look old and rustic, check it out below.
-Board dimensions were 27” x 5” x 1”
“How to Distress Wood - Rustic Old Textured Look 2019”
• How to Distress Wood - Rustic Old Textured...
Step 4: Purchase and paint pipe fittings. We usually buy our pipes from supplyhouse.com in bulk. However, you can pick up a few at your local hardware store; like Lowes or Home Depot. I personally have not had much luck with pipes on Amazon but I prefer commercial grade schedule 40 iron piping. If you are ok with a lighter thinner pipe for decorative purposes alone, feel free to purchase them outside of my recommendations.
For this project you will need:
Pipe Fittings:
-(#4) ½” Floor Flanges measuring 3” in diameter with 4 holes
-(#4) ½” to Close Nipples measuring 1”-1.5” in length
-(#4) ½” 90 degree Elbows (NOT STREET ELBOWS)
-(#4) ½” Plugs
Paint:
Keep your floor flanges separate from the other fittings while painting because you will be attaching these separately.
Minwax Dark Walnut: https://amzn.to/2KlyAmL
Rustoleum Indoor/Outdoor Black Semi Gloss Paint:
https://amzn.to/2Kl1Dqr
Poly Wipe On Gloss: https://amzn.to/31oA3OQ
Step 5: Arrange your floor flanges on the board so they are centered and equal spacing apart. Attach the flanges to the board using screws less than 1 inch in length (we don’t want them to pierce through the board). Next drill a hole in the center of each flange going through the board completely to the other side. Then line your piece up on your wall and make sure it is level. Go ahead and use a sharpie to mark where each of the holes you just drilled through the board meet the wall. Remove your piece from the wall and drill holes into your sharpie marked dots on the drywall.
Step 6:
Hammer in wall anchors into your new wall holes. Re-align your board to the wall so the holes within the center of your flanges match the wall anchors within your wall. Drill a 1.5”-2” inch screw into each of your aligned holes to firmly attach the piece to the wall.
Step 7”:
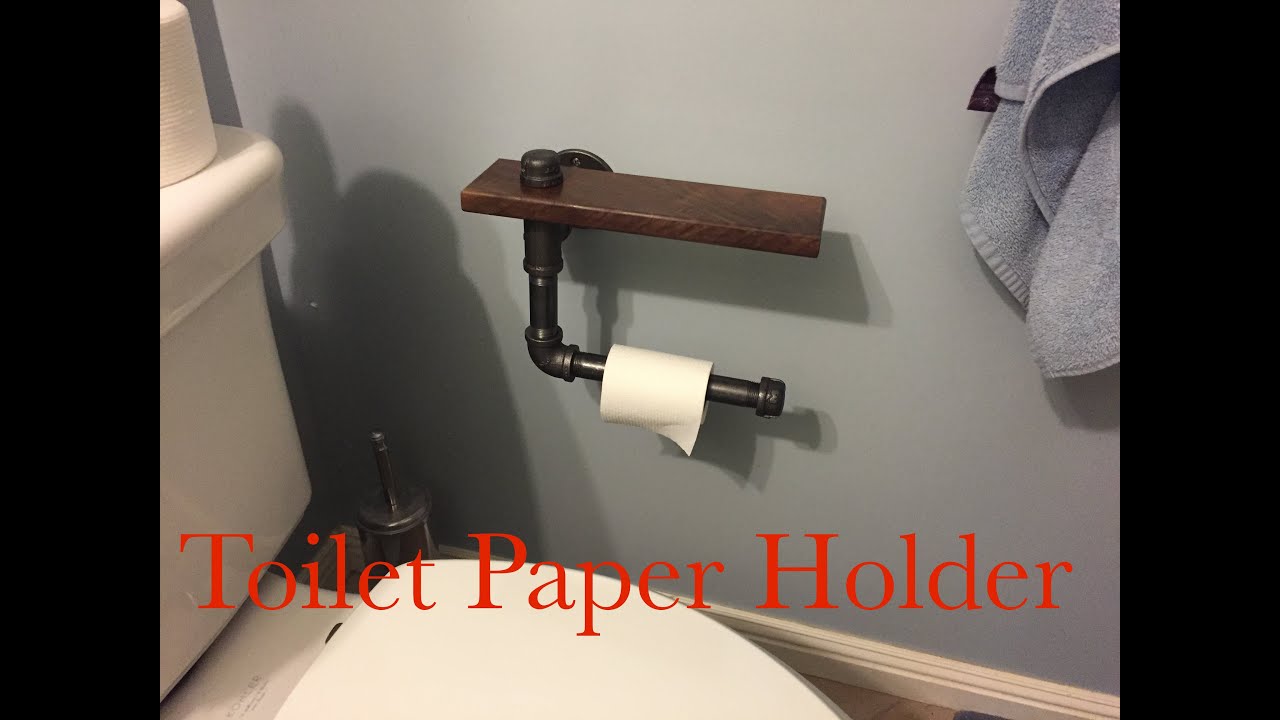
Line your 1/2” to close nipple + 90 degree elbow + plug to the floor flanges on your board and your done! Great job you DIY Diva or Dude 😉
Please share this video with others and be sure to subscribe to Piping Hot Art's Channel and enjoy our other videos too! We have more videos with tips and tricks for fun do it yourself home decor projects :)
Shop Piping Hot Art's merchandise and join us on other social media too, by visiting the links below:
Shop Merchandise - http://www.Pipinghotart.com
Facebook - / pipinghotartworks
Pinterest - / pins
Instagram - / pipinghotart
DISCLAIMER: This video and description contains affiliate links, which means that if you click on one of the product links, I’ll receive a small commission. Thank you for the support!
#Pipedecor #Industrialdecor #PipingHotArt
Повторяем попытку...
Доступные форматы для скачивания:
Скачать видео
-
Информация по загрузке: