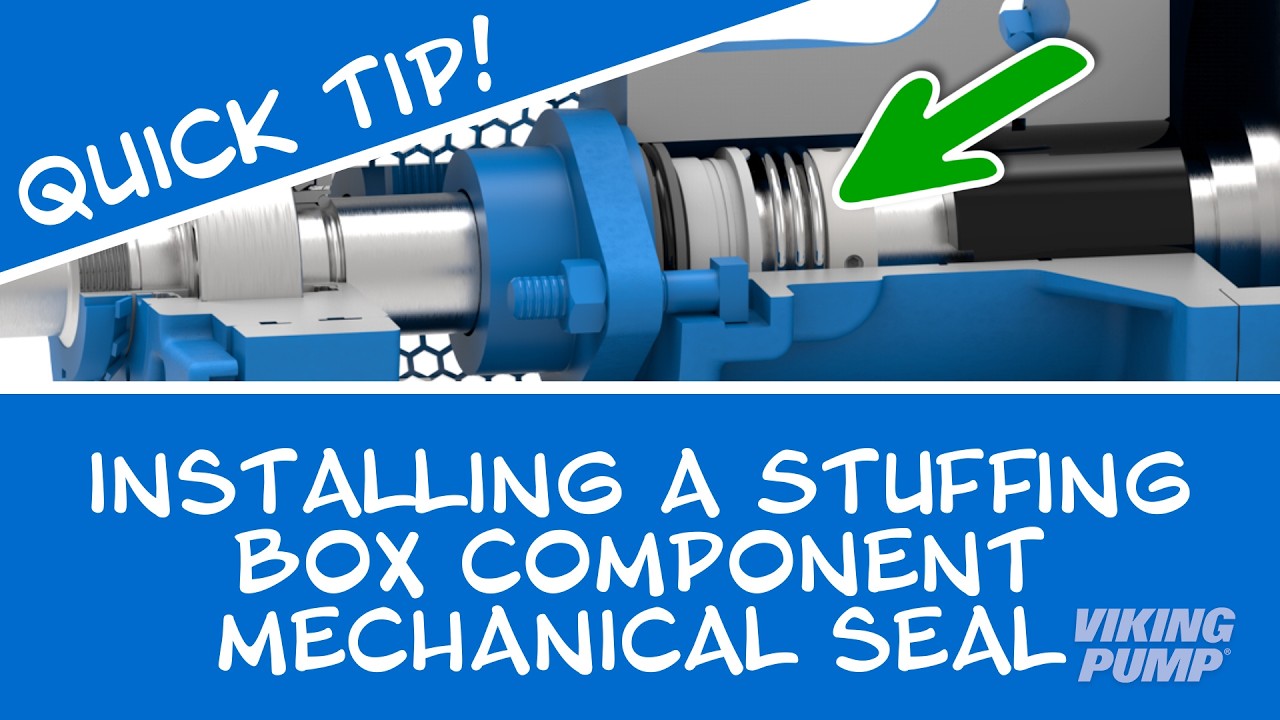
Quick Tip! Installing a Component Mechanical Seal in a Viking Pump with the U-Plus™ Bracket
Автор: Viking Pump®
Загружено: 2026-03-03
Просмотров: 15
Описание:
Have questions? We'd love to chat! Send us a message here: https://www.vikingpump.com/yt
In this video, learn how to install a component mechanical seal in a Viking Pump with the U-Plus™ Bracket. Click here to review the technical service manual: https://cdn.bfldr.com/FMWE0LVS/at/rhr...
#vikingpump #gearpump #sealreplacement #mechanicalseals
▬ More Videos ▬▬▬▬▬▬▬▬▬▬▬▬
► YouTube Community: / vikingpumpinc
► All Viking Pump Videos: / vikingpumpinc
► Subscribe to Viking Pump Channel: https://bit.ly/2KJGmJT
▬ Social Media ▬▬▬▬▬▬▬▬▬▬▬▬▬▬▬
► Facebook: / vikingpump
► LinkedIn: / viking-pump
► Website: http://www.vikingpump.com
Welcome, in this quick tip video we will guide you through the installation of a stuffing box component mechanical seal in Viking Pump’s with the U-Plus™ bracket.
First, place the seal collar onto the shaft with the stepped side facing the end of the shaft.
Insert a hex head wrench into the seal access hole and into a set screw to hold the seal collar in place.
Install the seal installation sleeve with the taper toward the end of the shaft.
Lubricate the shaft and inside of the rotary member of the seal.
Install the seal spring and the rotary member onto the shaft until the seal reaches the bore.
Next place the stationary seal face onto the shaft with the lapped side facing the rotary seal face.
Remember to remove the seal installation sleeve.
Insert the T-bolts and install the seal holder.
Install the half-round rings. Install the bearing spacer collar with the cupped side over the half round rings.
Install the bearing housing and fully tighten until the shaft will not turn. This point is known as zero end clearance.
Install the lock washer by aligning the tab through the slot in the shaft.
Install the lock nut. Place a brass or hardwood bar into the port opening to keep the pump from turning. Torque the lock nut to the appropriate torque setting. This setting can be found in the technical service manual.
Remove the brass bar.
Bend a tang of the lock washer into a slot of the lock nut. If no tang aligns, continue to tighten the lock nut until one does. Failure to tighten the locknut or engage the lock washer tab could result in early bearing failure and cause damage to the rest of the pump.
You can now set the end clearance. The end clearance setting can be found in the technical service manual. Please refer to our video “Setting End Clearance” for details on this procedure.
You can now set the seal.
Confirm that the seal set screws are aligned with the seal access hole. Tighten both set screws until it just contacts the shaft. Then fully tighten each set screw.
Next, fully tighten the seal holder lock nuts.
Turn the shaft to ensure the pump turns freely.
Using appropriate thread sealant, reinstall the plug into the seal access hole.
Finally, grease the bearing housing reinstall the window guards.
Your pump has a new stuffing box component mechanical seal and is ready to be put back into service. For more information or to view other service videos, please visit our website at vikingpump.com.
Повторяем попытку...
Доступные форматы для скачивания:
Скачать видео
-
Информация по загрузке: