1 Train Per Factory vs 1 Train Per Item? Satisfactory Train Setup Explained
Автор: Pioneer Support
Загружено: 2026-01-16
Просмотров: 2265
Описание:
Get help with your Satisfactory builds by leaving a comment with your issue and I'll try to make a video addressing it!
Get Satisfactory saves and blueprints for all my builds at Patreon.com/pioneersupport
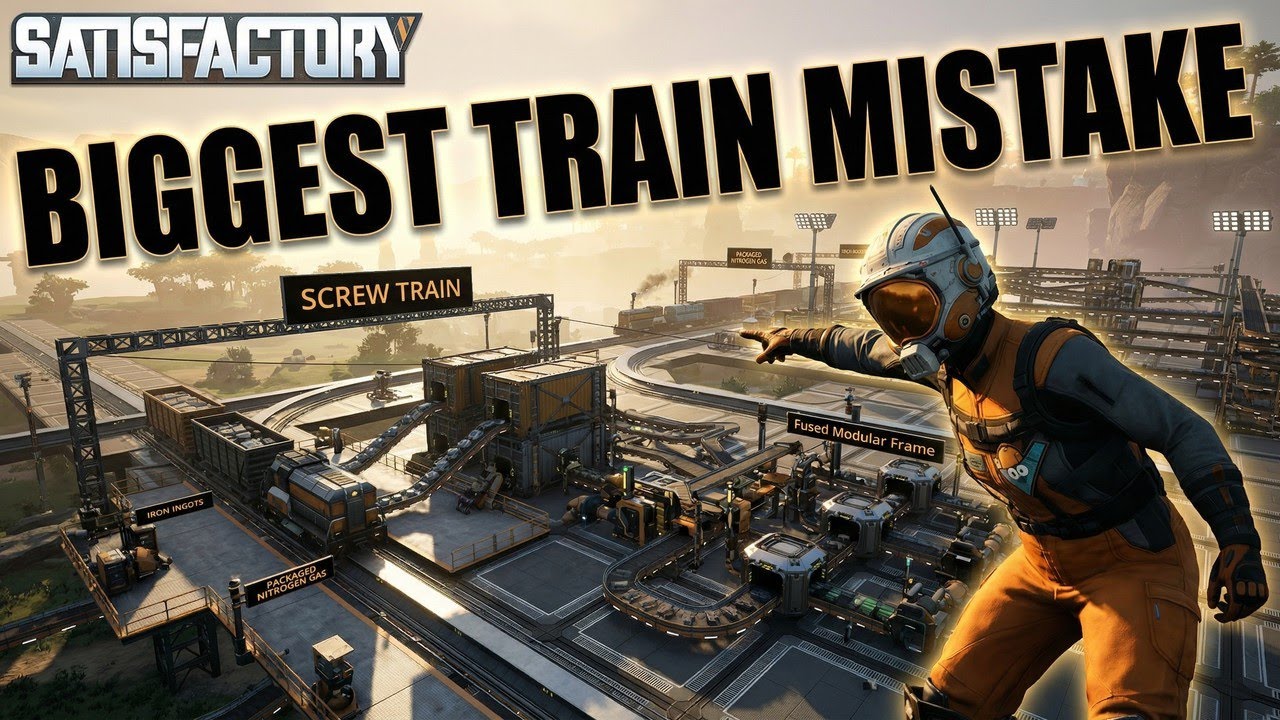
Trying to scale a train network in Satisfactory and stuck on the big question: *do you run a train for each factory, or dedicate trains to specific items like iron ingots, copper ingots, and screws?* In this Pioneer Support episode, I break down a repeatable, stress-free approach you can use as your world grows.
The Rule of Thumb
If you need to move a *large amount of material* across the map, **put it on a train**. Trains shine when you’re moving high-volume resources consistently—especially the stuff you always seem to need everywhere.
The Simple System That Scales
My go-to setup is **one train per item**:
*Iron ingot train*
*Copper ingot train*
*Aluminum ingot train*
*Screw train* (yes, screws are worth it)
Other high-demand items (like packed nitrogen, concrete, steel, etc.)
This keeps logistics clean, predictable, and easy to expand. Instead of custom routing for each factory, you build factories that “subscribe” to the items they need.
Key Detail: Overfill + Buffers
The secret to reliability is station design: **overfill your loading stations and buffer your unloading stations**. When your destination is already stocked, trains can dock without unloading—and your production stays stable even if materials are coming from the other side of the map.
If you’re building complex facilities (like a fused modular frame factory) and want dependable throughput, this is the train logistics foundation to start with.
Drop your Satisfactory questions in the comments for a future video.
Повторяем попытку...
Доступные форматы для скачивания:
Скачать видео
-
Информация по загрузке:


![It's finally here! Sit back and relax to some satisfactory Satisfactory. [Satisfactory]](https://image.4k-video.ru/id-video/rSZtUU-R6Zw)