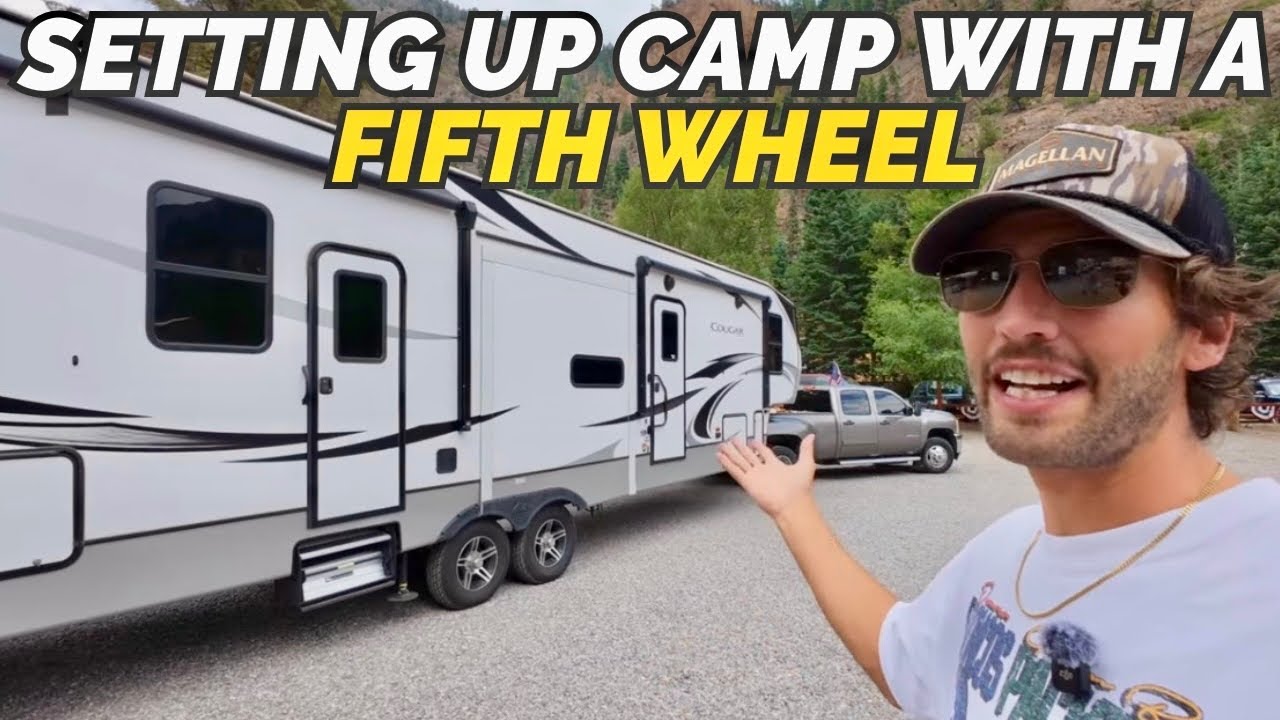
How to Set Up Your 5th Wheel at the Campground
Автор: OfficialGoRVing
Загружено: 2024-03-18
Просмотров: 6441
Описание:
Setting up a fifth wheel at a campground might seem overwhelming at first, especially for new RVers. But with a little practice and a clear step-by-step plan, it becomes a smooth and manageable process. This guide is designed to walk you through setting up your fifth wheel at your campsite—from checking in to getting comfortable and ready to enjoy your trip.
1. Check In at the Campground
Start by stopping at the main office to check in. You’ll typically receive a map, your site number, and a list of park rules. Take a moment to read through the rules and ask any questions about utilities, quiet hours, or park amenities.
2. Inspect and Position Your Site
Before backing in, inspect the site for potential obstacles—look out for picnic tables, trees, fire pits, or uneven ground. Make sure there is adequate space to extend your slide-outs and awning. Also, locate water, sewer, and electrical hookups so you can align your rig properly for easy connection.
Tip: Use a spotter or backup camera to help you maneuver into place safely.
3. Level Side-to-Side
Leveling is essential for comfort and for the proper operation of appliances like your refrigerator and air conditioner. If your fifth wheel has automatic levelers, great—just follow the prompts. If not:
Use a bubble level to determine how far out of level your rig is side-to-side.
Stack leveling blocks next to the tires on the low side.
Create a pyramid stack for added stability and back the trailer over the blocks until level.
Recommended Products:
Camco Leveling Blocks
Valterra Stackers
4. Chock the Tires
Once level, chock the wheels to prevent any movement. Place wheel chocks both in front and behind the tires. For tandem or triple axle rigs, use locking chocks to keep the tires from shifting.
Recommended Products:
X-Chock Wheel Stabilizer
Camco Wheel Chocks
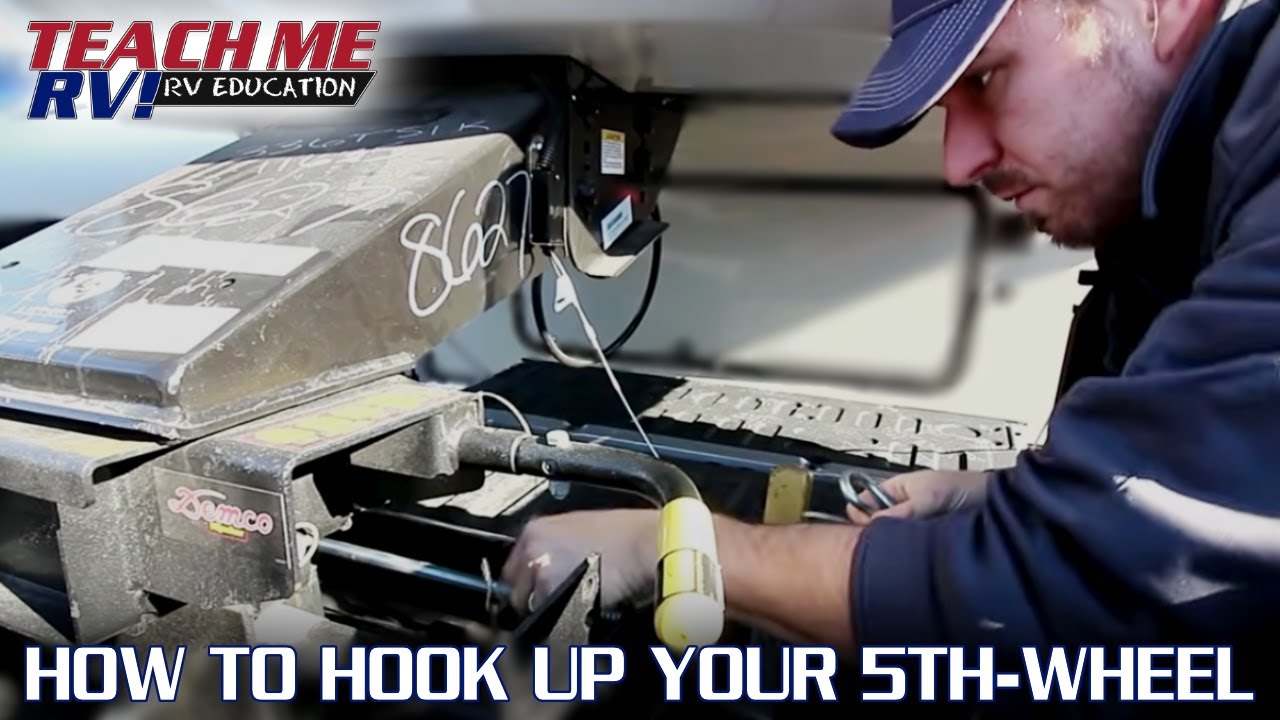
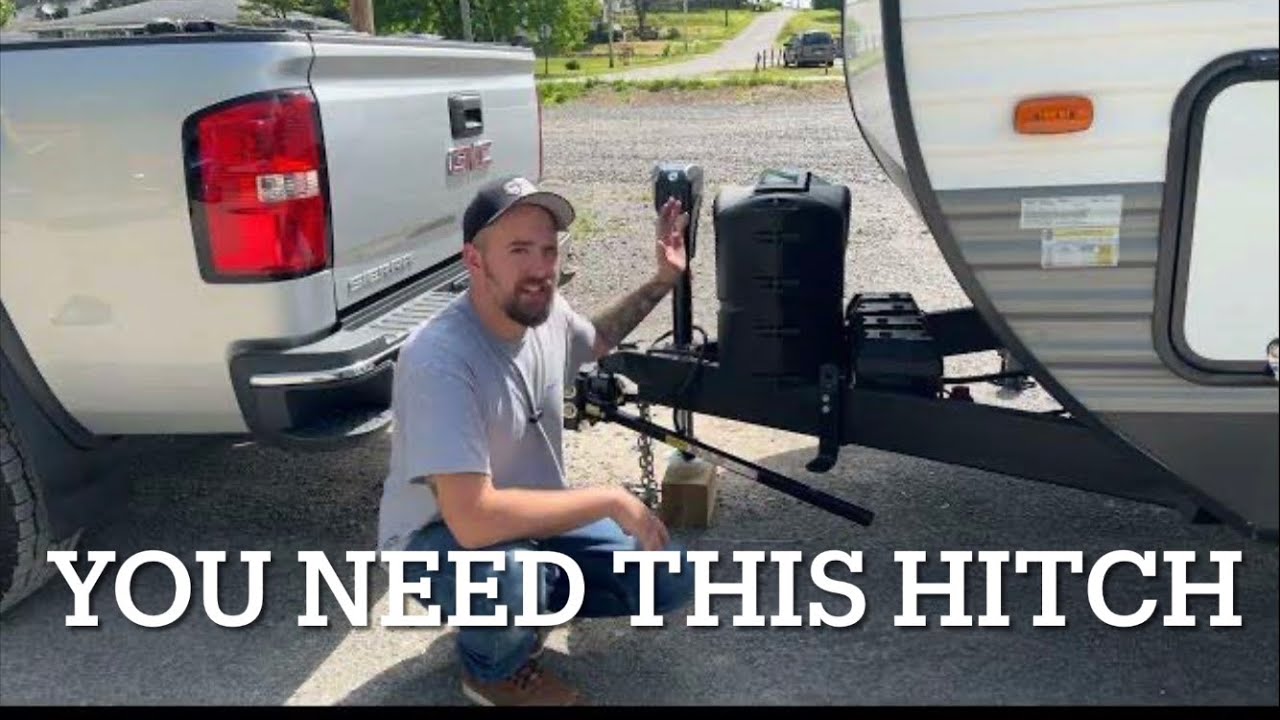
5. Disconnect from the Tow Vehicle
With your fifth wheel secure, it’s time to disconnect the hitch. Since fifth wheel hitches vary, consult your owner's manual for specific instructions. Generally:
Lower the front landing gear to stabilize.
Release the hitch latch.
Slowly pull your truck forward 5–10 feet to ensure full disconnection.
Finally, adjust the front-to-back level using the landing gear.
Recommended Products:
5th Wheel Stabilizer
Ultimate 5th Wheel Connection Hitch
6. Hook Up to Shore Power
Match your RV’s amperage with the campground pedestal. Most fifth wheels are 50-amp, but some are 30-amp. If necessary, use a dog bone adapter.
Turn off the breaker at the pedestal.
Plug in a surge protector first to protect your rig from power issues.
Then plug in your power cord and flip the breaker on.
Recommended Products:
Progressive Industries Surge Protector
Camco Power Grip Adapter
7. Hook Up to Fresh Water
Begin by flushing the campground spigot briefly to remove debris.
Attach a water pressure regulator to protect your plumbing.
Then connect a water filter to improve water quality.
Finally, attach your drinking water-safe hose to the inlet on your RV.
Recommended Products:
Camco Brass Pressure Regulator
Clear2O Inline Water Filter
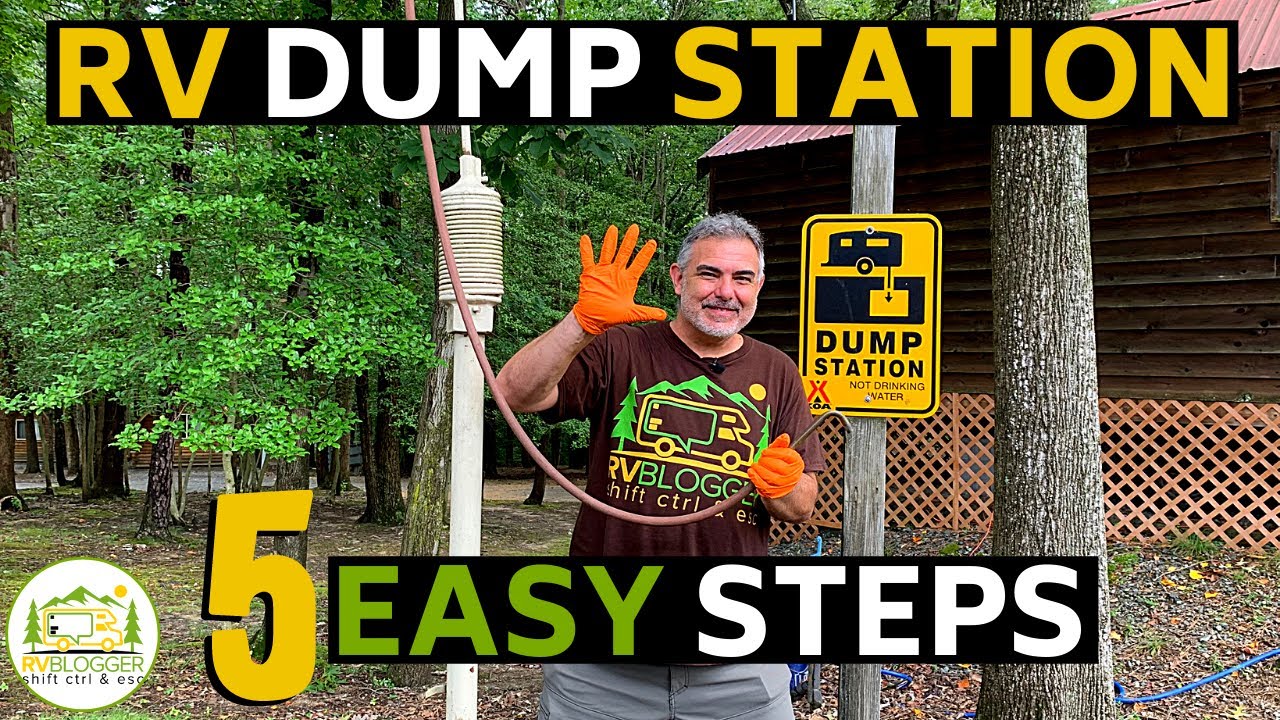
8. Connect Sewer Hose
Safety first—always wear disposable waterproof gloves!
Remove the cap on your RV's sewer outlet.
Connect your sewer hose to the outlet and then to the campsite sewer inlet.
Keep the black tank valve closed except when you’re ready to dump. Leaving it open can lead to waste buildup.
The gray tank (which collects sink and shower water) can remain open, but close it before dumping the black tank to help flush the hose clean.
Dump black tank first, then gray tank.
Remove the hose from the RV end first and lift to drain remaining liquid into the inlet.
Recommended Products:
Camco RhinoFLEX Sewer Hose Kit
Valterra Sewer Hose Support
9. Extend Slide-Outs and Awnings
Before extending, double-check for clearance inside and outside. Use a walkie-talkie or voice communication to monitor the exterior.
Extend the slides until they stop—don’t force them further.
Check the level again, as the added weight may shift your rig.
Extend the awning if desired and secure it properly.
Recommended Products:
Carefree of Colorado Awnings
RV Slide Toppers
10. Turn on Propane and Interior Systems
Turn on your propane valve. If you have two tanks, use one at a time so you always have a backup.
Test light your range burners to make sure propane is flowing.
Turn on the water heater, air conditioner, and refrigerator.
Carefully open cabinets—items may have shifted in transit.
Flush toilet chemicals into the black tank with plenty of water to keep odors at bay.
Recommended Products:
Propane Automatic Changeover Regulator
Propane Tank Sensor
Camco TST Toilet Treatment
Повторяем попытку...
Доступные форматы для скачивания:
Скачать видео
-
Информация по загрузке: