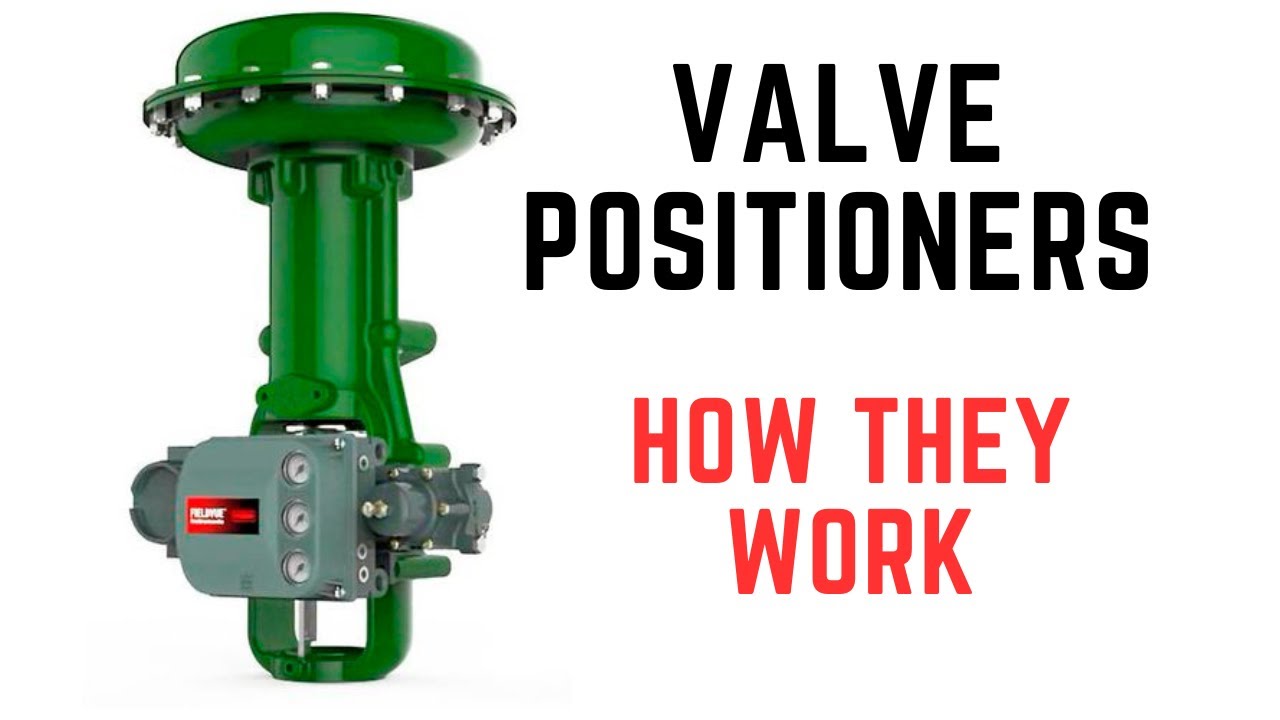
How To Install Electro Pneumatic Positioner - 4Matic Control Valves
Автор: Aira 4Matic Global Valve Automation
Загружено: 2025-01-24
Просмотров: 329
Описание:
4Matic Electro Pneumatic Positioners -
Instructions / Guidelines for Installation, Service, Maintenance and Troubleshooting
This video primarily demonstrates the Installation process of Electro Pneumatic positioners.
The operating air Pressure is 3kg/cm²
In the Junction box, you can see the all connections.
the operating input current is 4 to 20 milliamperes, 24V DC. More input power it could damage the Coil.
Now you can see all the parts.
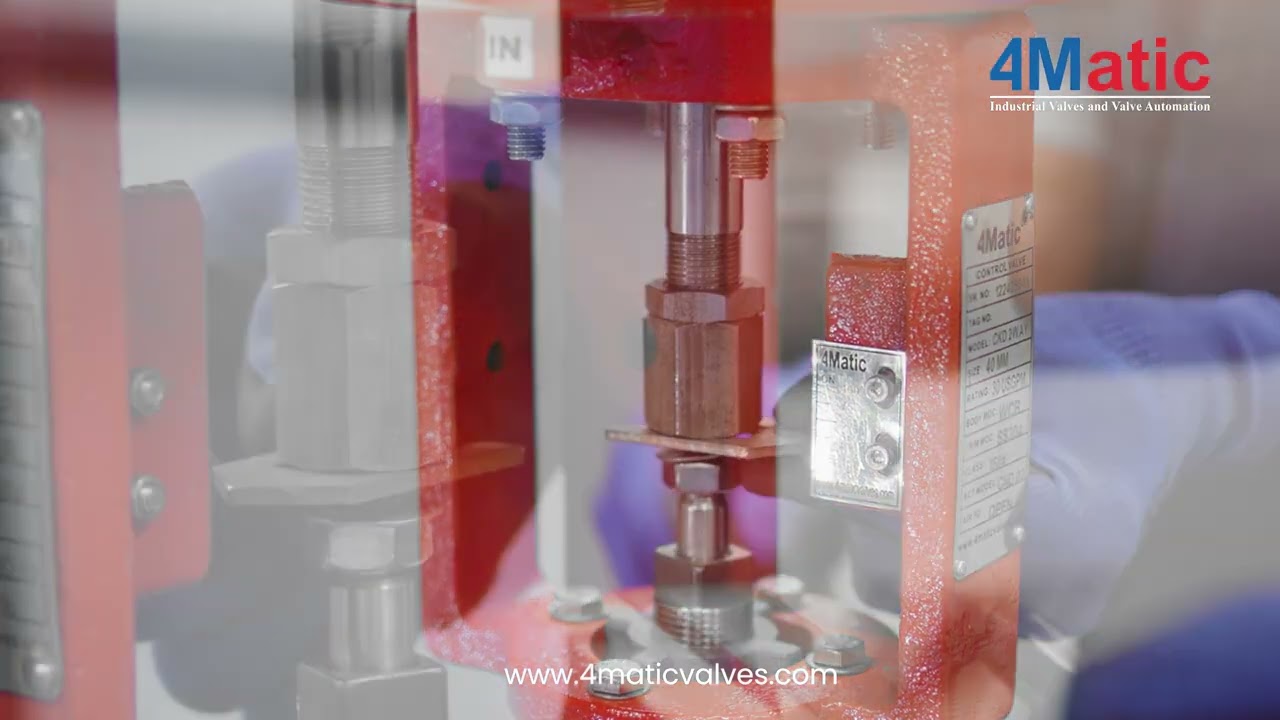
that is the inlet air pressure connection From the Filter Regulator, this is the outlet Connection from the positioner to the Control Valve
--------------------------------------------------------------------------
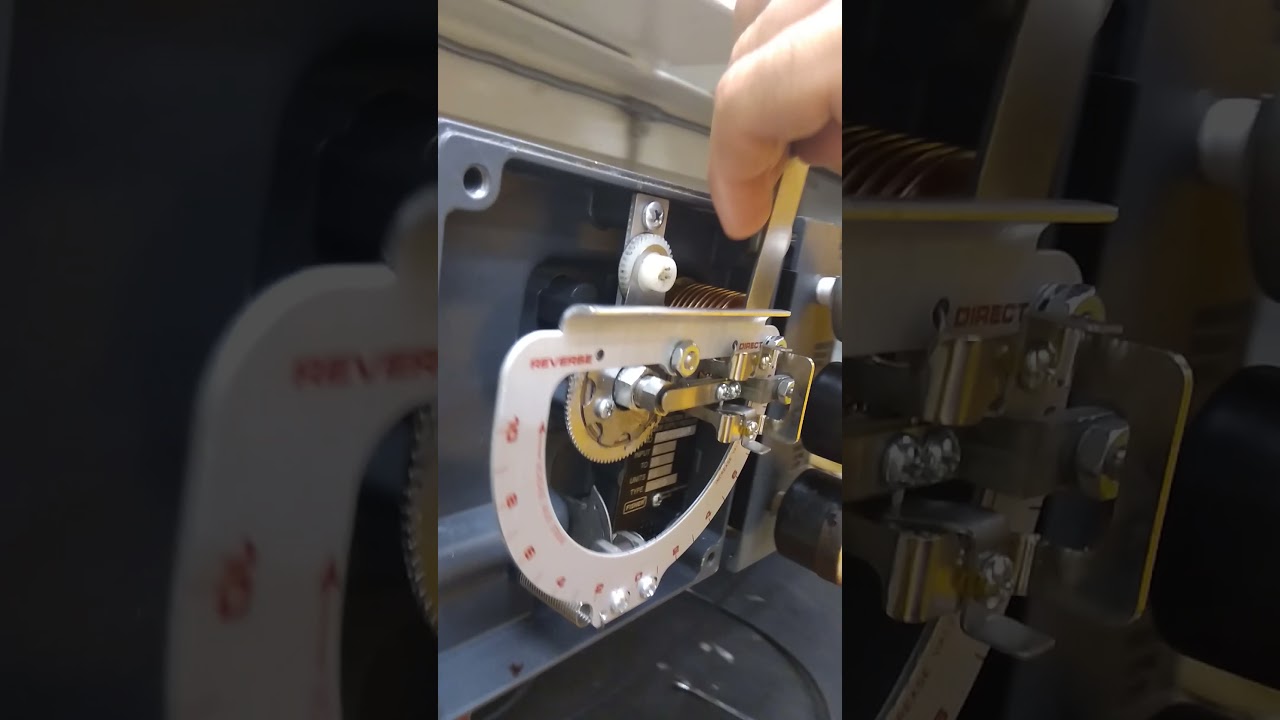
Let's see how to calibrate Electro-pneumatic Positioner
you can see the ideal working of the positioner
when you give 4 to 20 milliamperes the positioner operates from 0% to 100%
in order to calibrate your positioner 1st normalize 4mA to 0% Opening,
in this case, the Input current is set at 4 milliamperes but the Positioner is opening at 20% by default. Let's fix this Problem
Step 1: Rotate zero Setting's wheel clockwise until the Positioner is set at 0%
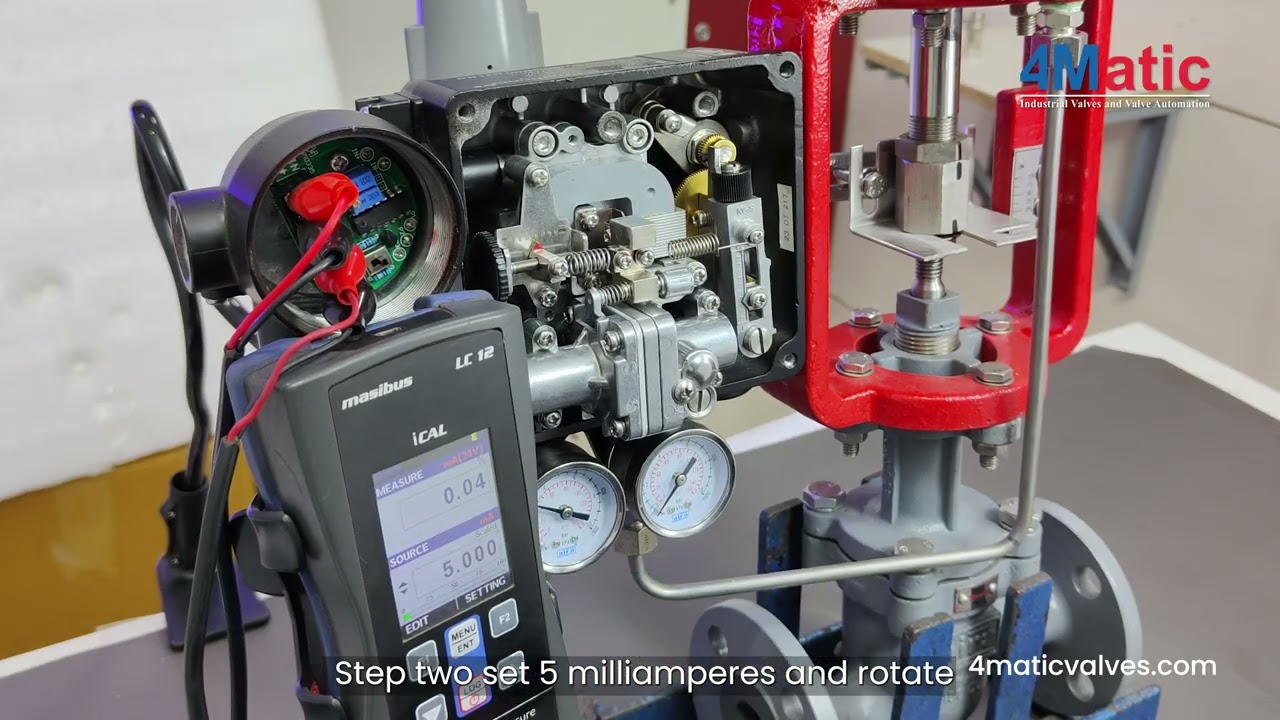
Step 2: set 5 milliamperes and Rotate zero Setting wheel anti-clockwise until Valve Movement has been stated
Step 3: set 20 milliamperes and now you can see the positioner is not Open at 100% perfectly in order to open the Valve at 100%. adjust the span setting.
lose the screw and Rotate Wheel clockwise. after achieving 100% Opening then tight screw back on a position
step 4: bring back to the 4 milliamperes and make sure the valve is on the 0% Position. Now increase 5 milliamperes but you can see the valve is not working at 5 milliamperes so Rotate the zero Setting wheel anti-clockwise until Valve Movement has been stated then again go to the 20 milliamperes and you can see the valve is open at 100%
now the Positioner has been successfully Calibrate. if your positioner is not
calibrated yet. follow and repeat these steps until the positioner is calibrated.
_________________________________________________
Now Let's see the ideal working for the positioner
the positioner Converts a 4-20mA input control signal to a proportional pneumatic output.
when you give 5 milliamperes the positioner starts working.
then increase by 8 milliamperes the Control valve opens 25%.
and 12 milliamperes input current Opens Valve at 50%, 16 milliamperes input current Opens Valve at 75% and 20 milliamperes input current Opens Valve at 100%.
___________________________________________________
Now Let's see the Feedback Calibration
in this case, you can see the positioner is calibrated on the other hand the feedback measures the wrong Signal
to fix this problem first set 4 milliamperes input current and rote zero setting's potentiometer until 0% Feedback measurement.
is that's same following steps like positioner calibration.
Step 2 Set 20 milliamperes and you can see the valve opens 100% but the Feedback does not Measure 100% perfectly so Adjust the span setting's potentiometer. After Achieving 100% perfect feedback measurement you can see in the feedback and scale shows Simultaneously perfect Feedback.
Now Feedback Calibration is Successfully Done.
--------------------------------------------------------------------------
Now let's see Common Problems
1: Pilot Hole Jams Due to impure air
When the pilot valve is jammed the inlet air pressure goes directly to the control valve. and the valve opens fully 100% when you give air pressure
Solution:
Step 1: Open the cap, eject the auto manual device from the pilot valve and clean this tiny hole to remove dust particles.
We provide the tin wire you find in the Positioner's Lead.
Step 2: Throughout this wire in an auto manual device's tiny hole and remove dust particles.
Clean this o ring too.
After the Cleaning Process Assemble all parts in a position.
Now the valve ideally Works
----------------
Now Let's see Common Problems
2: Positioner not Working by giving air pressure and 4 to 20 milliamperes input current signals
Solution:
When the Positioner is not Used on a daily basis, And not working give the 4 to 20 milliamperes input current signals to operate the Positioner.
To fix the problem use the manual function 4 to 5 times for circuit reset or to avoid hanging the problem.
----------------
Important Instructions
Mandatory drain the FR within 8 weeks, as impurities, can block the small orifice and jam the pilot hole
-----------------
In Case You Have a Normally Close Positioner like this, But You Want a Normally Open Positioner.
it's possible to convert Normally Close to Normally Open Positioner
Let's See How
Step: 1 Eject The Span, and place it in the opposite position.
Step: 2 Switch Direct Action to Reverse Action.
Now the Positioner is Normally Open
For any queries.
[email protected] / [email protected]
www.4maticvalves.com
Повторяем попытку...
Доступные форматы для скачивания:
Скачать видео
-
Информация по загрузке: