1996 Honda Accord Timing Belt & Water Pump – Final Reassembly, Coolant Fill & First Start (Step 24)
Автор: Pay It Forward
Загружено: 2026-02-12
Просмотров: 48
Описание:
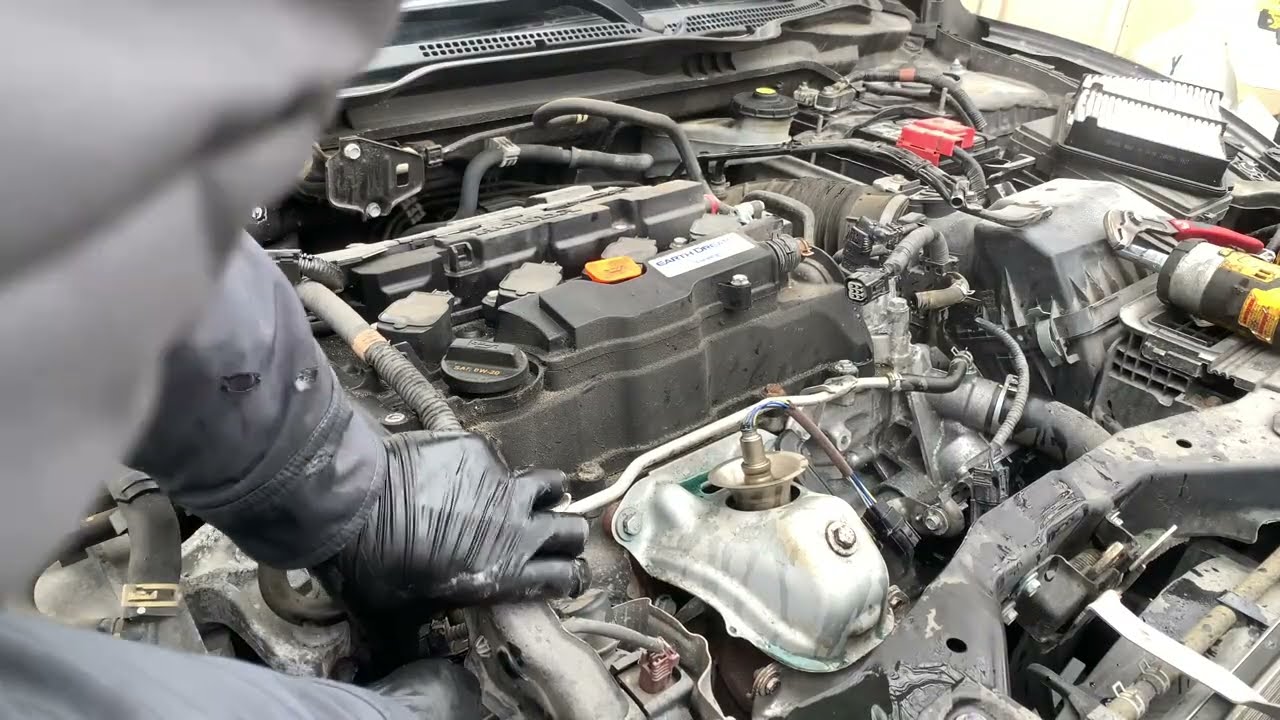
Final video in my 1996 Honda Accord timing belt and water pump replacement series. In this video, I complete reassembly, reinstall the splash shield and wheel, refill and bleed the cooling system, and start the engine for the first time.
I reinstall the lower splash shield, starting on the timing belt (driver) side and working toward the passenger side. One of the driver-side wheel well bolts spins freely, and there was already another broken splash shield bolt under the radiator on the driver side, so I left them as-is.
Next, I reinstall the driver-side wheel and lower the car. Inside the cabin, I set the heater to full hot with the fan turned off to prepare for bleeding the cooling system.
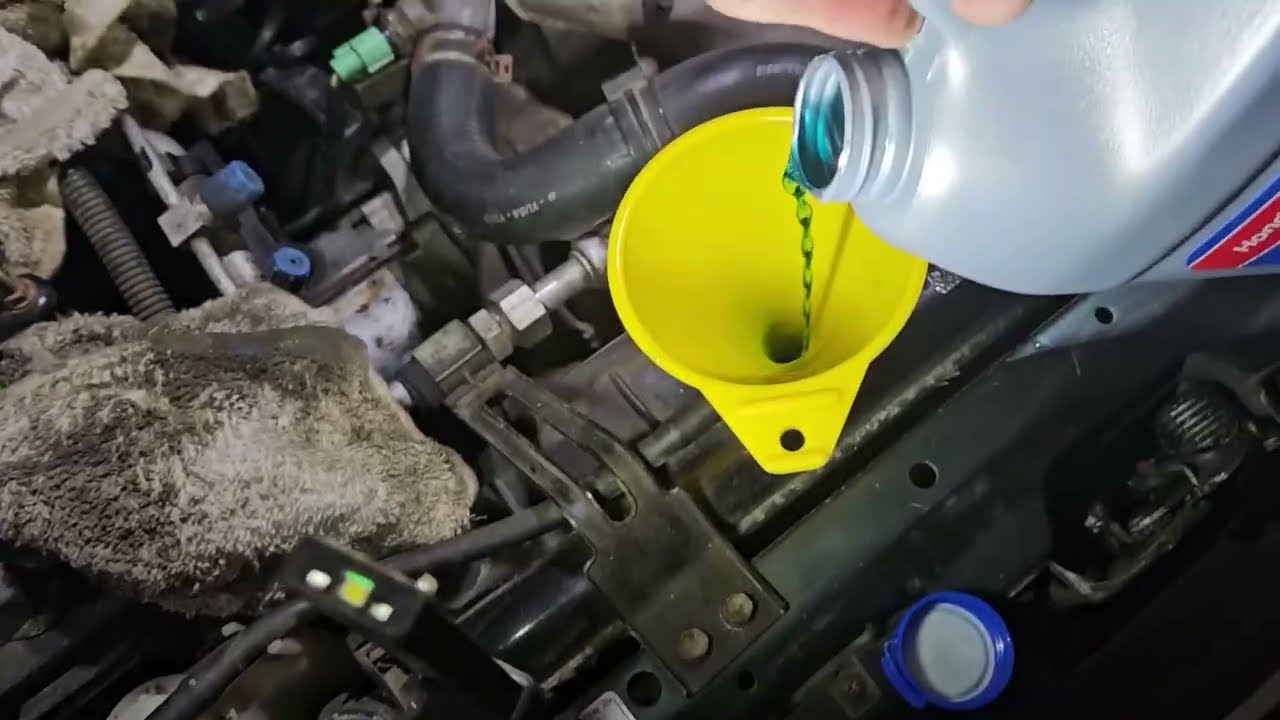
I then open the coolant bleeding bolt located behind the engine near the passenger side/firewall. Access is tight, but a stubby wrench works. I first fill the coolant overflow reservoir between the MIN and MAX lines (a flashlight helps make the markings visible), using genuine Honda coolant and a funnel.
This engine takes approximately 5.7 quarts of coolant, so two gallon jugs are required. After filling the reservoir, I fill the radiator (confirming the radiator drain is closed) until coolant flows from the bleeding bolt without bubbles. Having someone watch the bleeding bolt helps — I missed it at first and ended up with a small puddle underneath.
Once bubble-free, I close the bleeding bolt and attempt to torque it to about 7 lb-ft. Space is limited, so as long as it does not leak, it should be fine.
I reconnect the battery and start the engine for the first time. The engine starts and runs smoothly with no immediate coolant leaks. I raise engine speed to about 2500 RPM and wait for the radiator fans to turn on (this takes longer in cold weather). Do NOT run the car in a closed garage.
With the radiator cap removed, remaining air bubbles escape and some coolant spills. Once the fans come on, I shut the engine off, top off the coolant, and perform a final leak check. There are a few unrelated oil leaks, which will be addressed in future projects.
Overall, I’m very happy with the result. I’ll know over the next few weeks if the oil seals fully sealed since they are hidden behind the timing covers.
Special thanks to Eric The Car Guy (https://www.ericthecarguy.com/). I purchased his VManual and highly recommend it. I used it along with the factory service manual and other reference videos. If you’re doing this job, I strongly recommend supporting his work.
Hopefully this series helps others working on 1994–1997 Honda Accord timing belt and water pump jobs.
This is not meant to replace a factory service manual. Always follow proper safety procedures and verify specs for your specific vehicle.
#HondaAccord
#TimingBelt
#DIYAutoRepair
Повторяем попытку...
Доступные форматы для скачивания:
Скачать видео
-
Информация по загрузке: