TF2 Tactics: The Buff Banner
Автор: tf2tactics
Загружено: 2010-02-27
Просмотров: 142676
Описание:
from: http://www.tf2tactics.com/entry.php?2...
EDIT: due to the fact that there are so many mistakes (or missing info) on this video in regards to damage falloff distance. I have formed a Steam Group "TF2 Tactics" to release an early script of video projects to be approved by the TF2 Community.
The intention for the buff banner was to rally the troops and give them an incentive to attack. So far this morale-booster isn't used quite often. Some may argue that it's because the effect seems minimal... So let's jump right on to the tests!
With damage spread disabled the actual damage of a rocket launcher is around 100. Mini-crits add an extra 35% damage to a weapon's actual damage. 35% doesn't sound like much but let's consider the following:
A soldier will need 3 rockets to kill a scout, a sniper, a spy and an engineer, however with a buff banner you can kill those targets with only 2 rockets. And you need 8 rockets to kill a buffed heavy being healed by a medic, but with a buff banner you only need 4 rockets.
So in short you get a boost of damage, multiply this by the number of teamates in the area and you have a potent force by which to attack the enemy. But the best part is that mini-crits are still given a ramp-up. Which means the more mini crits you make, the more chances you get for full crits.
The buff banner can be used to increase your own damage if there are no teamates around. More soldiers are beginning to utilize the banner for personal gains.
Use the banner in conjunction with an uber, altho sometimes it's not practical, requiring a skilled soldier to make use of the uber effectively. You can also use the banner with a kritzkrieg medic. Use kritz to fill up your rage meter faster, usually 4 kritz rockets is more than enough to fill your rage meter.
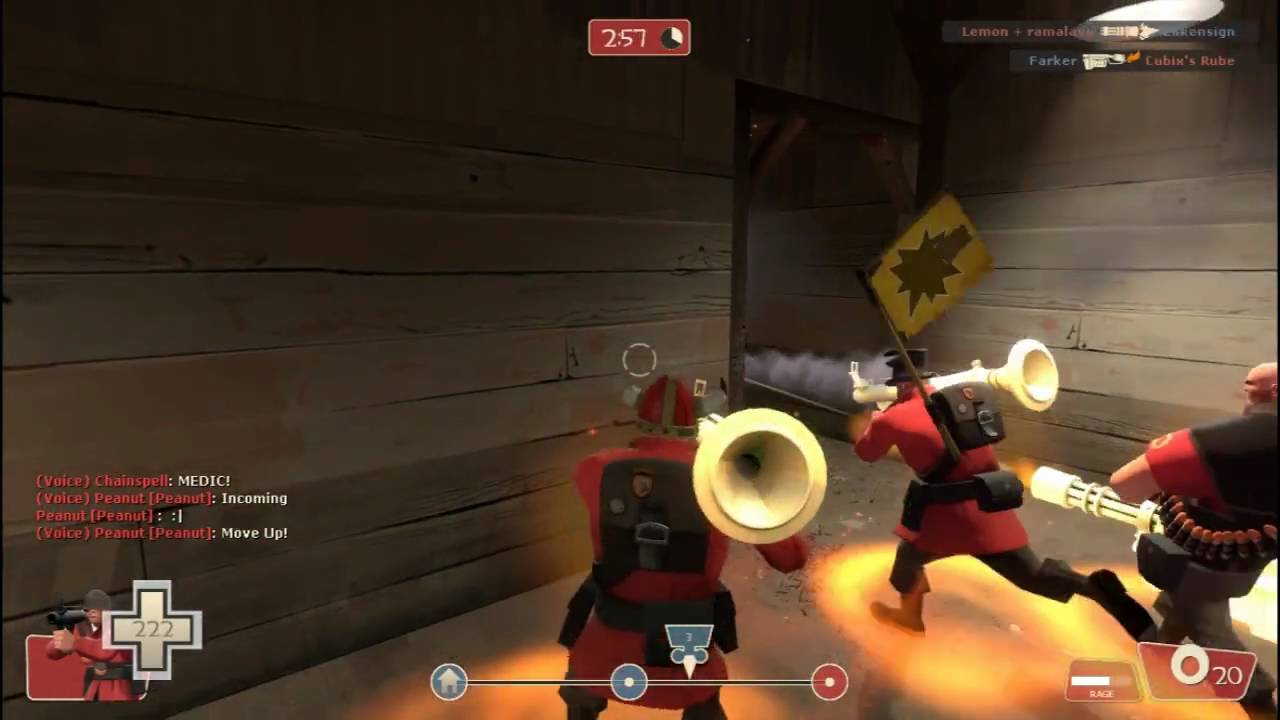
The area of effect for the Banner is large and passes through walls. Be careful when using the banner as you will become the main target. Stand behind your teamates if you have to.
Here are some notable tips for other classes:
The pyro's afterburn will deal mini-crit damage if the pyro is within the range of the buff banner.
Demoman have to detonate stickies before the buff banner effect ends even if the stickies were laid down while under the effect of the banner. Likewise all stickies already in the ground become mini-crit stickies while under the effect of the buff banner.
Heavies with buff banner can effectively mow down the enemy faster.
Medics will have to prioritize and heal soldiers with buff banners, buff banner soldiers can go a long way with the help of competent medics.
Friendly soldiers should exploit the opportunity to build up their own rage meter while under the buff banner. It is possible for 2 soldiers to alternately use buff banners, each feeding the other damage to build his own rage meter.
And now for some quick facts on the buff banner:
The Rage Meter requires 600 damage to fill.
The effect lasts for 10 seconds.
The Buff Banner has separate, unique calls for both the BLU team and the RED team.
And lastly, when trying to fill up your rage meter. Staying alive is the key, but it is important to note that when firing from a distance you will need more rockets as opposed to firing at a closer range. This is because the farther you are the less damage your rockets make. So in effect, staying at a farther range decreases your potential effectiveness.
Music: Digital Juice
#98 - Most Viewed (Today)) - Gaming - Australia
#85 - Most Viewed (Today)) - Gaming
#66 - Most Viewed (Today)) - Gaming - Japan
#89 - Top Favorited (Today)) - Gaming
http://www.tf2tactics.com
Повторяем попытку...
Доступные форматы для скачивания:
Скачать видео
-
Информация по загрузке: