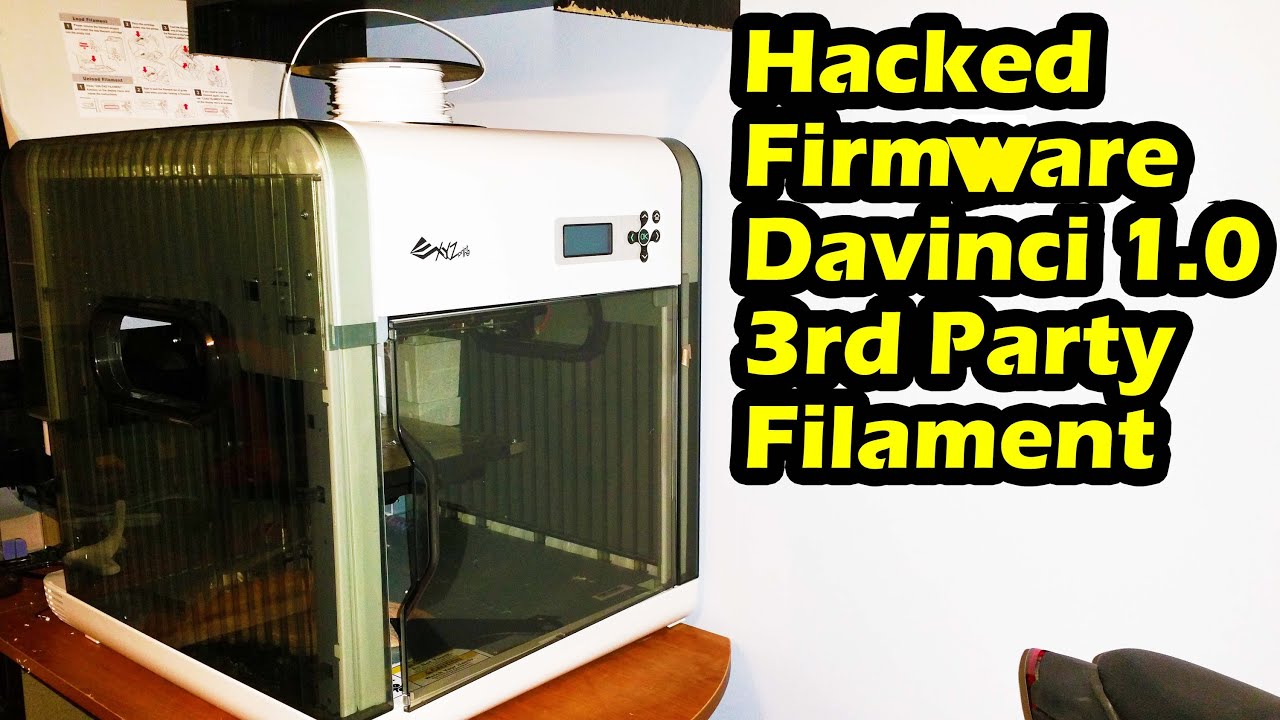
Flashing Davinci 1.0 3d Printer with Repetier Firmware - Easy Way
Автор: R3DLIN3S
Загружено: 2015-01-23
Просмотров: 46273
Описание:
Flashing Davinci 1.0 3d Printer with Repetier Firmware - Easy Way
Hacking XYZprinting Davinci 1.0 3d Printer - Repetier Firmware Flash
hacking firmware Davinci 1.0 3d Printer from XYZprinting repetier firmware.
How to use aftermarket filament in XYZprinting Davinci 1.0 3d Printer
Davinci 1.0 3D Printer: https://www.amazon.com/gp/product/B00...
** Disclaimer ** Info from voltivo.com. Use this information at your own risk.
The telltale sign you have a printer with the new board is if the serial number starts with 3F10A. All known official firmware for new printers are of the format 1.0.X AND WILL NOT WORK WITH THIS FIRMWARE FLASH.
Check here for progress on the new printers:
http://voltivo.com/forum/davinci-peer...
If your printer has a 1.1.X or 1.2.X firmware from the factory, or has a serial number starting with any other 5 digits, IT SHOULD WORK WITH THIS FIRMWARE FLASH.
1. Download and install the Arduino drivers so Windows can see your Da Vinci 3D printer after you install the custom firmware.
Here are the drivers:
http://www.arduino.cc/en/main/softwar...
2. Download and install Repetier software. It takes the place of the XYZware.
The software is, Repetier-Host:
http://www.repetier.com/download/
3. Download the firmware for the printer, download button bottom right of page:
https://github.com/bgm370/dav10
4. Retrieve and install the old version of XYZware (not the firmware) from this link. You need the old version on the disc to be able to update with the custom firmware.
http://voltivo.com/forum/davinci-soft...
5.Remove all network cables and or wifi from your computer so the computer cannot connect in any way to the internet. If you don't do this the printer COULD BRICK.
6. Make sure your printer is on, start XYZware and click "about" to update the firmware and click "update" firmware.
7. You will get a warning that the network is unavailable, close it and a new window opens that you can search for your new firmware file. Search for the repetier-0.91-alpha-davinci10.bin file you downloaded and select it as the firmware you want to upgrade with.
8. After a few seconds your new firmware is installed to your printer. That's it for now for the printer.
9. Bed height issues.
The very first thing before attempting to print anything is to manually lower the bed height. ON YOUR PRINTER push the "OK" button and select "Quick Setting" and select "Home All". Once the print head "homes" itself, turn off your printer. This is done so you can easily move the print head to the four corners on the build platform. I had to lower the platform with the three bed screws before I could even move the print head on to the print bed. I adjusted all three screws so the extruder nozzle just touches the glass in all four corners of the glass. This should only be done after initially "homing" the print head as mentioned above. This gets the build table at its highest point where you fine tune the nozzle to glass clearance or lack of clearance.
With that done, turn the printer back on and push the "OK" button and select "Quick Setting" and select "Home All". You should now be safe to print with the proper clearance for the nozzle.
10. Start the Repetier program. Connect to the printer with Port: Auto, Baud Rate:230400, Transfer Pro: Auto, Reset on Connect: Due native USB port, Reset on Emerg: Send emergency command and reconnect, Receive Cache Size: 127, check off use ping-pong
11. use a program like Slic3r to encode the setting for the printer on the file and export to .gcode
Link:
http://slic3r.org/download
12. drag and drop the gcode file into Repetier host and hit print.
Enjoy!!!
R3DLIN3S redlines red lines
Повторяем попытку...
Доступные форматы для скачивания:
Скачать видео
-
Информация по загрузке:


