How to Embroider: Arrowhead Stitch- Video and Step by Step Hand Embroidery Stitch Tutorial
Автор: Melissa at MCreativeJ
Загружено: 2025-07-28
Просмотров: 263
Описание:
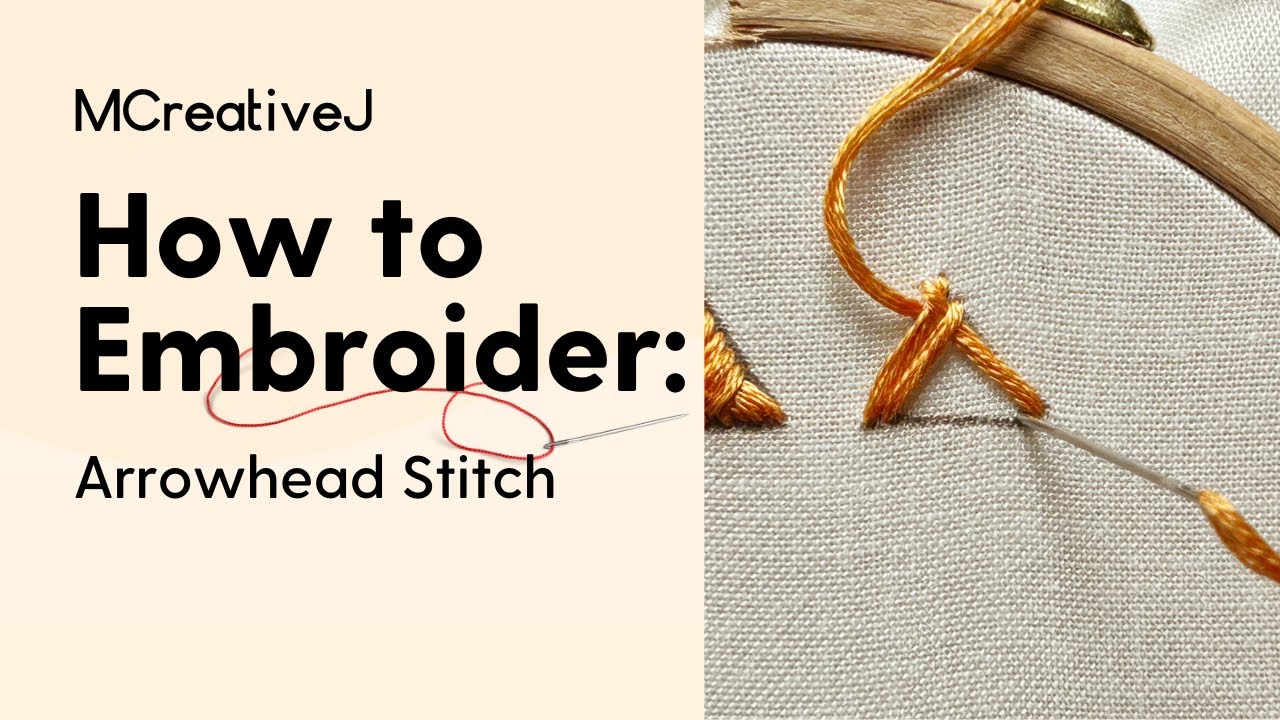
Embroider the arrowhead stitch with this beginner-friendly embroidery video & step-by-step DIY tutorial from MCreativeJ.
The arrowhead stitch is a triangular stitch that overlaps itself. It's a standalone stitch that could be used for hand embroidery as well as visible mending. Use this DIY video and step-by-step tutorial to learn how to embroider the arrowhead stitch.
Draw an equilateral triangle onto the fabric.
Next, bring the needle up in the bottom left corner of the triangle. Now bring the needle down slightly to the right of the top point of the triangle.
Next, bring the needle up slightly to the left of the top point of the triangle, next to the previous stitch, and bring the needle back down through the fabric in the bottom right corner of the triangle.
Now repeat creating stitches that are close together. Bring the needle up inside the previous stitch on the left side of the triangle. Create a straight stitch to the right outer edge of the triangle. This stitch should overlap the previous straight stitch.
Then bring the needle up on the left outer edge of the triangle. Now bring the needle back down at the bottom right of the triangle, inside the previous straight stitch.
Continue until the triangle is filled in.
For more hand embroidery tips, kits, and supplies visit mcreativej.com
Повторяем попытку...
Доступные форматы для скачивания:
Скачать видео
-
Информация по загрузке:


