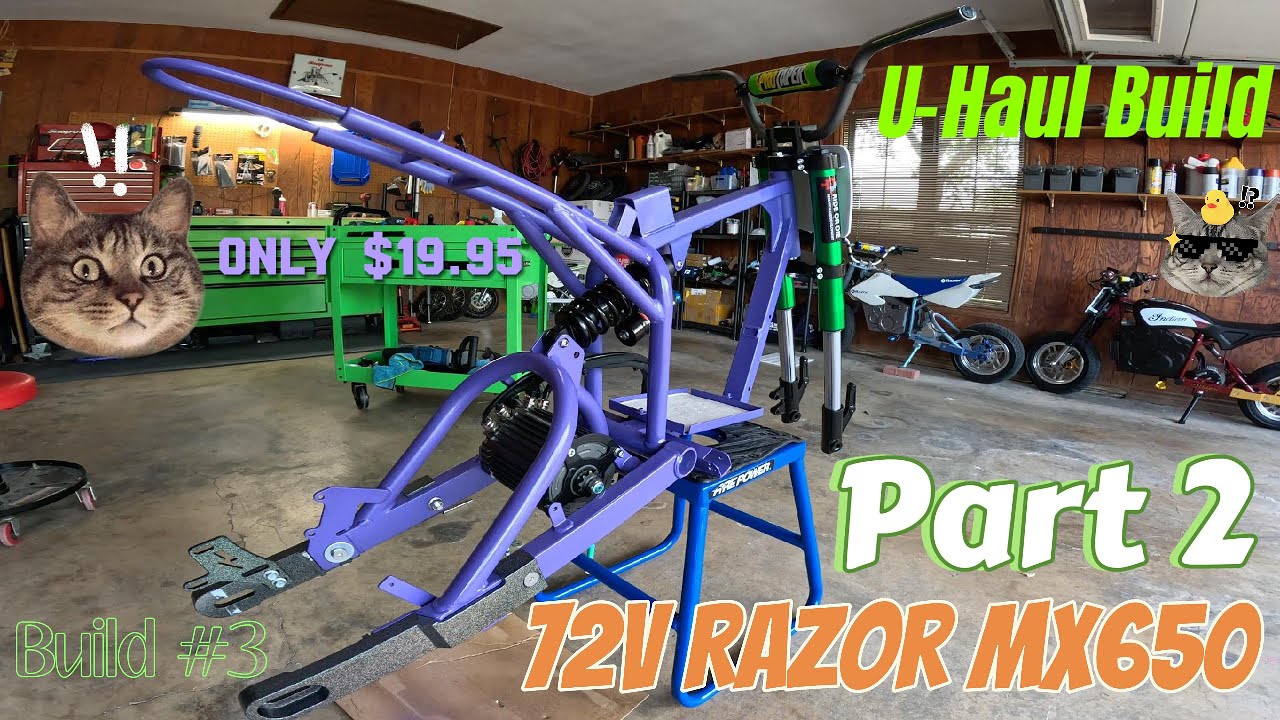
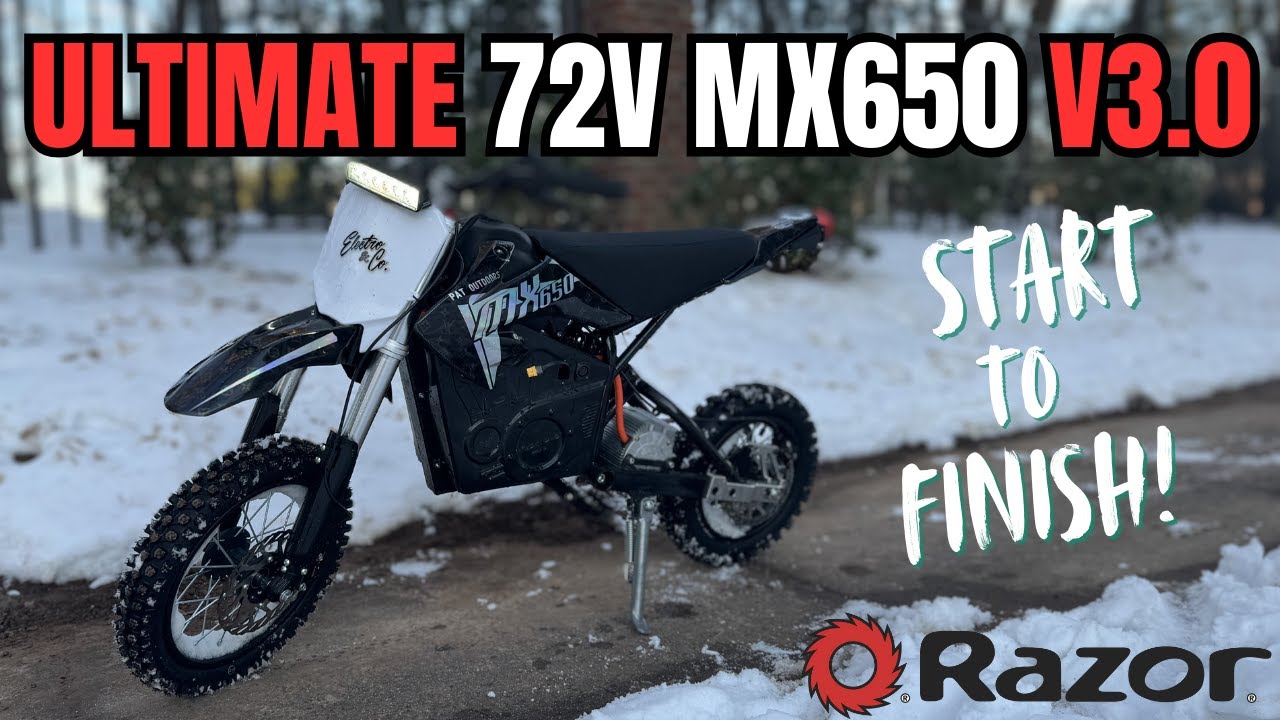
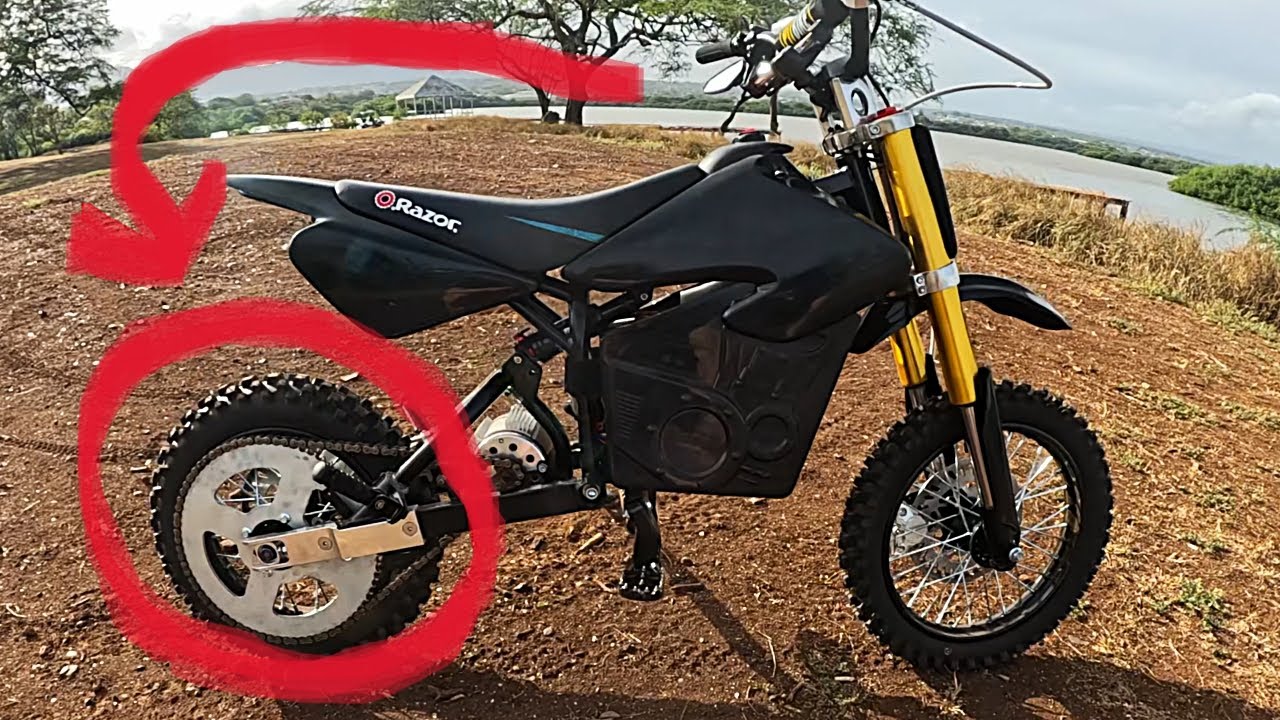
Razor MX650 Chain Kit Upgrade! Installing the HotPaxx 35 Chain Kit (Step-by-Step Tutorial!)
Автор: ItzMarcoz
Загружено: 2025-05-29
Просмотров: 3552
Описание:
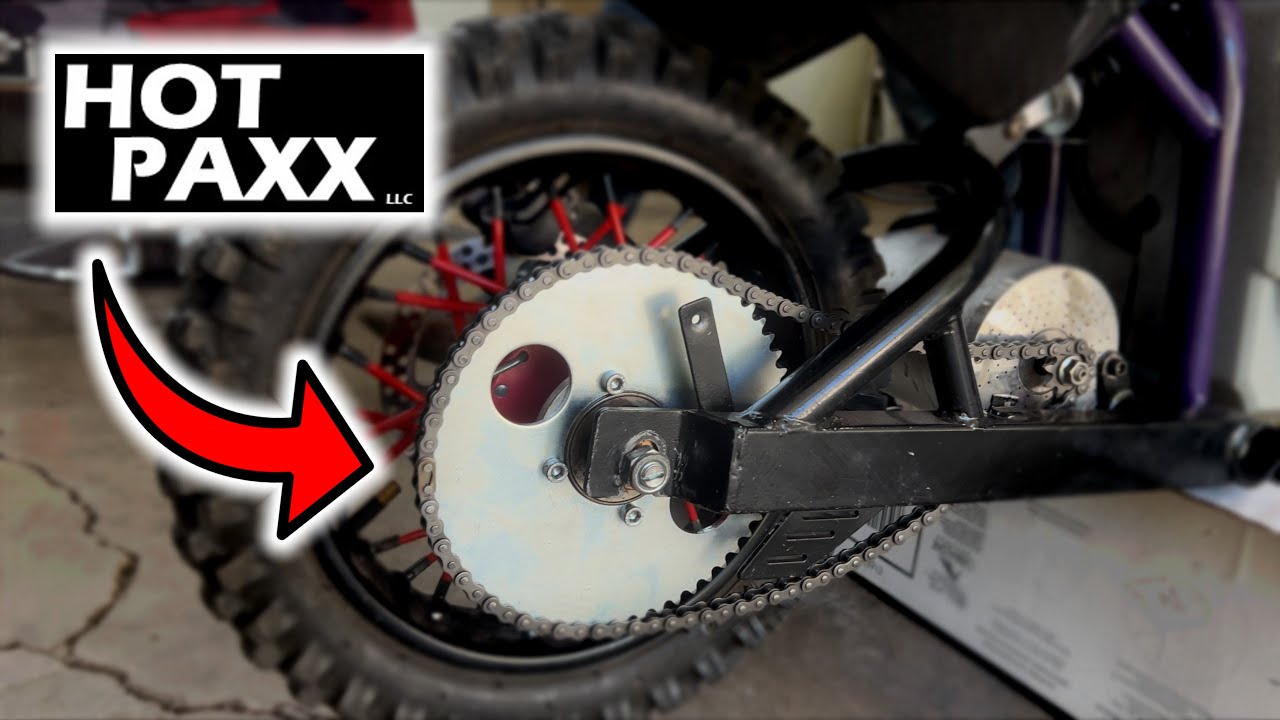
Looking to upgrade your Razor MX650 for better performance and durability? 💪 In this step-by-step tutorial, I’ll show you exactly how to install the HotPaxx 35 chain kit — a popular upgrade for riders who want smoother power transfer and improved speed. ⚡
Whether you're just starting to mod your electric dirt bike or you've been wrenching for a while, this guide covers everything you need to know — from removing the stock setup to properly aligning the new chain and sprockets.
🔧 What you'll learn:
Removing the MX650’s stock chain and sprockets
-Installing the HotPaxx 35 chain kit (with pro tips!)
-Checking chain tension, alignment, and performance
🎯 Tools I used:
Socket set & basic hand tools
Razor MX650
HotPaxx 35 Chain Kit
MY1020 Kit: https://www.hotpaxx.com/product-page/...
KR5V Kit: https://www.hotpaxx.com/product-page/...
🛠️ Why upgrade to a 35 chain kit?
Better durability
Smoother ride
Handles more torque (great if you're running battery/motor mods)
✅ LIKE this video if it helped!
💬 Got questions? Drop them in the comments — I reply to everyone.
🔔 SUBSCRIBE for more MX650 mods, maintenance, and performance upgrades!
🔗 Watch More Razor Mod Videos: • Razor MX650 Build
Timestamps:
0:00 - Intro
0:10 - Kit Unboxing
0:29 - Remove Rear Wheel Assembly
0:43 - Install New Chain Sprocket
1:12 - Install Rear Wheel Assembly
1:37 - Remove Old Motor Sprocket & Install New
1:56 - Preparing New Chain
2:08 - Using Chain Breaker to Get Desired Length
2:26 - Adding Extra Chain Links
3:19 - Install New Chain
4:00 Outro
Повторяем попытку...
Доступные форматы для скачивания:
Скачать видео
-
Информация по загрузке: