Pinhole Photography: How to make a pinhole camera from a cardboard box and a soda can
Автор: Don's Used Photo Equipment
Загружено: 2020-11-19
Просмотров: 1787
Описание:
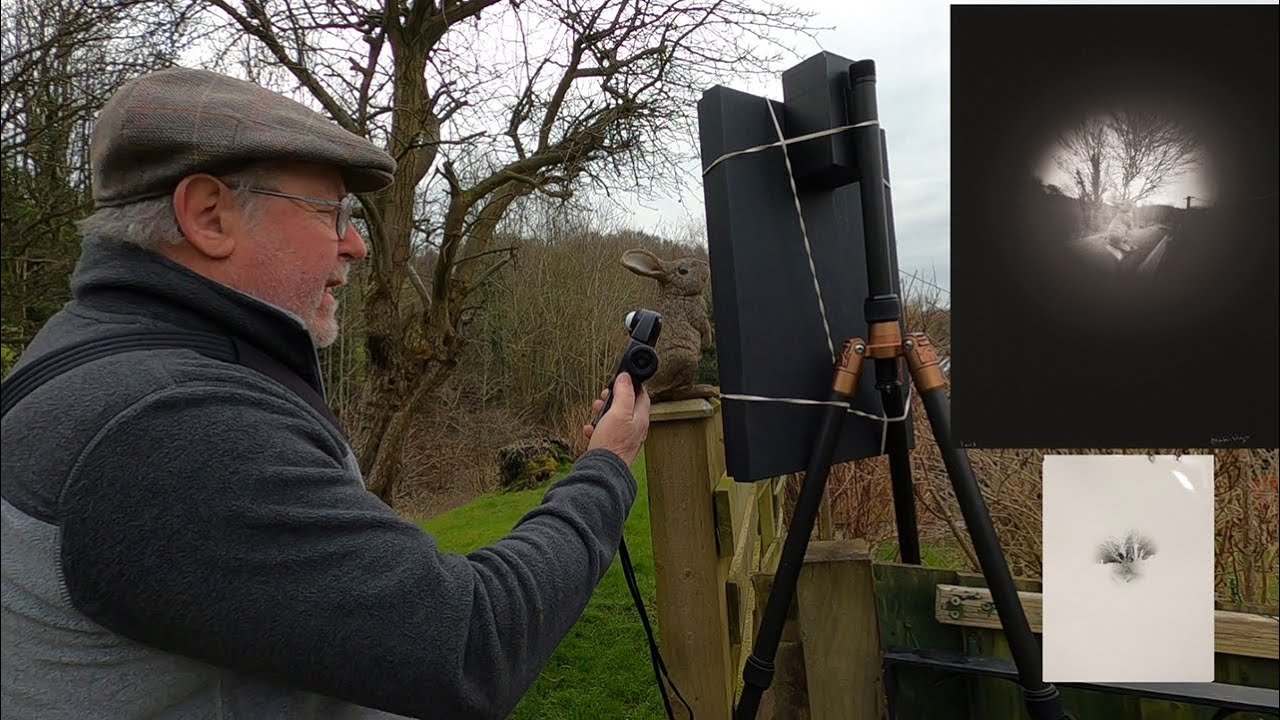
Pinhole photographer Mr. Holga and cardboard box retailer Todd Puckett of Don's Used Photo Equipment in Dallas, Texas discuss how to make a pinhole camera from a cardboard box and a soda can. Making a pinhole camera is easy to do and can be done at home with any opaque cardboard box or soda can.
Any size of aluminum (or aluminium) can can be used for this pinhole photography project. A standard 4x5 piece of Harman Direct Positive Paper or film will fit into a regular size 12 ounce can. Soda cans are also referred to as pop cans, beer cans, or Coke cans, depending on where you live.
Below is an outline of instructions to make a pinhole camera out of a cardboard box or soda can.
Pinhole Box Camera
===================
1. Find a cardboard box
2. Use black or opaque tape to seal the bottom seam and corners
3. Cut up a soda can into 1.5 in squares for pinholes
4. Cut a hole in one end of the cardboard box for the pinhole. The hole should be smaller than the pinhole. Do not lose the cardboard cutout.
5. Use a needle to poke a tiny hole through one of the pinhole squares
6. Smooth the rough edges of the pinhole with very fine grit sandpaper
7. Tape the pinhole onto the cardboard box from the inside
8. Replace the cardboard cutout in the cardboard box. This is the shutter.
9. In a darkroom with red or yellow safe light, insert a piece of Harman Direct Positive Paper in the cardboard box at the opposite end from the pinhole
10. Use black or opaque tape to seal the top seam and corners
11. Estimate the pinhole camera f-stop with MrPinhole.com
12. Meter the exposure using the Pinhole Assist app
13. Develop Harman Direct Positive Paper
14. Enjoy photograph
Pinhole Soda Can-mera
===================
1. Find two soda cans. Finish drinking them, if needed. Suggest rinsing them with water.
2. Remove tab from body can.
3. Use can opener to remove top lip of body can. Do not turn can opener around lid. Use grips to pierce around the lip one section at a time.
4. After removing lid, tape the body can top lip with black or opaque masking tape. Cover the sharp edge.
5. Cut the head can around the middle. Then use scissors to cut the can near the bevel. The lid and top bevel will allow the head can to sit on the body can.
6. After trimming the head can, tape the head can with black or opaque masking tape. cover the sharp edges.
8. Push the head can tab back into place.
9. Add black or opaque masking tape to the underside of the head can to prevent light leaks.
10. On the side of the body can, pierce the can with a needle
11. Smooth the rough edges of the pinhole with very fine grit sandpaper
12. Add black or opaque masking tape over the pinhole on the body can
13. In a darkroom with red or yellow safe light, insert a piece of Harman Direct Positive Paper in the body can at the opposite side from the pinhole
14. Place the head can on top of the body can and seal with black or opaque masking tape
15. Estimate the pinhole camera f-stop with MrPinhole.com
16. Meter the exposure using the Pinhole Assist app
17. Develop Harman Direct Positive Paper
18. Enjoy photograph
Please subscribe, like, comment, and share this video with friends and enemies. Cheers.
Mr. Holga
Website @ https://mrholga.com
Facebook @ / realmrholga
Instagram @ / mrholga
Reddit @ / mrholga
Twitter @ / mrholga
Don's Used Photo Equipment
2731 Irving Blvd, Dallas, TX 75207
Phone: 214-630-4062
Website @ http://donsphotoequipment.com
Facebook @ / donsusedphoto
Instagram @ / donsusedphoto
Twitter @ / donsusedphoto
Bob is our good friend Lisa Elmaleh.
Video @ • Lisa Elmaleh: Collodion Wet Plate Tintype ...
Royalty Free Music from Bensound @ https://www.bensound.com
Повторяем попытку...

Доступные форматы для скачивания:
Скачать видео
-
Информация по загрузке: