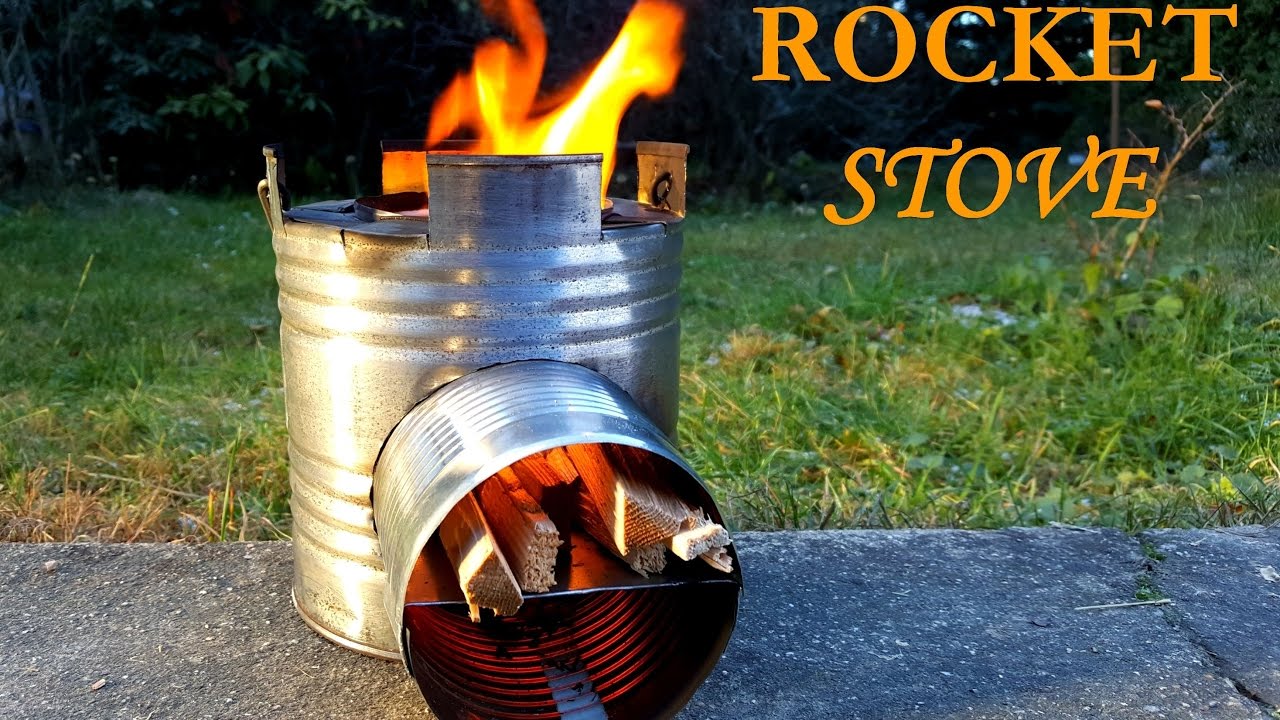
How to make Rocket Stove - DIY - homemade from can
Автор: Brick Vision
Загружено: 2016-12-04
Просмотров: 52873
Описание:
How to DIY Home Made HowTo Homemade
Please SUBSCRIBE to Follow new Uploads: / @brickvisiontv
In this video clip I show you how to easily make your own rocket stove from cans.
Need:-1 LAEGE CAN (1)
-2 SMALLER CAN (2)
-3 INSULATION – Grab some from the attic
-4 TIN SNIPS – or anything that can cut metal!
-5 HEAVY-DUTY GLOVES So you don’t cut too many fingers off!
-6 MARKER – To mark where to cut on the can.
-7 WIRE HANGER – To make the handle with.
Start: 1. Cut Center Hole! With the large can , use a lid from the small can and trace a circle.Once you get something that could pass as a circle, get to cutting! This is where you get to use your Tin Snips! But if you want live on the edge, pull out a mini saw, don’t wear any safety goggles, use your toes to cut everything, and go to town!!!
2.Cut a Hole on the Inside Can. Now do the same thing. but this time measure and cut the can that will be going INSIDE the can.
Using the piece you just cut out of the can, place it on top of the smaller can and trace!
3.Cut and Insert the Last Can. With the can you haven’t touched yet, cut off the rim first. Then make about 1.5 inch tabs around the can. (see picture if I’m not making any sense :) Squeeze, smash, squish and do whatever it takes to get it through both cans.Fold some of the tabs up to make a snug fit.
4.Cut Lid.With the top lid, trace a circle in the middle of it using one of the smaller cans.Then yes, cut it out.
5.Fill With Insulation! First cut tabs around the large can. We cut 8 total, but look below to see approximate spacing. Insulate with whatever you want that won’t catch on fire, I just grabbed some insulation from the attic for mine :) Pack it in until you can’t fit anymore! Fold down 4 tabs, use a hammer if you need to help flatten them. Place the lid with the circle cut into it, on top. Hammer the remaining 4 tabs on top to secure the lid in place. OR – Just look at the pics :)
6.Add a Shelf! Almost done! Not sure where my pictures disappeared to for this step (maybe the same place as the I-Pad), but you basically use some of the scrap metal and make a shelf!
**Update – I found my pics!!!**
Cut a rectangle metal piece with flaps that will fit inside. Hammer the metal to make if flat if necessary. Cut about an inch on each side of the can. Slide the shelf into place. Fold down flaps.
7.Make a Handle For a finishing touch add a handle to the rocket stove by using a metal hanger. Drill two small holes and thread a piece of hanger into them and bend it into place.
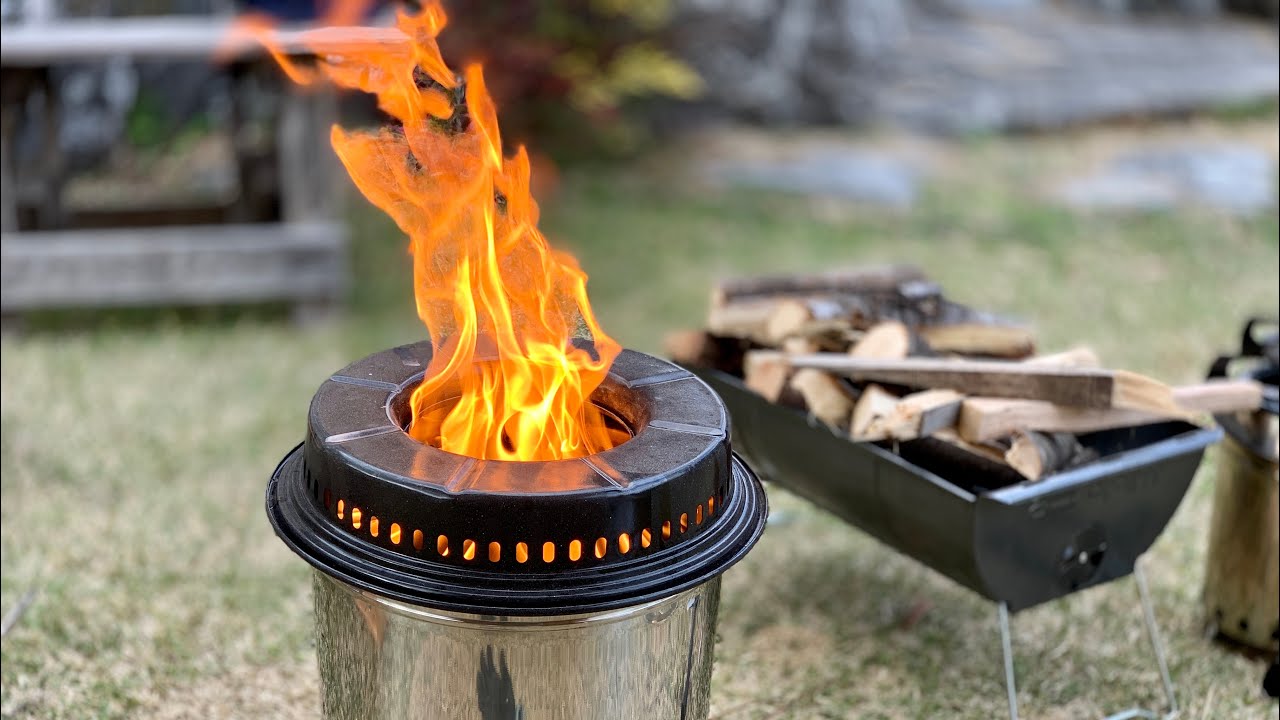
8.You’re DONE! Time to Launch! I usually just cut up some of the scrap wood we have lying around, but use whatever you have that will fit and burn! Put some small pieces of wood on the shelf (not under, it needs to breathe) Throw some dryer lint in (Save this amazing stuff if you aren’t already :)
Light it! And Poof! If will be up in flames before you know it!
Now COOK with it!
Keep feeding in wood to keep the fire going for as long as you need!
This is sure to WOW anyone you show. So bust it out in your front yard, take it to work, or give it as a teachers’ gift (maybe they can use it to burn some of that ugly apple decor they always get)!
My favorite is to help the kids cook with it and teach them how to make their own dinner!
Hopefully these instructions make sense. Sorry, if there’s a million typos and awful grammar, it’s because I’m typing and editing posts while kids are beating each other with Wii controls. Gotta go!
It works very well. If you like this video I will be happy for share and subscribe.
Повторяем попытку...
Доступные форматы для скачивания:
Скачать видео
-
Информация по загрузке:


![Простая самодельная ракетная печь [так просто!]](https://imager.clipsaver.ru/gXjA0zdZ78I/max.jpg)