AUSOM DT2 PRO - unscrewing the steering seat post section - episode 2/5
Автор: Lechek
Загружено: 2025-06-20
Просмотров: 1723
Описание:
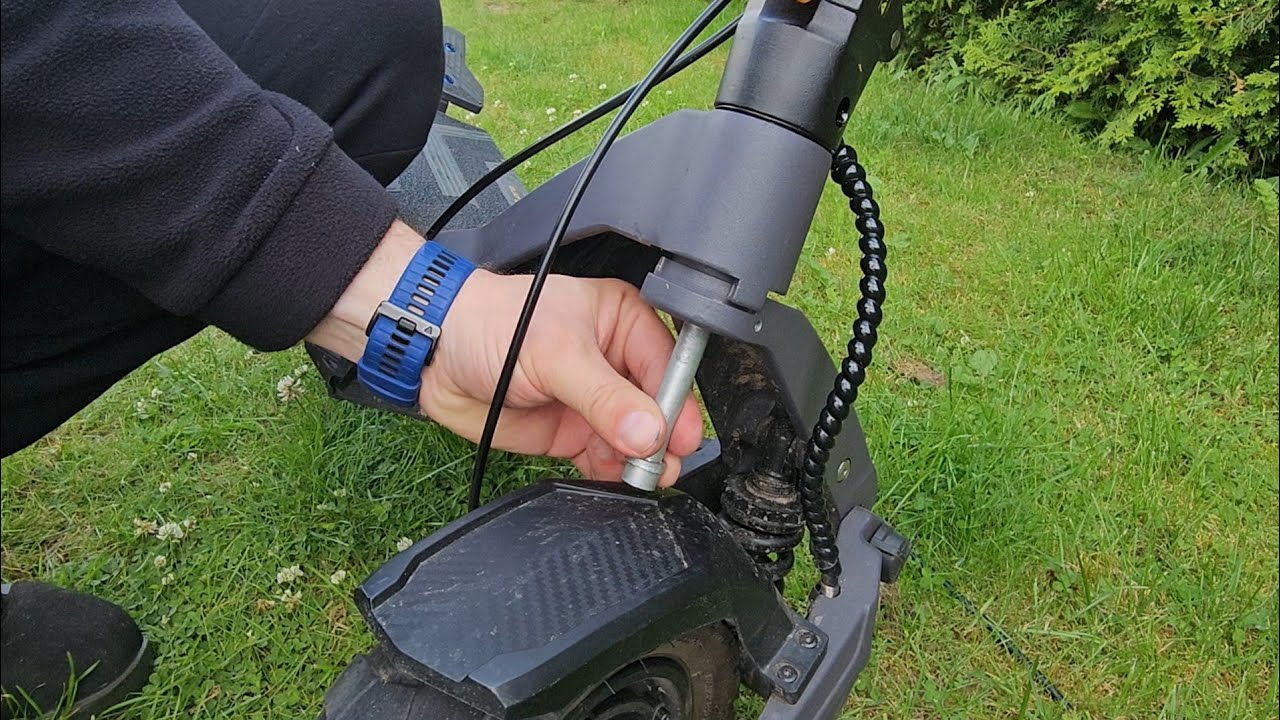
AUSOM D2 PRO - HANDLEBAR POST LOOSENESS
This episode is the only one of 5 where I demonstrate the problem of AUSOM D2 PRO seatpost play. I then disassemble the entire assembly, including the seatpost + connecting rod bearing + front swingarm knuckle, clean it, show traces of the components working together, and take some cursory measurements.
Episode 1/5 • AUSOM DT2 PRO - looseness on the steering ...
Episode 2/5 • AUSOM DT2 PRO - unscrewing the steering se...
Episode 3/5 • AUSOM DT2 PRO - disassembly of the ODC 3/5...
Episode 4/5 • AUSOM DT2 PRO - cleaning and inspection of...
Episode 5/5 • AUSOM DT2 PRO - inspection and measurement...
What I didn't record was the solution to the problem, which involved proper assembly and adjustment.
I thoroughly cleaned the components, paying particular attention to the seat and thread surfaces. I applied a thin layer of graphite grease to all the components adjacent to the bearings. Then I reassembled everything in reverse order, tightening the main pin from the bottom of the steering knuckle until it was fully tightened, so that the steering column could barely turn. Next, I tightened the Allen screws at the bottom of the sides of the seat post, gradually, alternating until I estimated a torque of around 12 Nm. Then I returned to the main bolt from the bottom and loosened it slightly to reduce the tension on the bearings and achieve smoother rotation of the seat post while maintaining a noticeable, gentle resistance and a straightening effect on the handlebars in the straight-ahead position. Finally, I unscrewed the two small screws located at the bottom where the seat post meets the steering knuckle. These prevent the main pin from loosening spontaneously.
Here's another tip: I didn't apply any grease to the surfaces where the steering knuckle pivot connects to the seatpost base. In my opinion, this requires the largest possible contact surface and friction, which is additionally caused by the pressure of the screws we screw into the sides of the base (they have "bean-shaped" shapes). Therefore, I tightened them to the target torque before finally tightening the main pin.
The result of all the work I did is completely satisfactory :D
Повторяем попытку...
Доступные форматы для скачивания:
Скачать видео
-
Информация по загрузке:


