DIY Parkour Vault - How to build a Parkour Vault any size full tutorial with easy steps
Автор: Steven Sullivan
Загружено: 2019-11-21
Просмотров: 9061
Описание:
Blueprints: https://i.pinimg.com/originals/fe/19/...
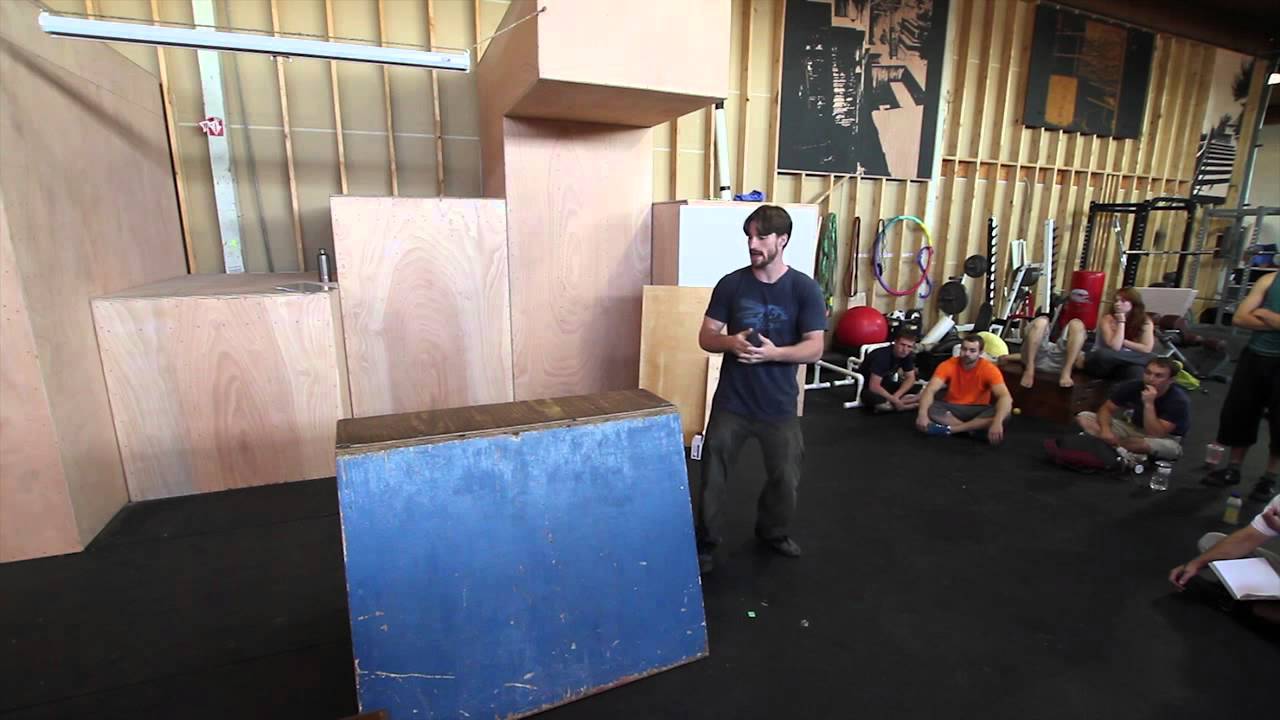
A vaulting block is perfect for indoor and outdoor training and building one is easy, even if you've never built anything before.
Before beginning choose the dimensions you want. We wanted a 3 and a half foot tall vault, because it's low enough to be comfortable for most vaults, and high enough to try higher level tricks. Standard comfortable height for most is about 3 feet give or take.
Consider if you want the vault inside, or outside, and factor in whether you'll have it in lots of rain or snow.
Next you'll want to choose a design. Schematics can be found all over the internet. We used the parkour visions design for a 3 foot vaulting block found in the description below. It even has a list of materials, measurements, and some general steps.
The materials you will need are 2 by 4's, 3/4in thick plywood, and a box of both 2 inch and 3 inch screws. If you're planning on the vault being outside and in the rain like us, buy exterior screws, and exterior, or weather-treated wood. All materials can be bought at Lowe's, Home Depot, or your local shop.
Since our vault was 3.5 ft, we calculated new measurements for our vault pieces, keeping the 18.8 degree slant in the original schematics.
Tools you will need include a power drill, circular saw, and an extra set of hands if you have them, or clamps if you don't. These will help keep the pieces still when cutting or attaching. You will also need a tape measure, and some sort of tool to measure angles, we used a speed square.
Procedure:
First cut all the wood into measured lengths.
Next build the base, attach it with 3 inch screws, use the speed square to make sure each corner is at 90 degrees.
Then build the rest of the frame. Remember to use 3 inch screws when attaching 2 by 4's and 2 inch screws when attaching plywood to the frame. Use multiple screws in each of the legs, not just one, since leaving one means the legs can still rotate.
We also attached extra supports in between the beams, since we want to tip the vault on it's side to use as a takeoff ramp.
Finally attach the plywood to all desired faces using 2 inch screws.
Optionally you can sand and paint the wood to eliminate the risk of splinters and improve functionality and longevity, but we decided not to.
That's all! Have fun training and be safe! 😊
Best Garden Trampoline Ever! https://amzn.to/49pZUIU
Повторяем попытку...

Доступные форматы для скачивания:
Скачать видео
-
Информация по загрузке: