etrailer | Mount: Hopkins Smart Hitch Backup Camera and Hitch Aligner System on a 2010 Honda Element
Автор: etrailer
Загружено: 2016-03-10
Просмотров: 6343
Описание:
Click for more info and reviews of this Hopkins Backup Camera:
https://www.etrailer.com/Backup-Camer...
Check out some similar Backup Camera options:
https://www.etrailer.com/dept-pg-Back...
Search for other popular Honda Element parts and accessories:
https://www.etrailer.com/vehicle/2010...
https://www.etrailer.com
Don’t forget to subscribe!
/ etrailertv
Full transcript: https://www.etrailer.com/tv-install-h...
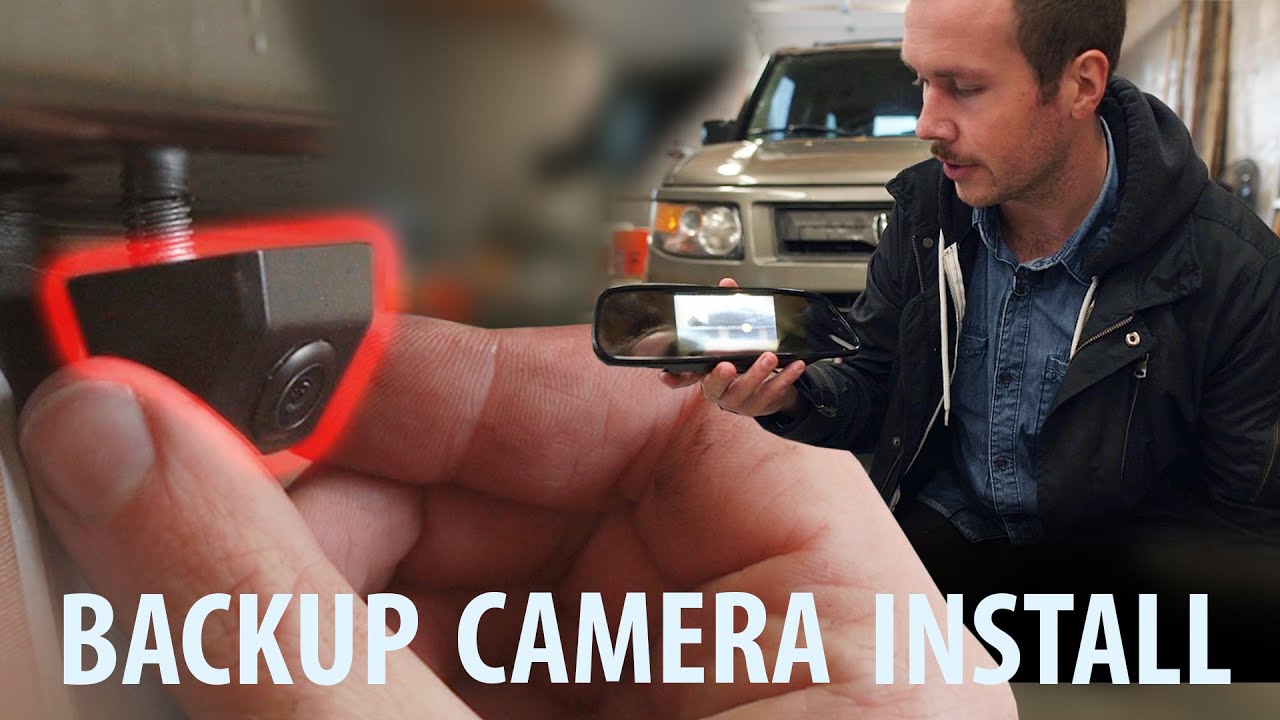
Today on our 2010 Honda Element, we're going to be taking a look at and installing the Hopkins Smart Hitch Backup Camera and Hitch Aligner System. Part number HM50002. Here's what it looks like once it's installed. As you can see we're in trailer mode now so it's kind of a V shape, it's going to go right to the ball, that you can see right there at the bottom. You can switch it to everyday mode, simply push it in. That gives you a nice square box and the closer you get to something it'll start to make a little more noise so when you get to the yellow it kind of a caution zone, when you get to red that's a danger zone. You can up to an inch and a half away when that red starts to go off. If you want to back up to a trailer you would simply switch it to hitch mode and you start to back up.
The closer you get you'll see the difference, now the yellow's flashing, once you get to red your ball should be right below the hitch. We have it set in everyday mode, we can start to back up, as we get closer to the wall it'll go from green, yellow for the caution and the red when you're about an inch and a half away. We have a 3" colored screen that is adjustable. You have your brightness, contrast, color, sharpness and a reset for the whole thing. These are ideal for hooking up to a trailer but they're' also great for everyday use if you have small children in the area you can see what's behind your vehicle before you back up, if they left any toys out. The visual along with the audible it's going to help you determine how close you are to the item you're backing up to. Let's go ahead and see how it's installed. These are the parts that are going to come with your kit.
This is your licence plate frame, it's going to have your two back up sensors, and the camera. All adjustable. That's going to plug in to our harness. If your vehicle has the 7 way factory connector you would plug this in between, ours does not so we're going to go ahead and cut off the black and the red wire. We're going to run those to the taillight.
Also, your 3" color monitor and the hardware needed to install it. We'll begin by removing the licence plate. If your vehicle had machine style screws holding your license plate on the ones that come with the kit are actually designed for the plastic insert style. It's more of a metal screw or a pointed screw. You'll have to pick up some longer ones, like we did, at your hardware store. Start by taking your plate, sliding it inside the grooves and put your new bolts through. We'll open up the hatch, It's going to be necessary on this vehicle to remove this whole trim panel here.
To do that, there's a Phillips screw here and we also have to pop off this little handle on the lever. We'll take a trim tool. If you don't have a trim tool you can use a screwdriver just be really careful. You're going to pry it off there. It just slides down on there so when we're done we'll just snap it back down. We're going to go ahead and take out that Phillips screw, just pull the lever back a little bit, gain access to it. Set your screw aside for reassembly. We'll take our panel tool, or you can use your flat blade. You're going to come underneath here and just pop up the panel all the way across. You'll have to pull your weather strap out of the way. Once you've got it released, you can slide the panel up. You can see there are your clips. Some of the clips are going to stay in there so you'll have to pop those out. Simply take your flat blade or your panel tool and just pop them out of position. You'll simply slide it back in, we can set this aside for reinstall in a little bit. We have the panel off of the inside, we're going to need to run the wire, the cable for the camera, that's going to go to the front of the car. We're going to have to drill a little hole. We've loosened this up to drop a little bit, we're going to run a hole right through here. We're going to start with a pilot hole. We can see that there's nothing going to be in our way. We can take our 11/32 drill bit and enlarge the hole for our grommet to fit into that is supplied with our kit. Once you have the hole drilled out go ahead and clean up your outside edges with a file so you don't have any sharp burrs. Take our grommet, slide it over the plug. You have to work it down. This is kind tight where it comes over the top part of the plug. We're going to push our plug thro
Повторяем попытку...

Доступные форматы для скачивания:
Скачать видео
-
Информация по загрузке: