Generator | Disassemble
Автор: ✩ POP ✩
Загружено: 2015-10-24
Просмотров: 151224
Описание:
Filmed Oct 2015 using the Samsung Galaxy Note 8, edited with YouTube editor, and mixed with "An der Schoen Blauen Donau" by Strauss from YouTube free library. Annotations best viewed in desktop mode.
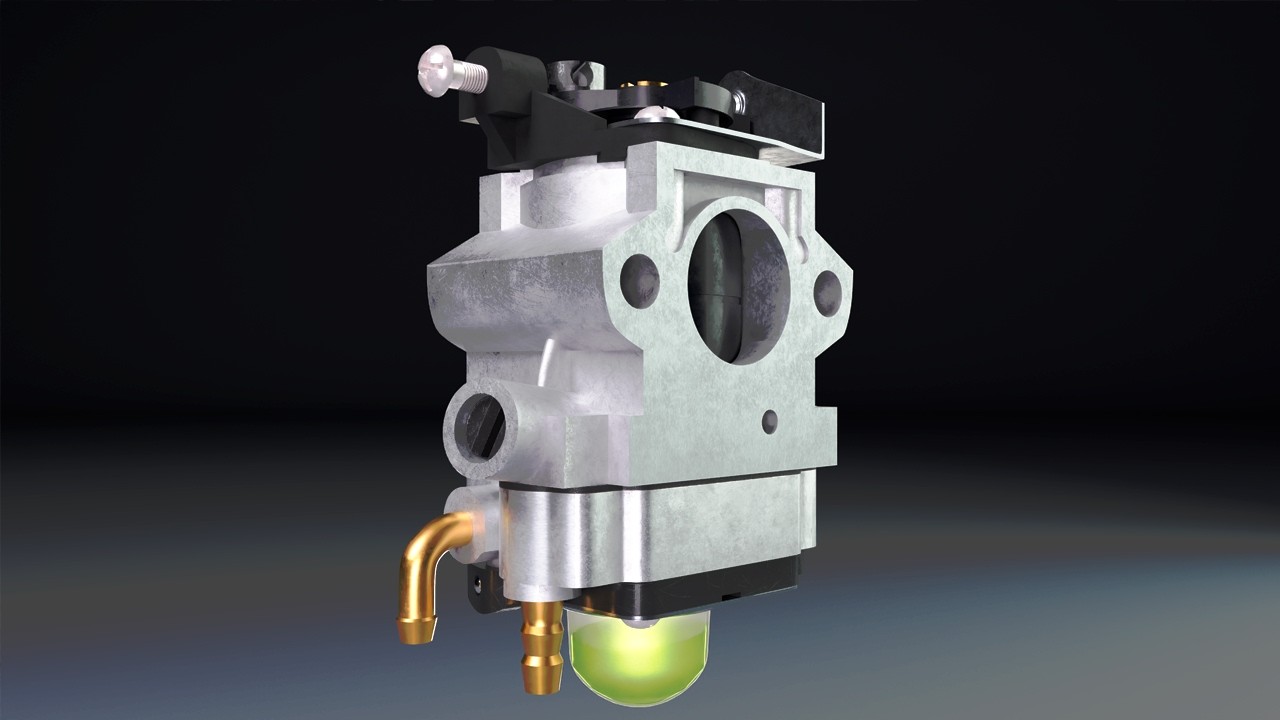
Briggs & Stratton: Generator 030235 Rev 00 | Engine 204412-0163-E1.
Disassembling a generator is quick and easy when you know how to do it. The hardest part for most people is removing the armature from the motor tapered drive shaft, which has a tight friction grip on the armature. This is mostly by design and partly due to dirt collected between the tapered drive shaft and the armature. You don't need to tap a thread on the end of the armature to press or pull it off. All you need is a little patience and a 4 lb dead blow plastic mallet with a healthy strong arm behind it!
I needed to disassemble this generator, because of a rather sizable oil leak that pooled on the garage floor. I wasn't sure if it came from the crankcase cover gasket or from the motor drive shaft seal. These are the best case problems, since the gasket or seal replacements are cheap. Worst case scenario is an invisible crack in the crankcase (I hope not)!
The steps to disassembling the generator to get to the drive shaft and the crankcase are simple. If done correctly, disassembly can be accomplished in 10 minutes.
NOTE: Pause the video as needed to see what I'm doing. It's pretty simple, so you probably won't need to. Also, you'll think how easy it looks and it is, even though I did loosen things up before shooting some of the scenes, because I can't hold the camera and grunt at the same time!
This video was made with my Samsung Galaxy Note 8 tablet and YouTube's video editor with their free-to-use music. I used the back of my pickup as a workbench, which kept everything from getting lost. Also, keep your loose parts and fittings neatly in a labeled bag or container, so you'll have it ready for assembly.
Step 1: remove the stator retention bolts from the motor housing. The stator is the big cylindrical casing around the electrical generating side of the generator. It has a bunch of windings of wire on the inside. On my generator, there are long shaft bolts that hold the plastic black end to the side of the cylinder, which should NOT be removed. Look for a series of short bolts at the other end at the crankcase. You will also have to unbolt this end from the frame supports. Then place that end of the generator on a plank of wood and the motor crankcase on another smaller plank to support it fairly level. The assembly at this point will wobble on its rubber engine mounts, but that's okay.
Step 2: Unplug the connector cable to the generator panel, if you have one. Also, it's usually wise to remove the spark plug to prevent accidental starts. Mine is a pull start, but it could happen by some freak occurrence.
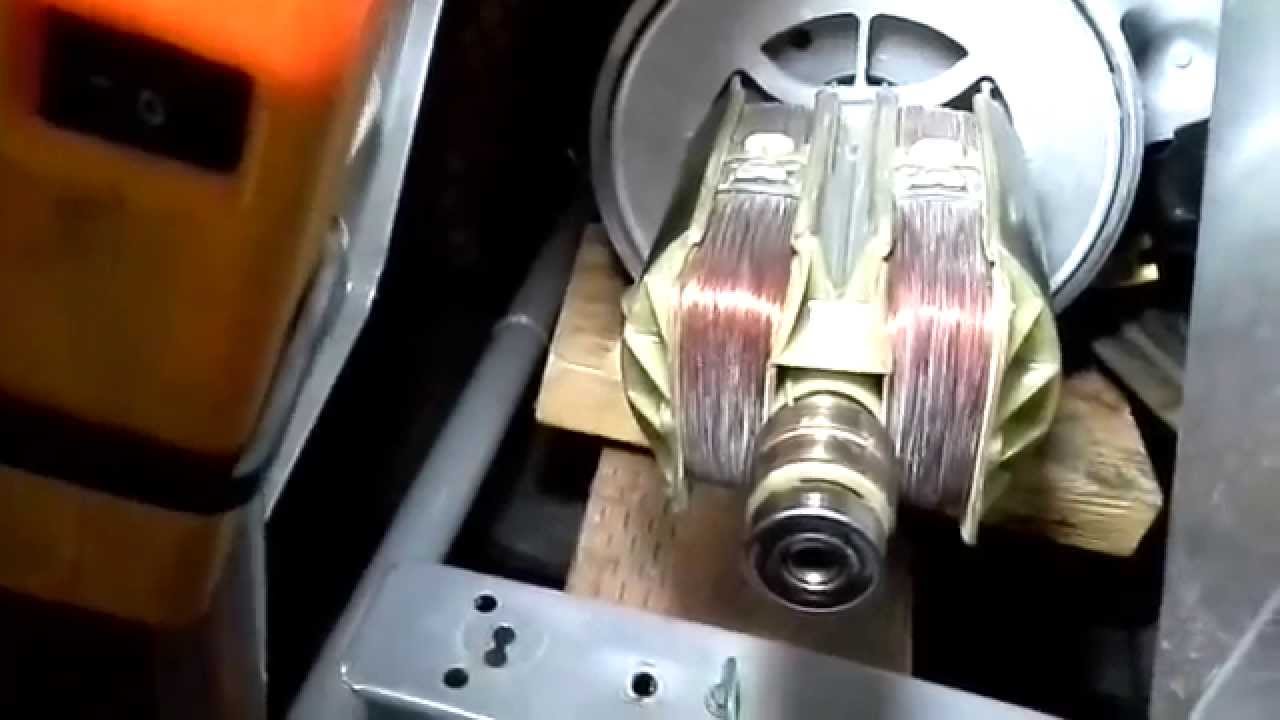
Step 3: Slip off the stator very carefully, so you don't pinch wires, crack stuff, or catch your fingers! It may be heavy, especially if you have a very large generator like mine.
Step 4: I tipped my generator on its back end so the armature is pointing up. This allows access to the long retaining bolt that secures the armature to the drive shaft center. Remove that long bolt. I used a 13 mm socket to turn the bolt, while keeping a log extension rod to jam the armature's flywheel to keep it from turning as I loosened the bolt.
Step 5: Take your 4 lb dead blow mallet (only $11 after tax from Harbor Freight Tools, using their 20% off coupon on a sale price down from $19) and tap - as hard as you can - 3 times against the hard iron core (the metal part) of the armature. DO NOT strike the wire windings or you will ruin the armature! Strike on one side, rotate that shaft, and strike the other side. You will hear a pinging, then a thunk sound. The armature will be loosened from the tapered crankshaft. It will likely fall off. I slip mine off in the video, because I had pounded it loose before using the camera. It was easy and took about 1 minute of hard tapping. Afterwards, I used a purple piece of Scotch Brite pad to clean the drive shaft and the inside of the armature. Some people have suggested using some anti-seize paste when reassembling to make future removals easier, but it's up to you. The shaft and the armature are supposed to marry together, so I don't know if any material in between would have an adverse effect. Also, anti-seize contains a cutting compound, which is food for thought. Ask your local generator shop what they would do.
Step 6: Now that you have access to the motor, crankcase, and drive shaft. Make your repairs and reassemble the generator.
Good luck. Have patience. And comment on how you managed with your generator disassembly and any good hints. Also, 🌟 Subscribe and Like 🌟, if you are so moved.
🌟Thanks for watching!🌟
Повторяем попытку...
Доступные форматы для скачивания:
Скачать видео
-
Информация по загрузке: