Step-by-Step 4L80E Transmission Teardown: Full Disassembly & Inspection
Автор: Automatic Transmission
Загружено: 2012-09-14
Просмотров: 241543
Описание:
4L80E Transmission Teardown Inspection
"4L80E Transmission Teardown Inspection - Transmission Repair"
I. Introduction and External Components
Removal of the extension housing and discussion of bushing variations between models.
Identification of speed sensors and the digital transmission range sensor (DTR), contrasting with older manual lever position sensors.
Removal of the linkage and advice on using a buffer to prevent damage to the DTR sensor during reassembly.
II. Pan Removal and Filter Inspection
Removal of the transmission pan and observation of its condition.
Examination of the filter for signs of wear and tear, noting that the filter appeared new.
III. Valve Body Removal and Components
Identification of the force motor, torque converter clutch solenoid, shift solenoids, and pressure switch manifold assembly.
Careful removal of the valve body to avoid breaking brittle tabs and the importance of preserving the internal wiring harness.
Identification of the rear lubrication pipe and emphasis on ensuring its clear passage during reassembly.
Removal of the pressure switch manifold, highlighting the need to twist rather than yank to avoid damaging O-rings and protective switches.
Overview of the valve body components, including accumulator pistons, check balls, servo pistons, and return springs.
IV. Pump and Gear Inspection
Removal of the pump and inspection of the pump gears, observing their shiny and clean condition, indicating minimal wear.
Discussion of the common issue of boost valve wear in 4L80E units, leading to high line pressure and potential transmission damage.
V. Clutch and Drum Disassembly
Removal of the overdrive clutches and snap ring, noting their good condition.
Identification of the overdrive piston housing and its function in applying the overdrive clutches.
Examination of the forward clutch drum assembly, focusing on the bushing condition and signs of ring cut.
Observation of the green high-energy friction clutches and confirmation of their good condition.
Removal of the third and reverse drum, checking for excessive clearance and damage.
Further analysis of friction material and its characteristics.
VI. Intermediate Components and Sprag Assembly
Examination of the intermediate one-way clutch (sprag assembly), highlighting its freewheeling and locking directions.
Removal of the sprag assembly, including the spiral snap ring and its locking mechanism.
Detailed inspection of the sprag elements, the inner race (drum), and the outer race for wear and damage.
Identification of a damaged sprag and discussion of its potential impact on second gear performance.
VII. Band, Clutches, and Center Support
Assessment of the intermediate band and its role as a break band.
Removal of the intermediate clutches, observing their green high-energy friction material and good condition.
Removal of the tapered center support snap ring and cooler line fitting.
Disassembly of the center support assembly, including the washer, friction plate, planetary assembly, and low reverse servo.
Evaluation of the unit's overall condition, noting minimal wear and questioning the initial cause for repair.
VIII. Gear Train and Planetary Assembly Inspection
Examination of the complete gear train and its components, including the sun gear, lubrication hole, and center support functions.
Disassembly of the rear planetary assembly, emphasizing caution with snap rings and the importance of eye protection.
Inspection of bearings and races for pitting and wear.
Identification of the rear planetary gear assembly components, including the reluctor ring and parking gear.
Assessment of the parking gear's pinions for side wear and overall condition.
IX. Final Observations and Summary
Disassembly of the coast clutch drum and reaffirmation of the good condition of the friction clutches.
Recap of the teardown process, highlighting minimal wear on most components, with bushing wear being the most significant finding.
Correlation of bushing wear with potential symptoms like loss of drive and burnt frictions.
Conclusion of the teardown, stating the need for new bushings and further discussion with the customer regarding repair options.
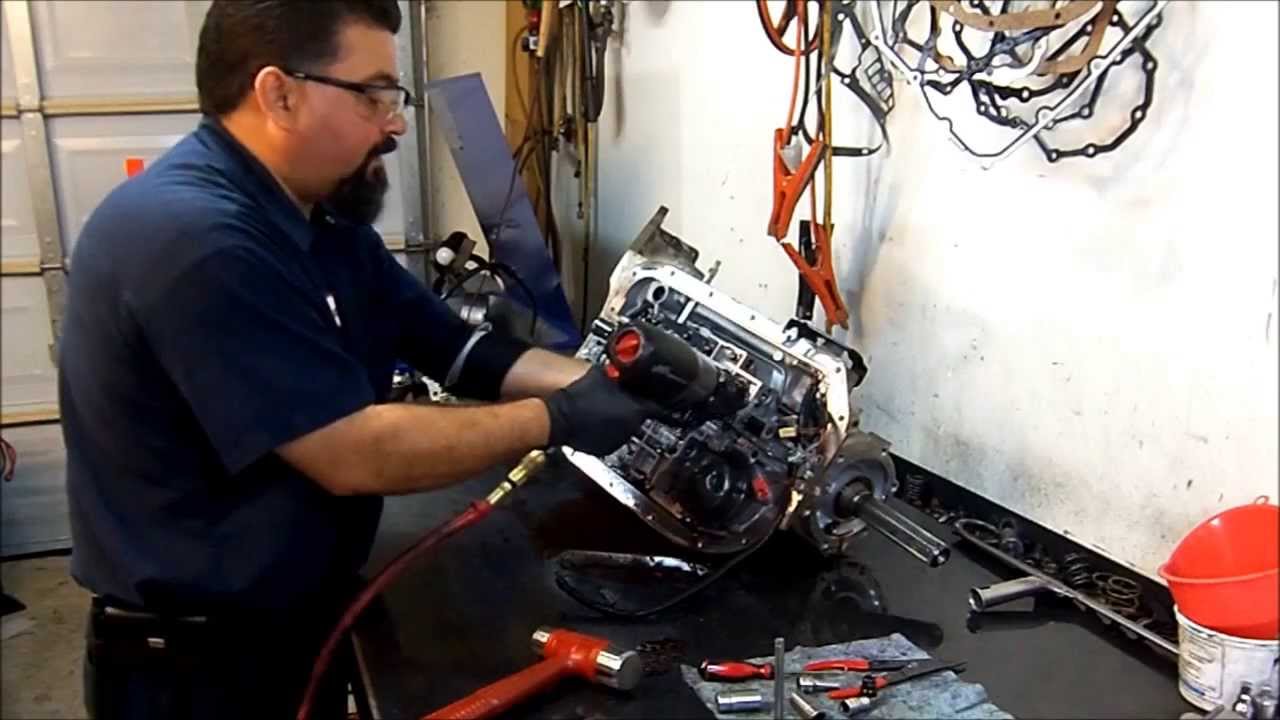
Here we see a 2006 4L80E Transmission being inspected. Verified the customers complaint and was a slipping 2nd at hard acceleration. We confirmed it with the intermediate sprag assembly outer race being pitted and a worn sprag.
Повторяем попытку...
Доступные форматы для скачивания:
Скачать видео
-
Информация по загрузке:


